Hey there!
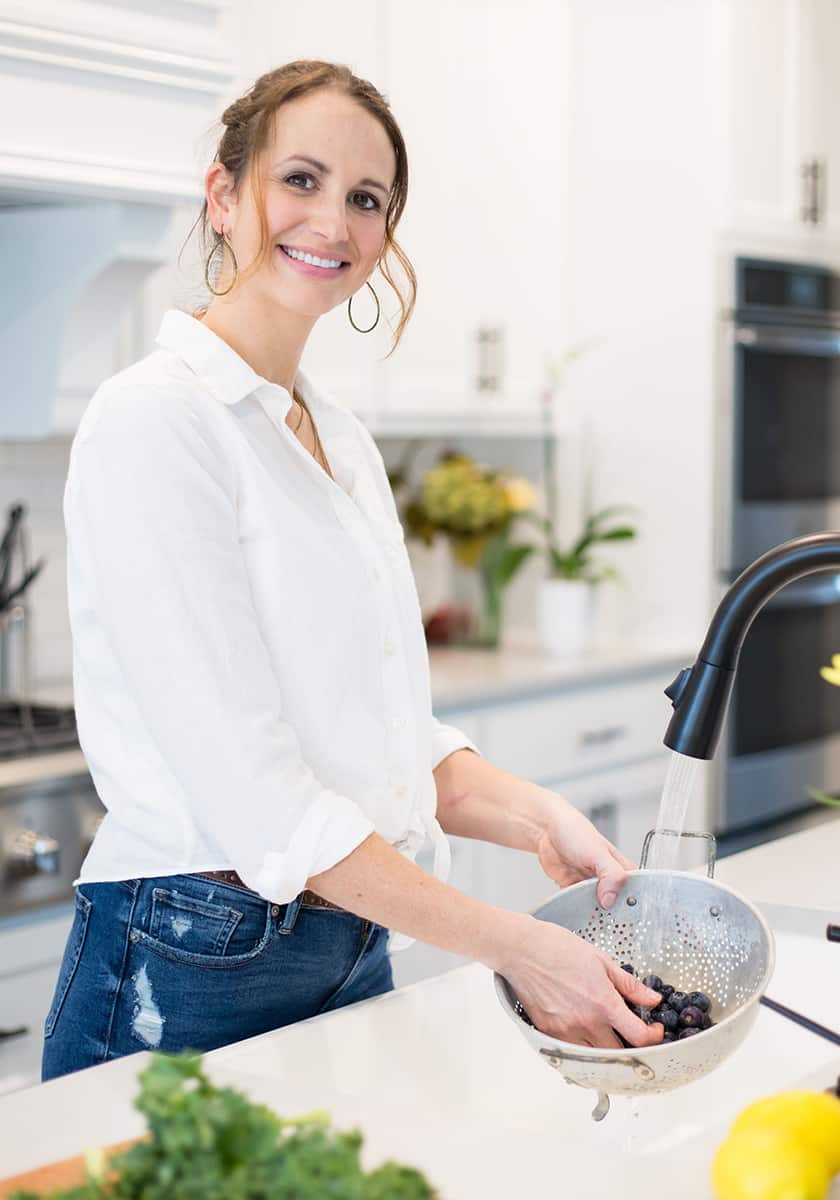
I'm Lacey! Nice to meet you 🙂
I’m a Cleanish Lifestyle Coach, YouTuber, and Blogger. I live in Austin, TX with my husband, 4 kids, and 2 mini Aussies. I'm here to help you transform your life through delicious clean eating recipes and science-backed knowledge!
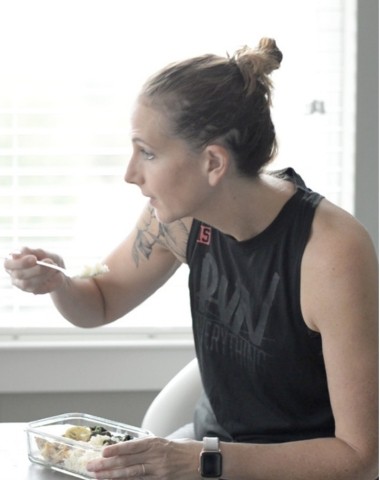

Weight Loss Recipes
Try these delicious recipes to keep you full + energized as you enjoy your weight loss journey.


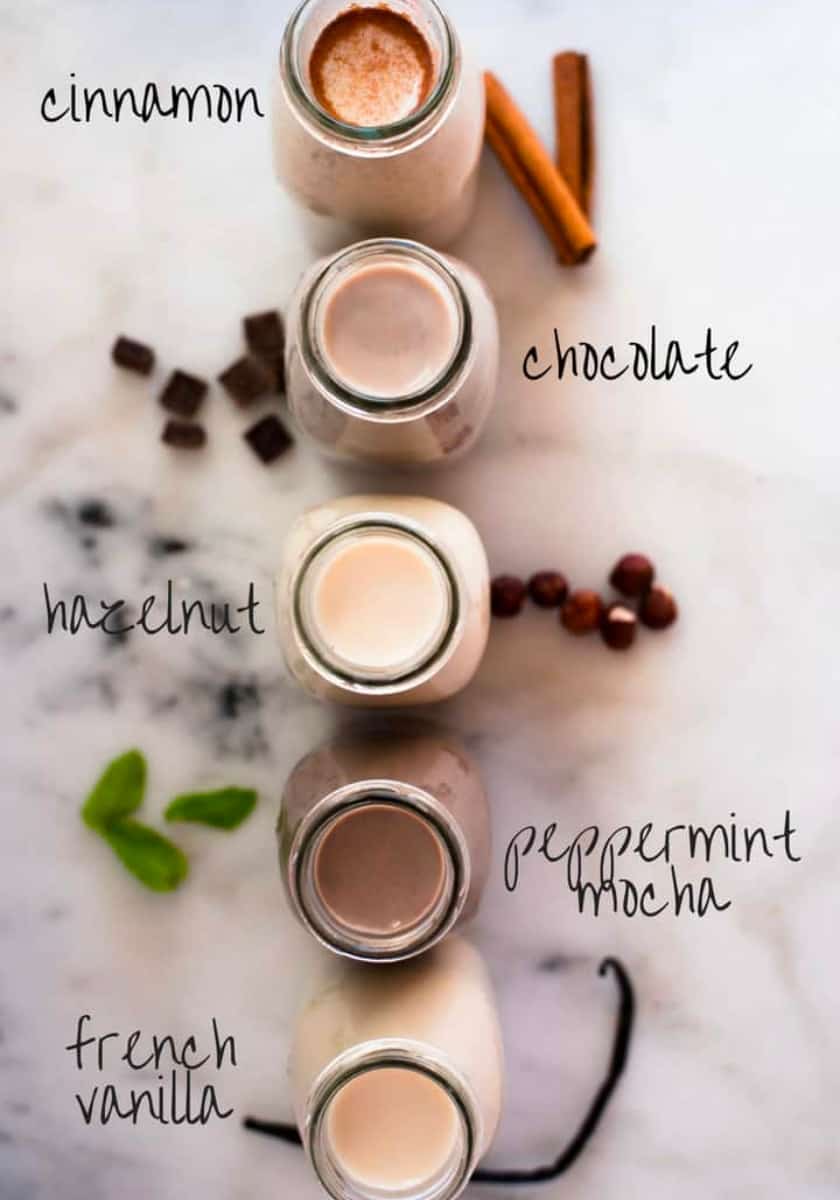
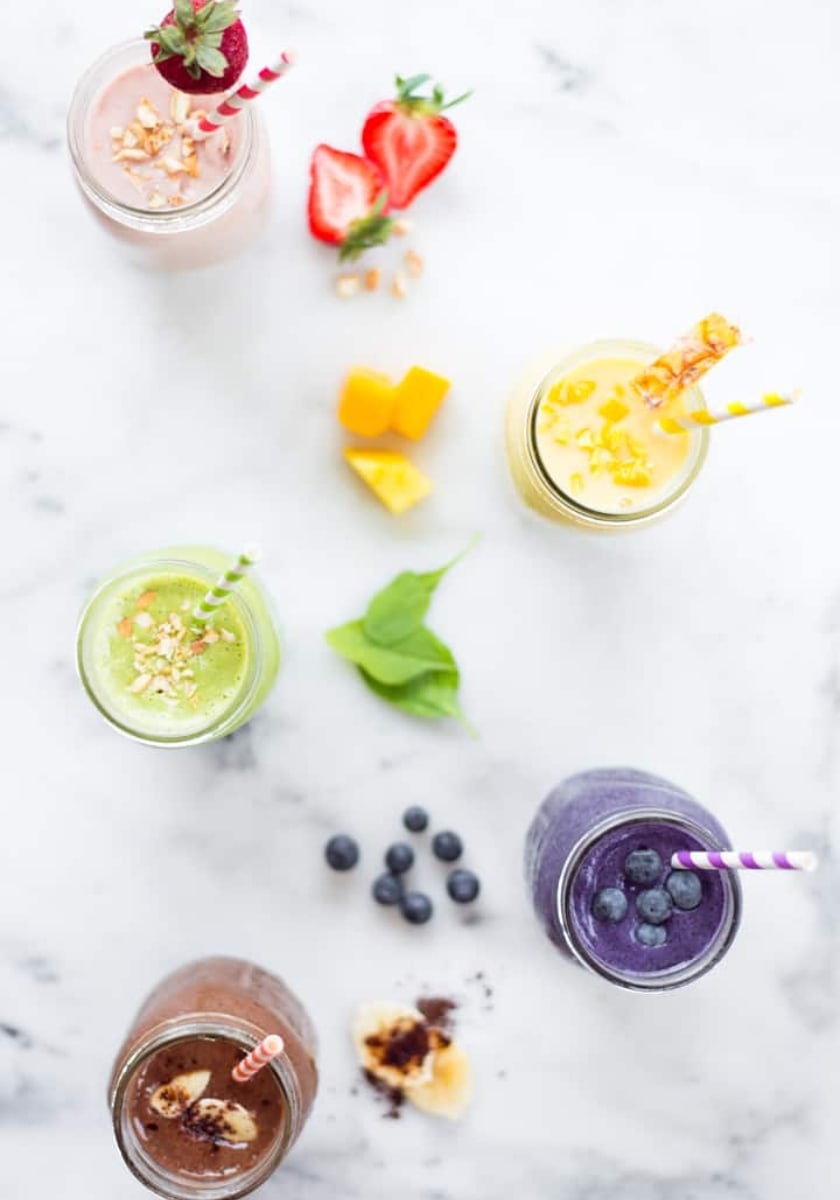
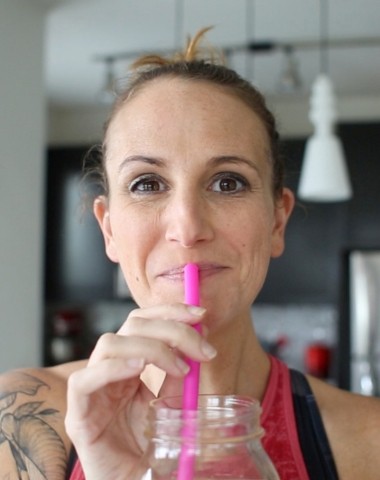
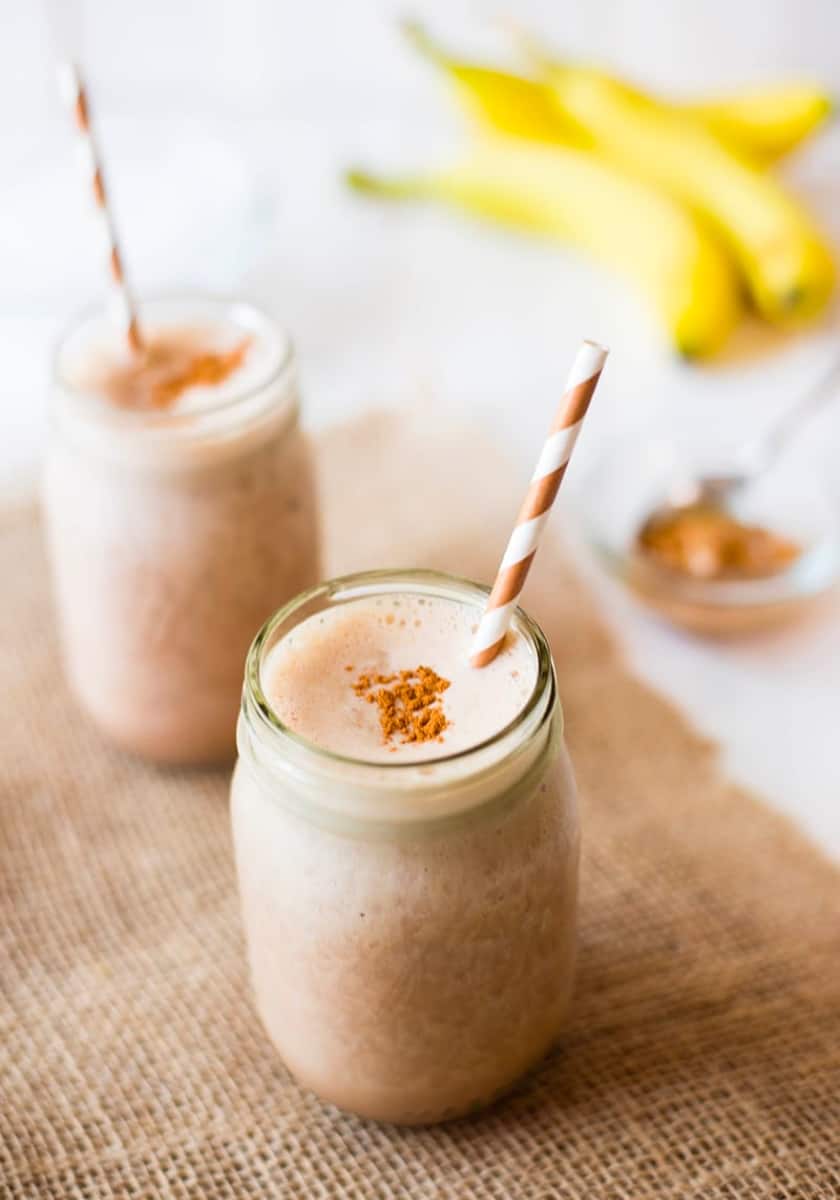
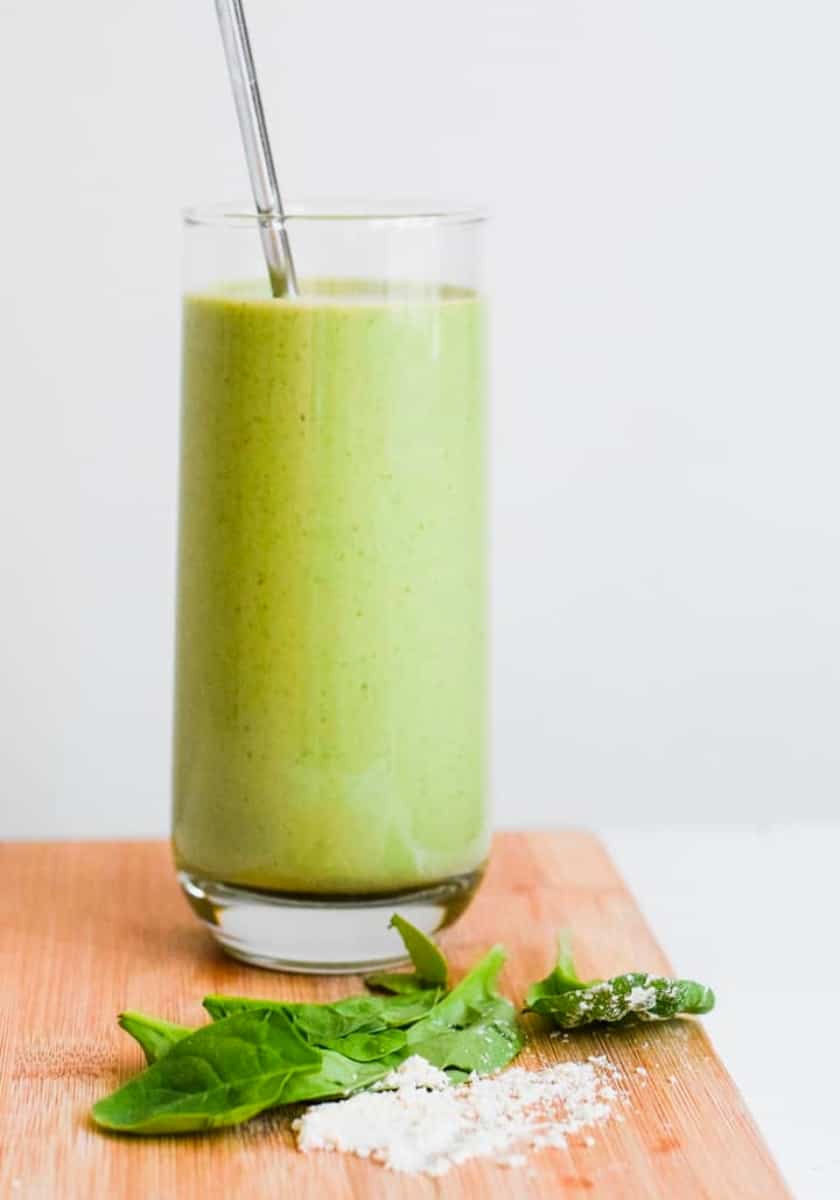
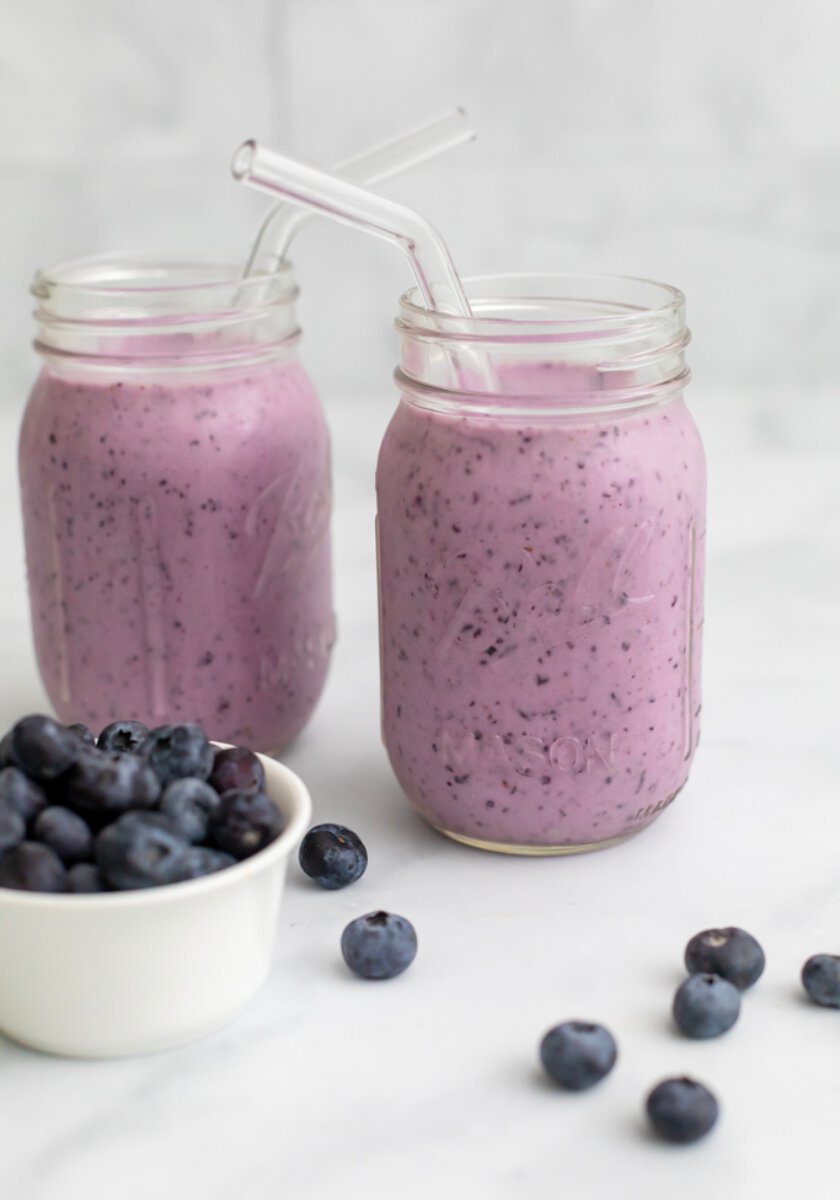
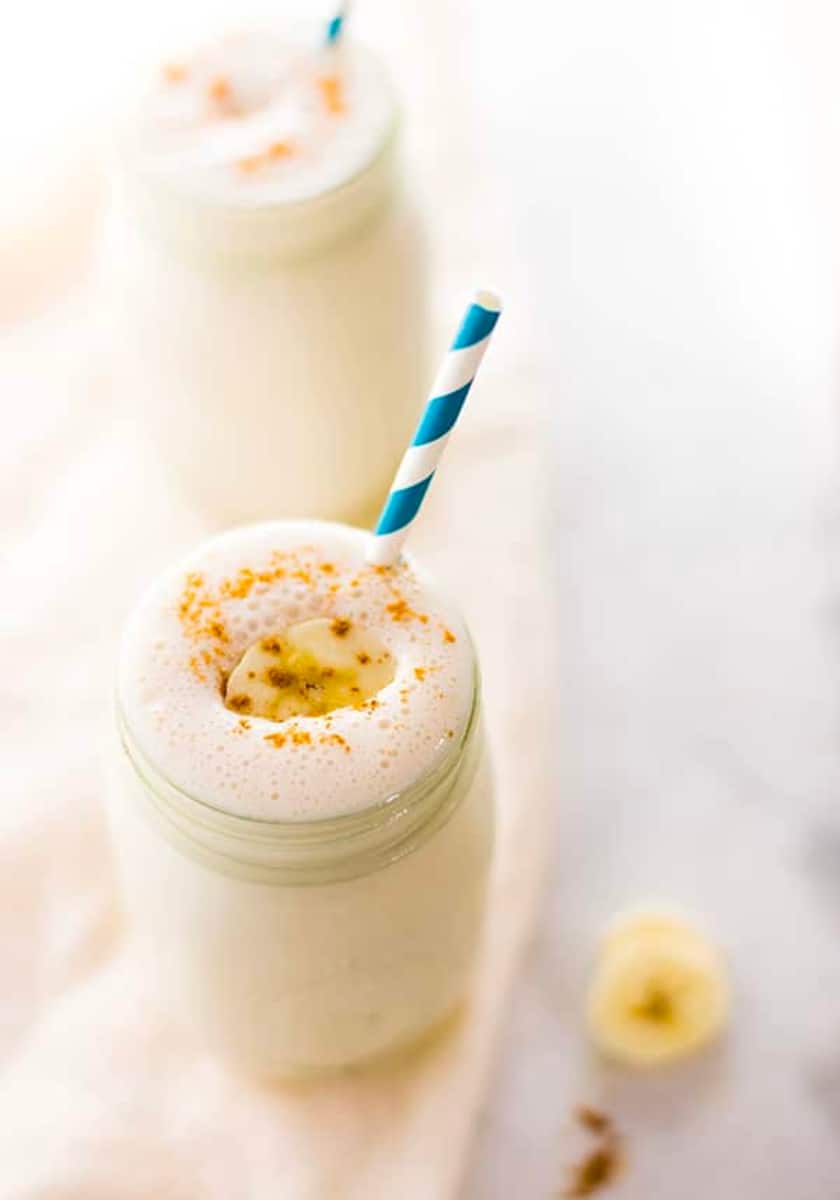
Top Rated Protein Smoothies
The healthy protein smoothie recipes will become a favorite part of your daily routine.
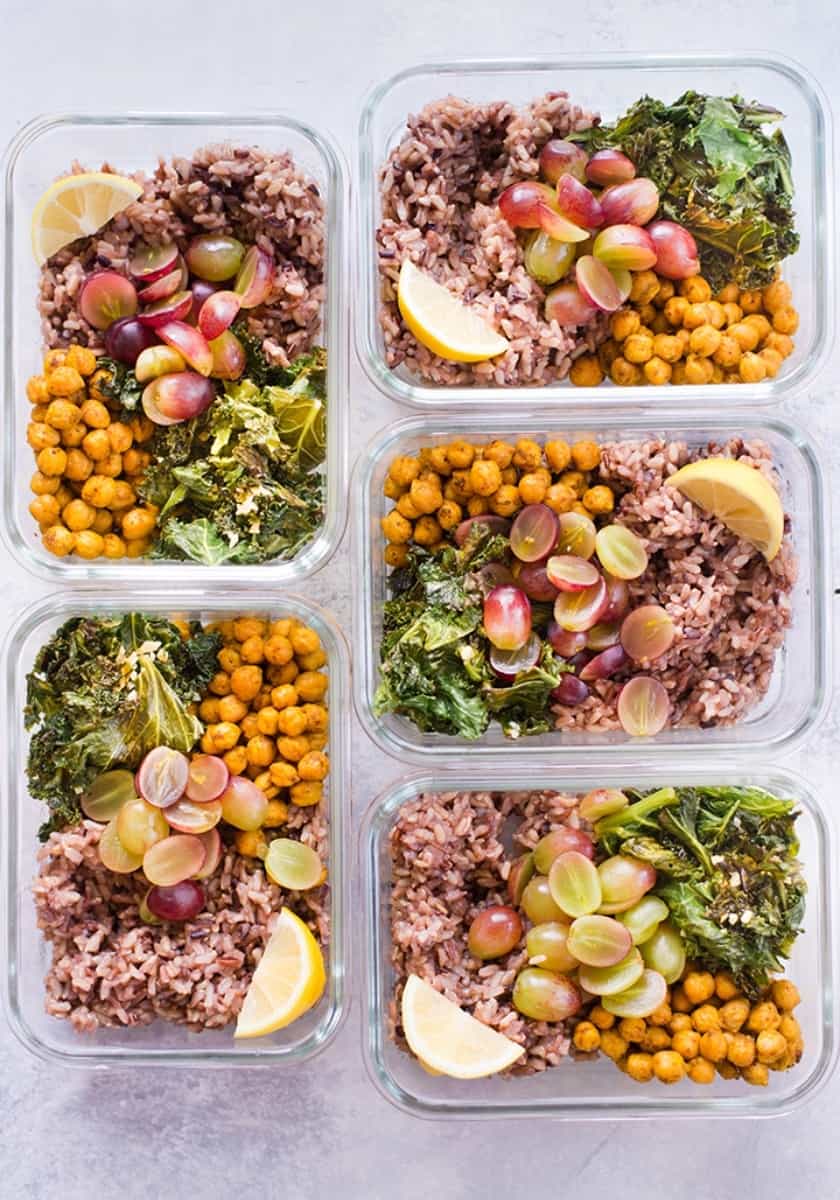
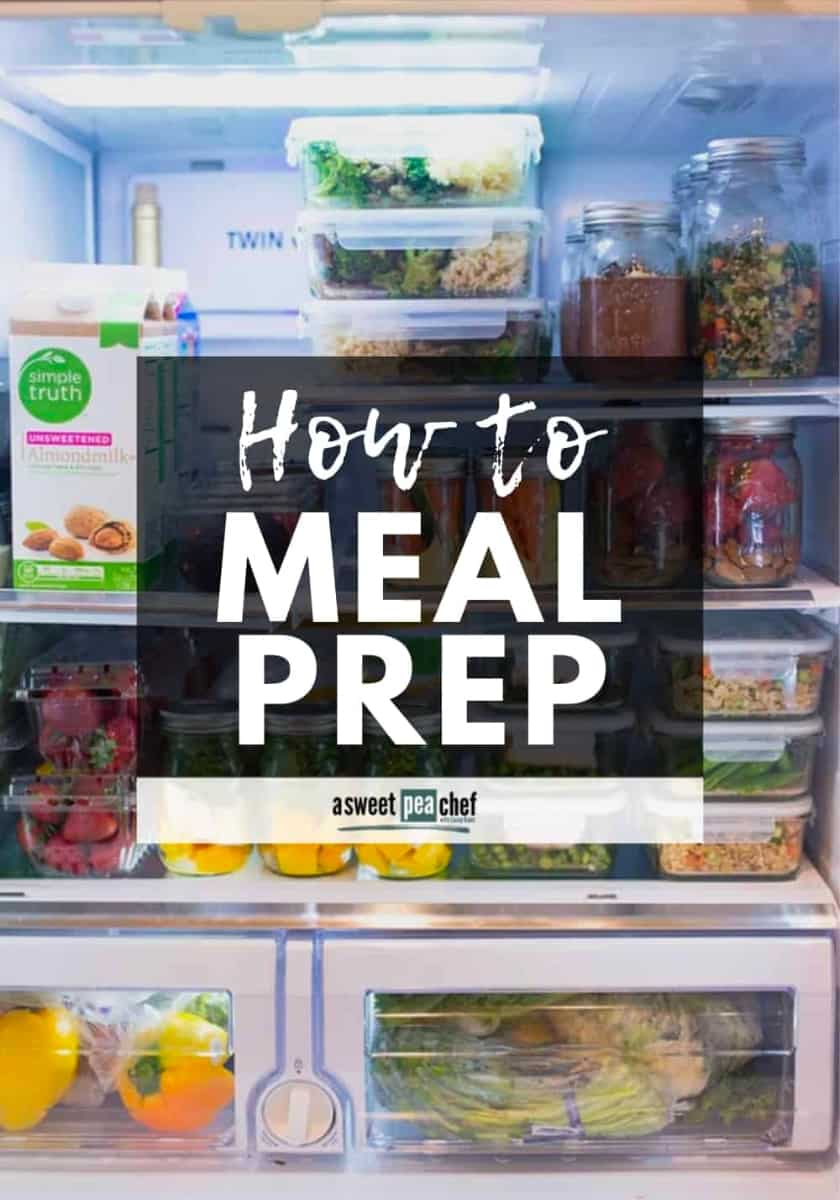
30 Day Healthy
Learn how to meal prep to save time while you enjoy healthy and tasty recipes that are designed to reduce your inflammation, and make you absolutely love your food.
Recent Posts
Explore my latest articles and recipes for your clean eating lifestyle.
-

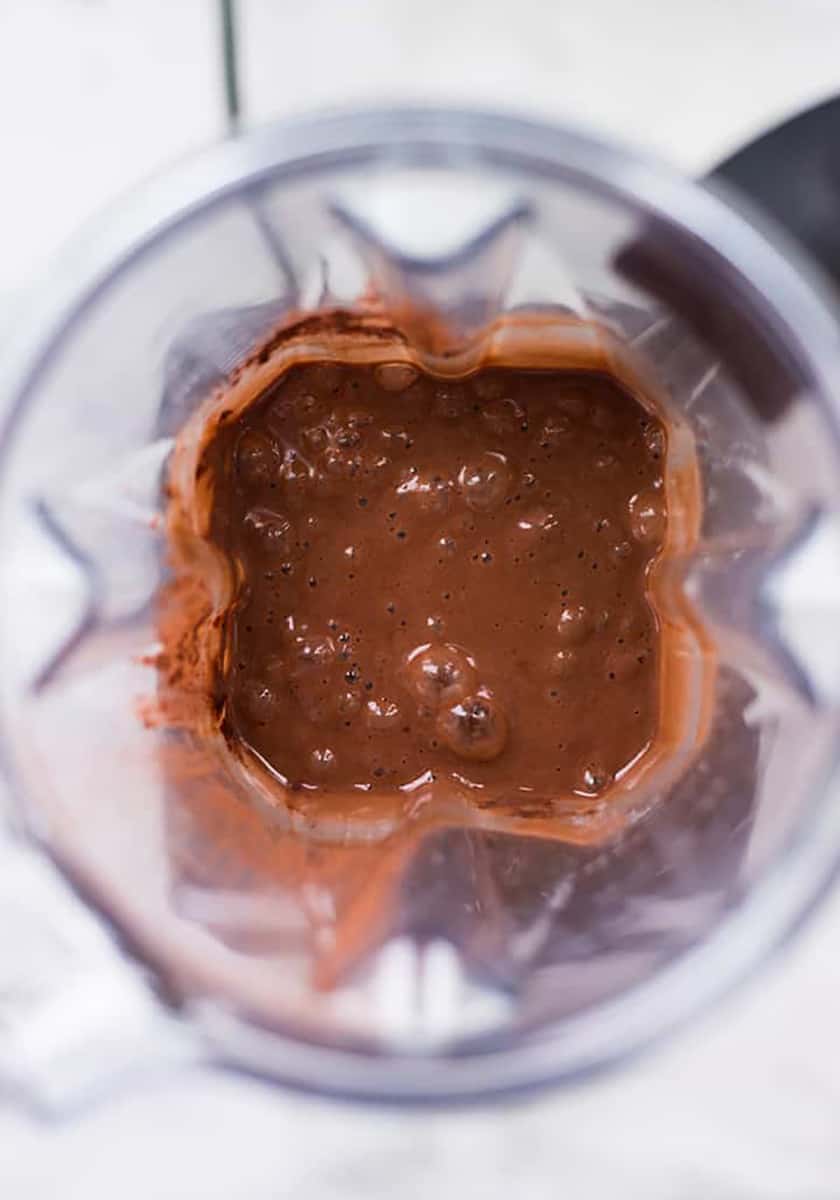
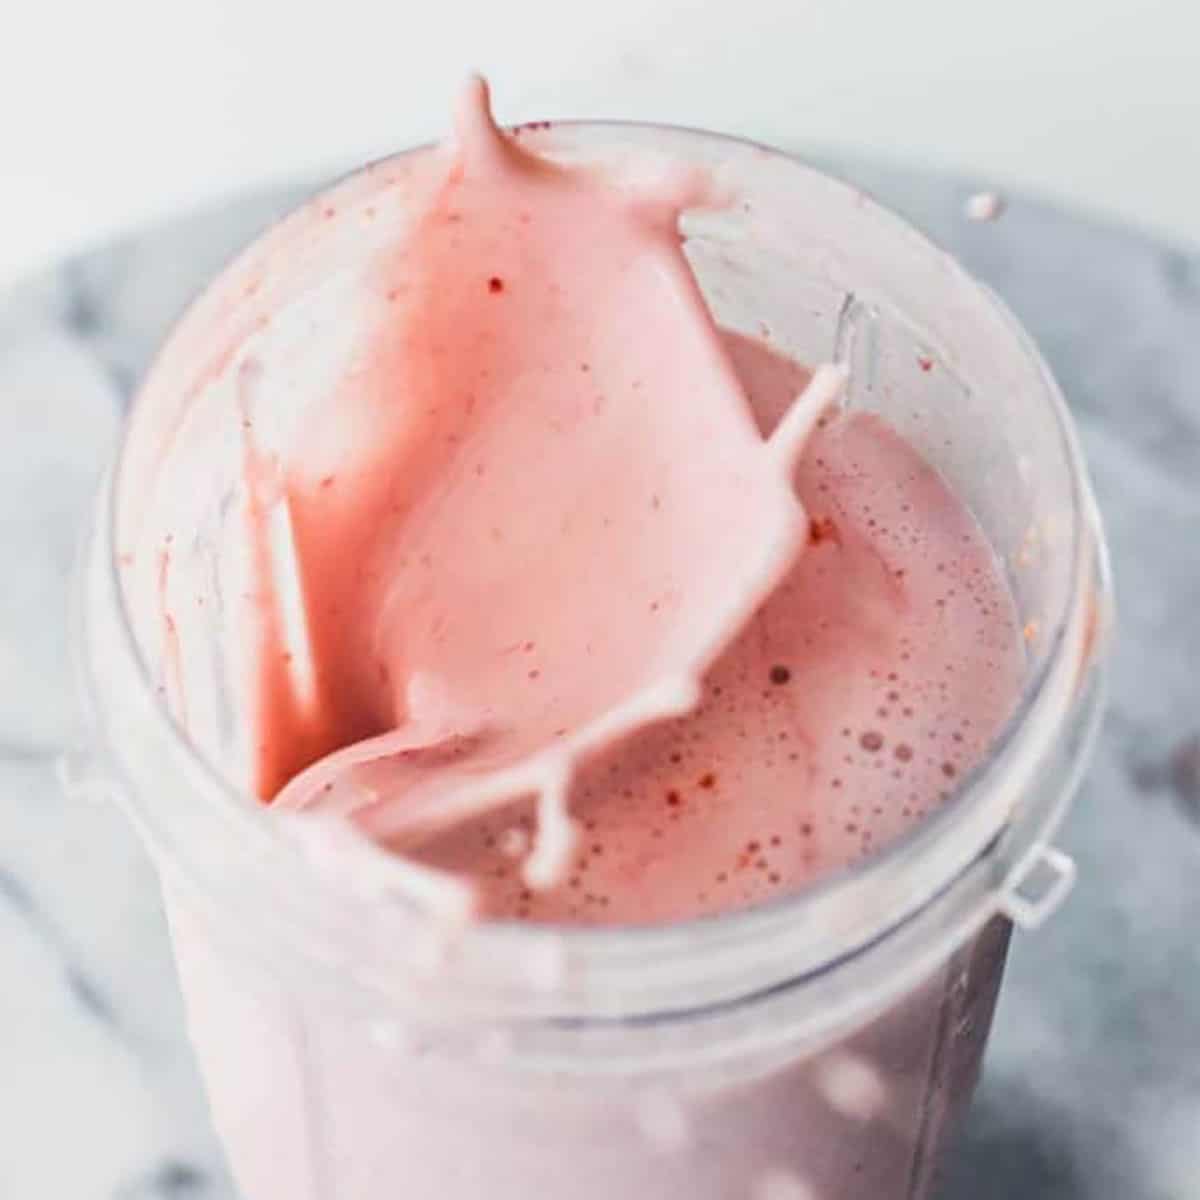
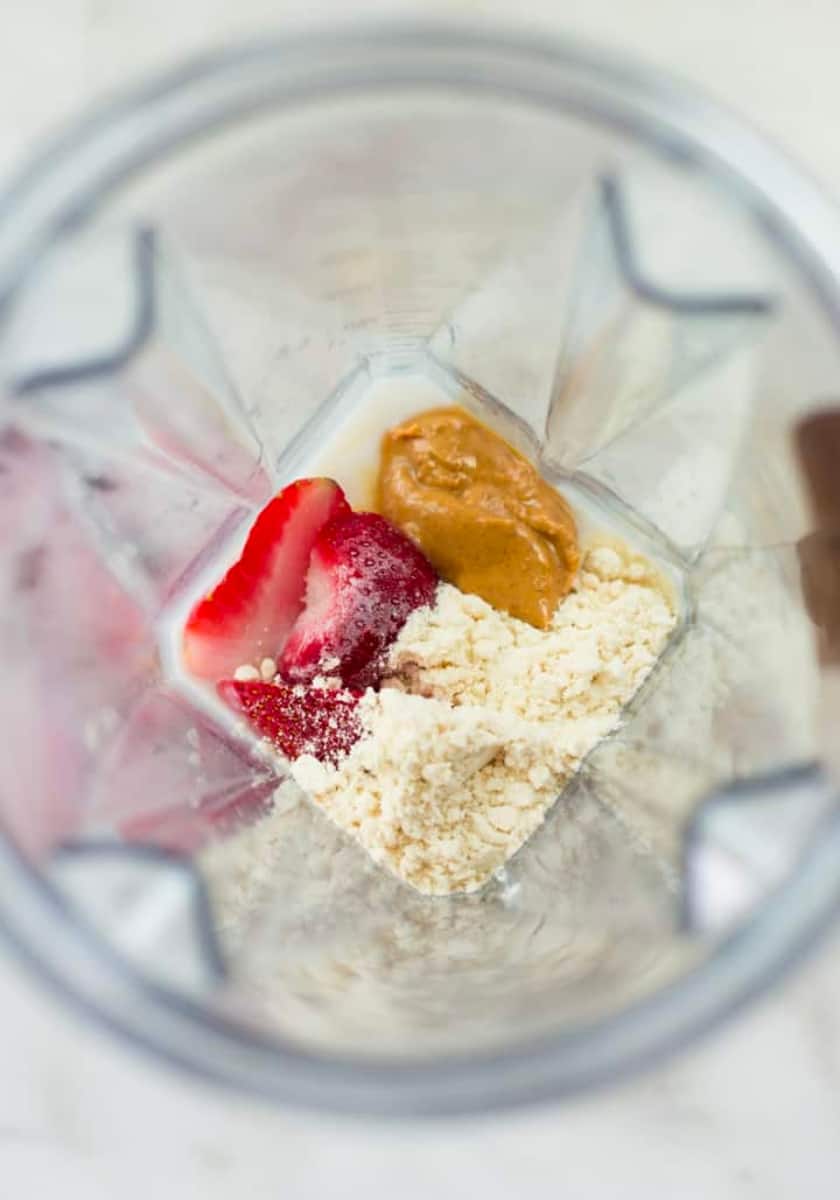
Strawberry Protein Shake
A sweet and fruity shake awaits! This post shares how to make my Strawberry Protein Shake. You'll learn how it gets such a creamy texture, as well as some helpful tips about protein smoothies at large.
-
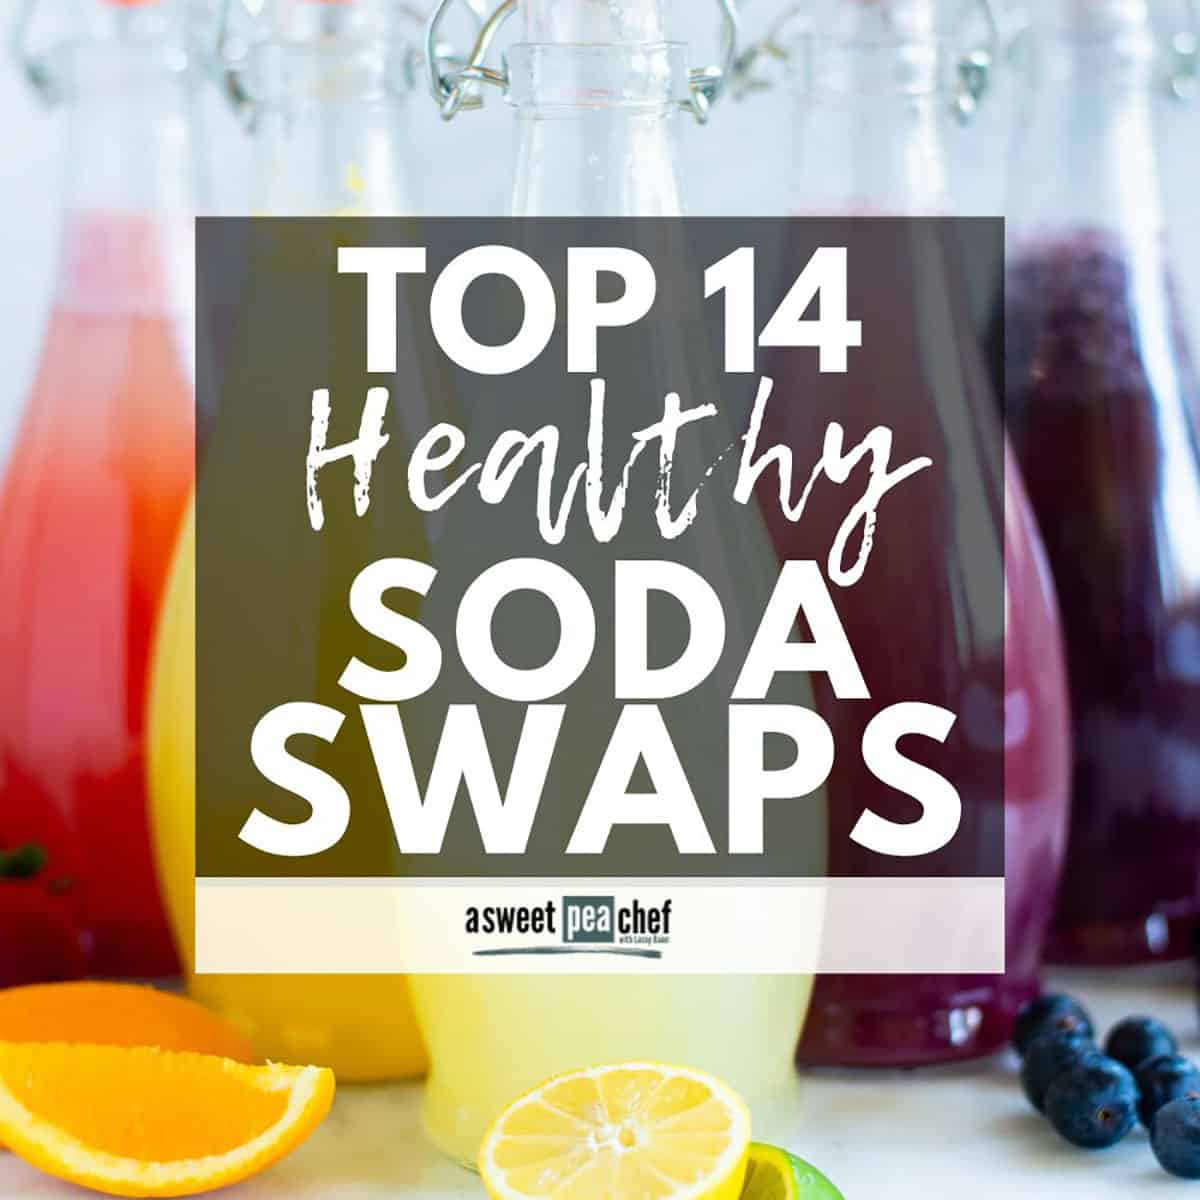
Top 14 Healthy Soda Alternatives
Do you love soda but know that it’s not a healthy choice? This post has 16 delicious alternatives that’ll have you ditching soda for a healthier, more refreshing drink in no time!
-
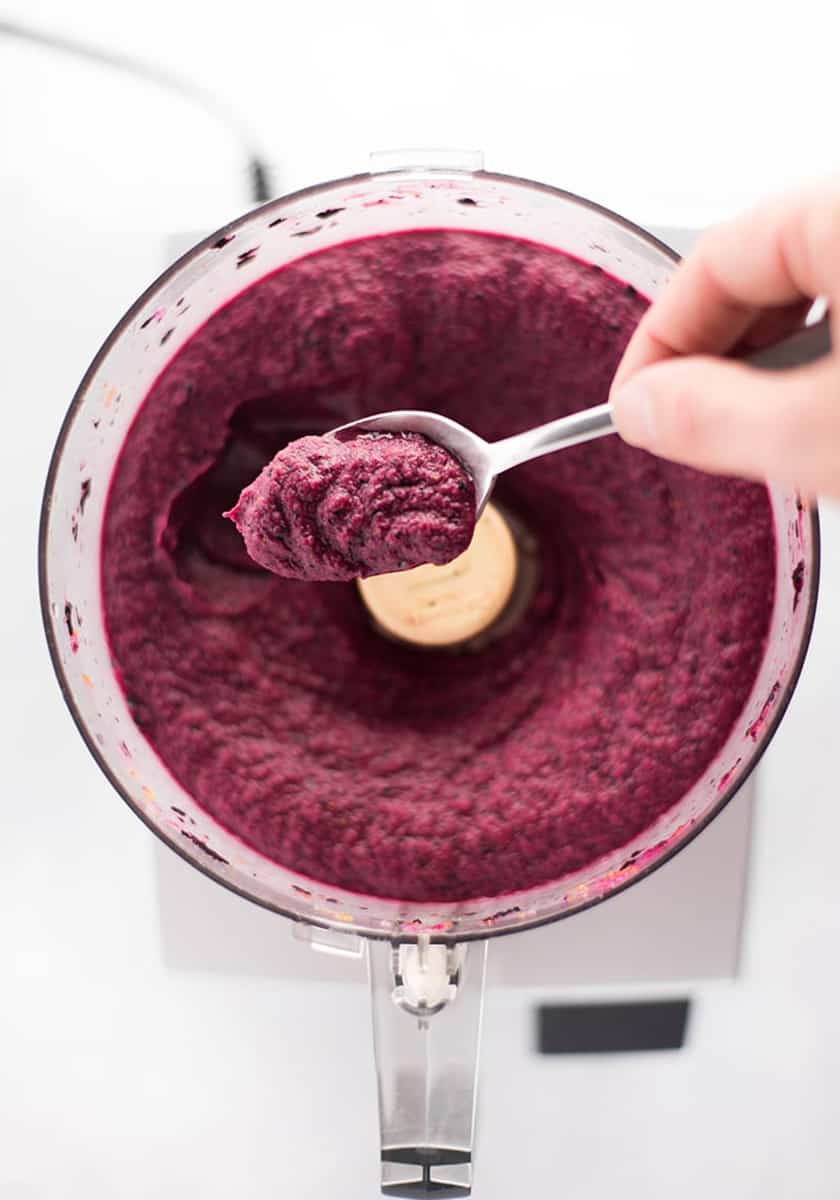
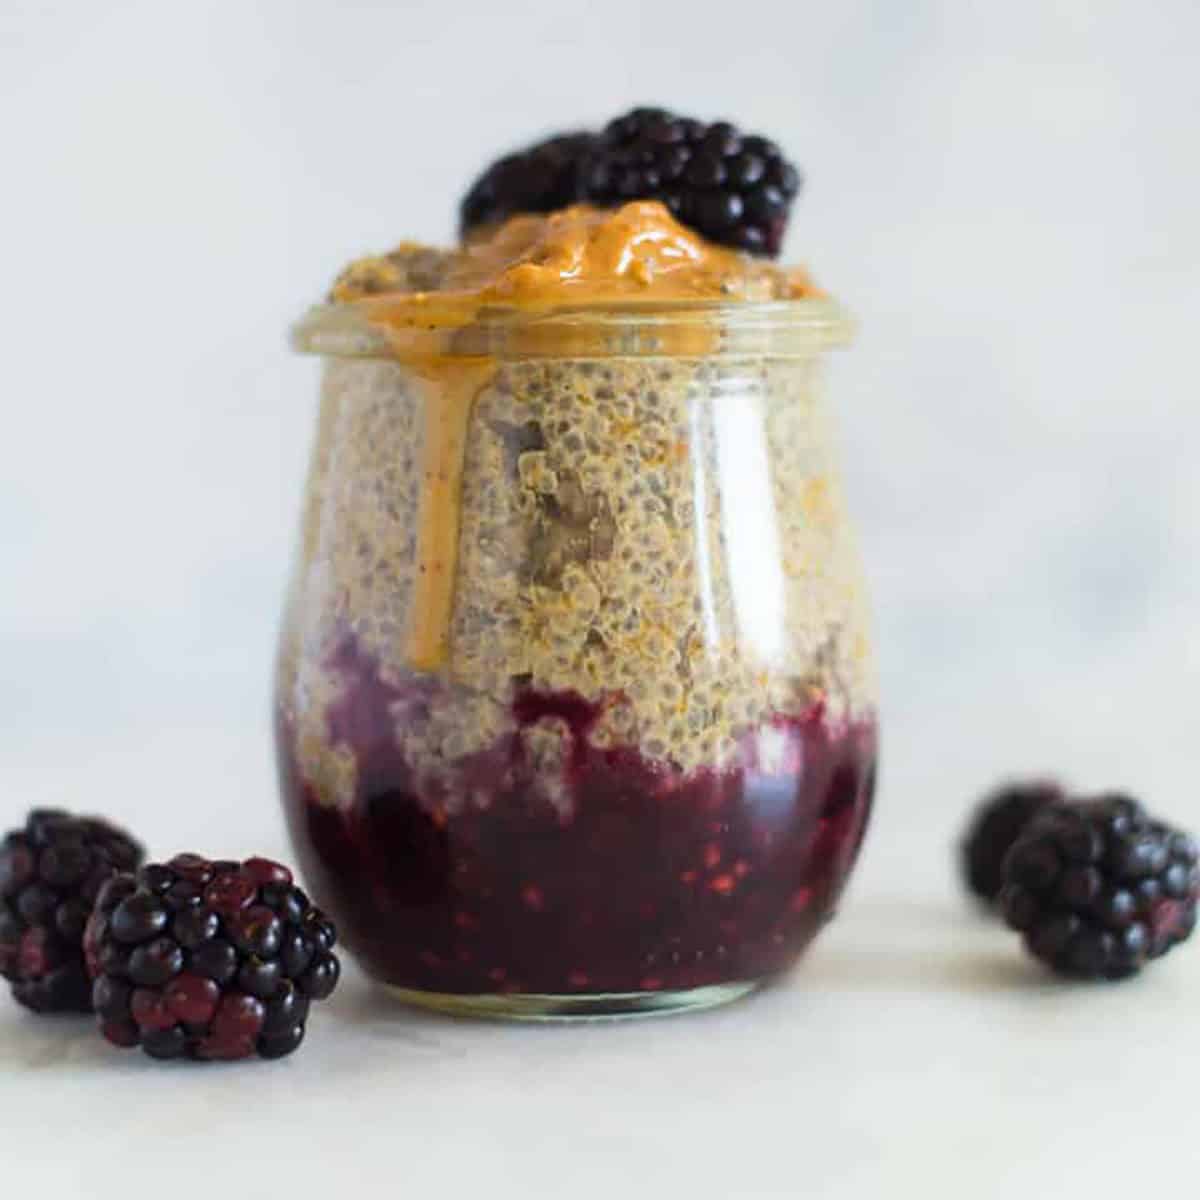
Peanut Butter And Jelly Chia Pudding
This PB&J Chia Pudding combines natural peanut butter and mashed blackberries with a few more nutritious ingredients (like chia seeds!) to create a fiber-filled treat that's amazing for breakfast, as a snack, or even for dessert. Let's talk about the…
-
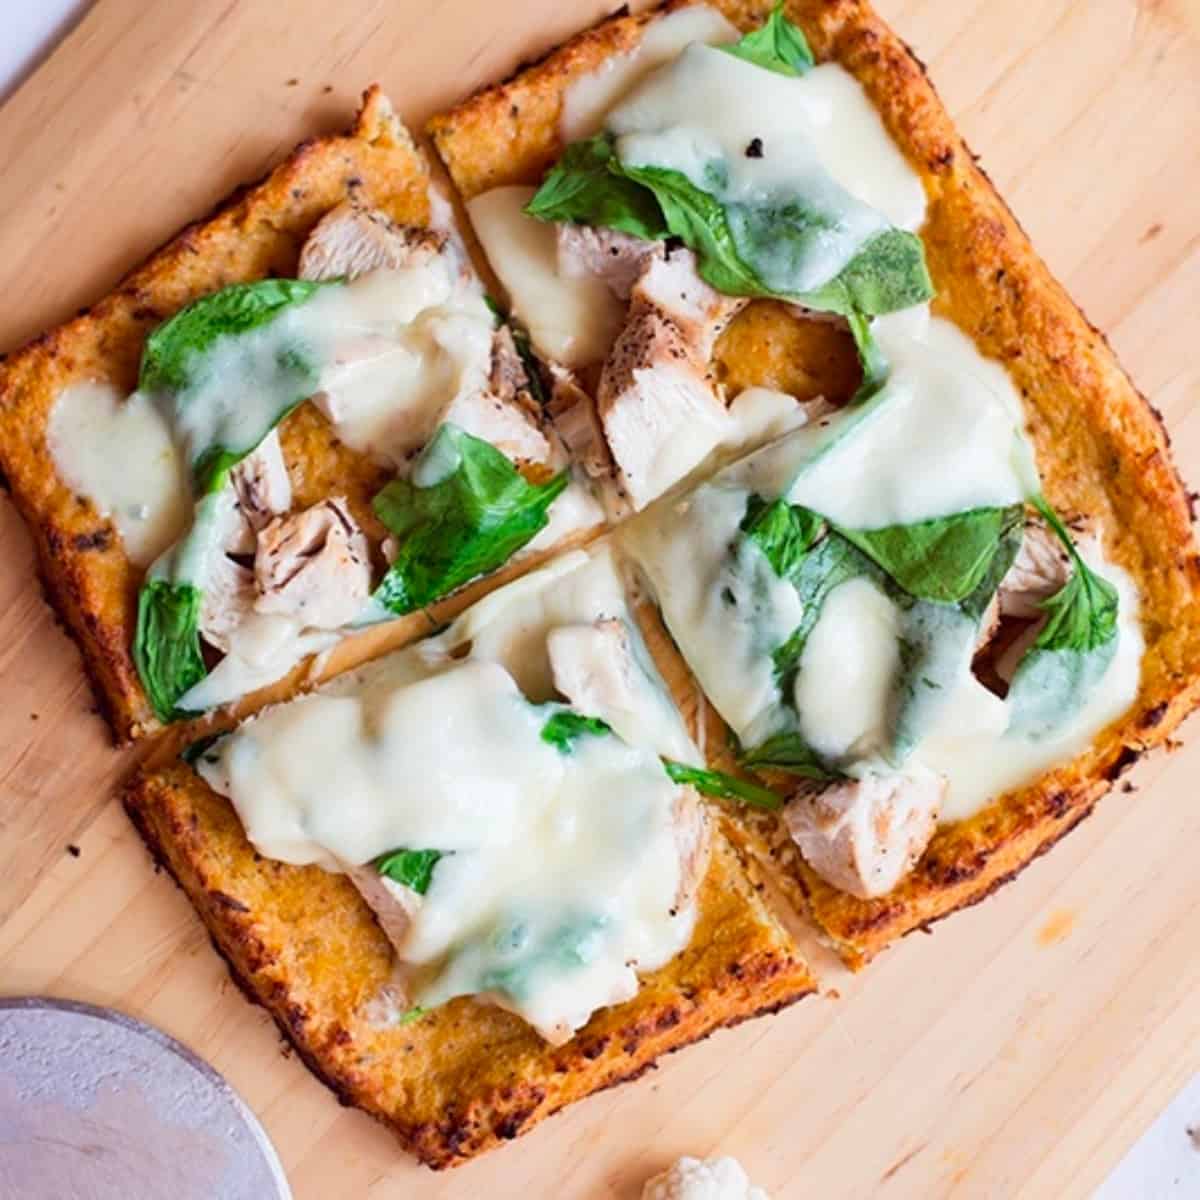
How To Make Cauliflower Pizza Crust
This cauliflower pizza crust recipe will satisfy your pizza cravings without cheating on your healthy lifestyle. Plus, tips for how to make the crust vegan, dairy-free, and without a food processor! Pizza. It's glorious. I mean, with all the savory goodness, bubbly cheese,…
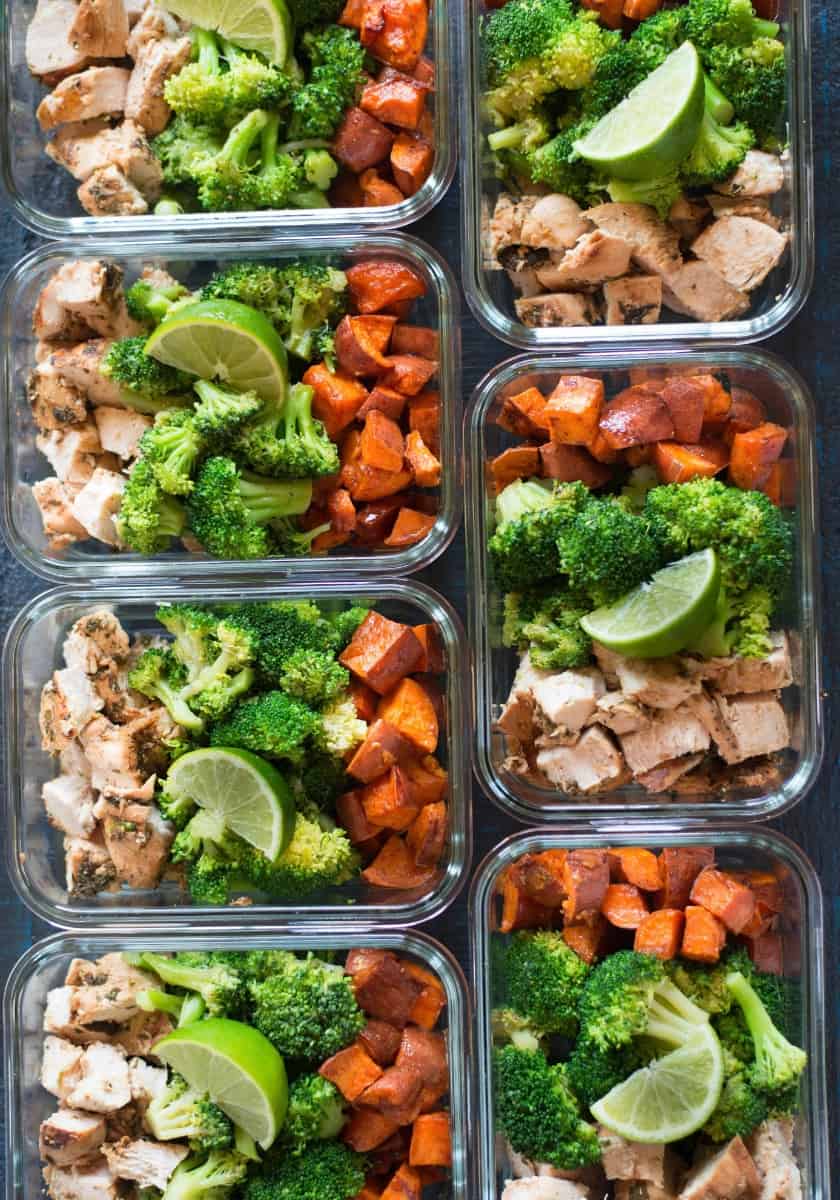
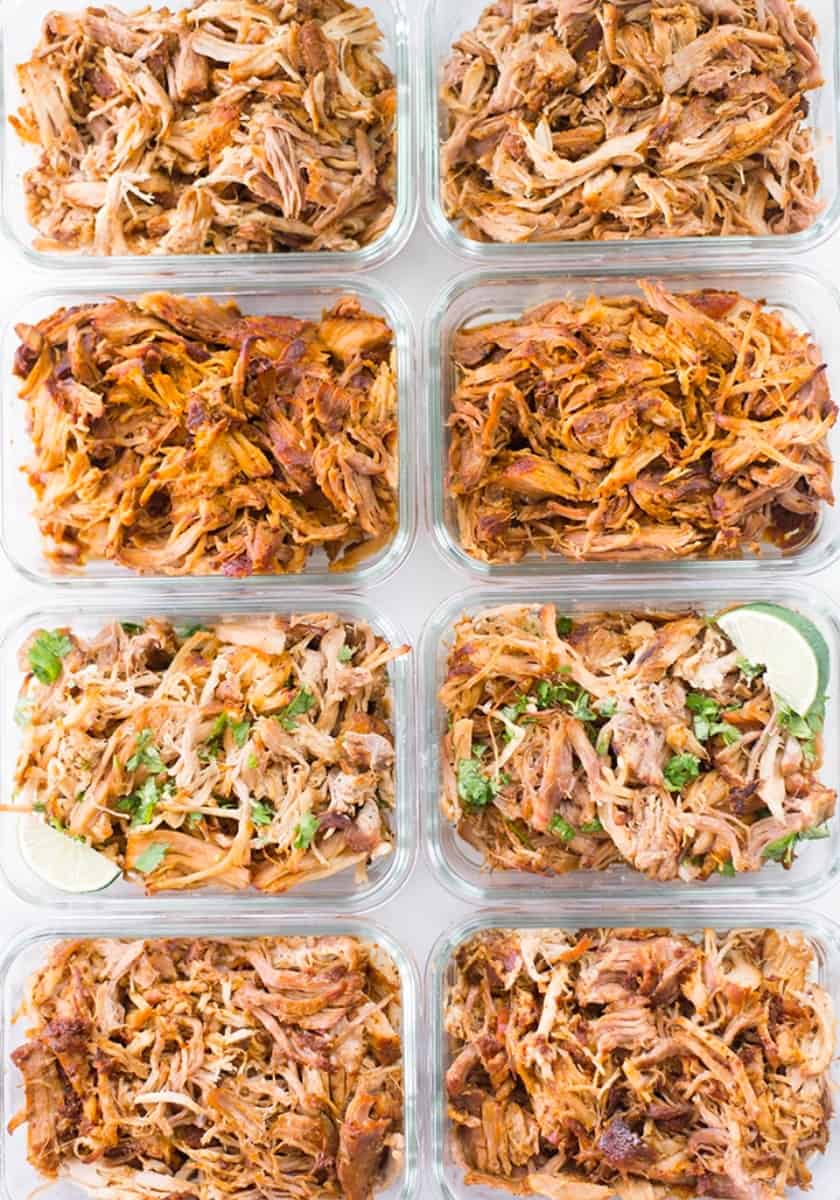
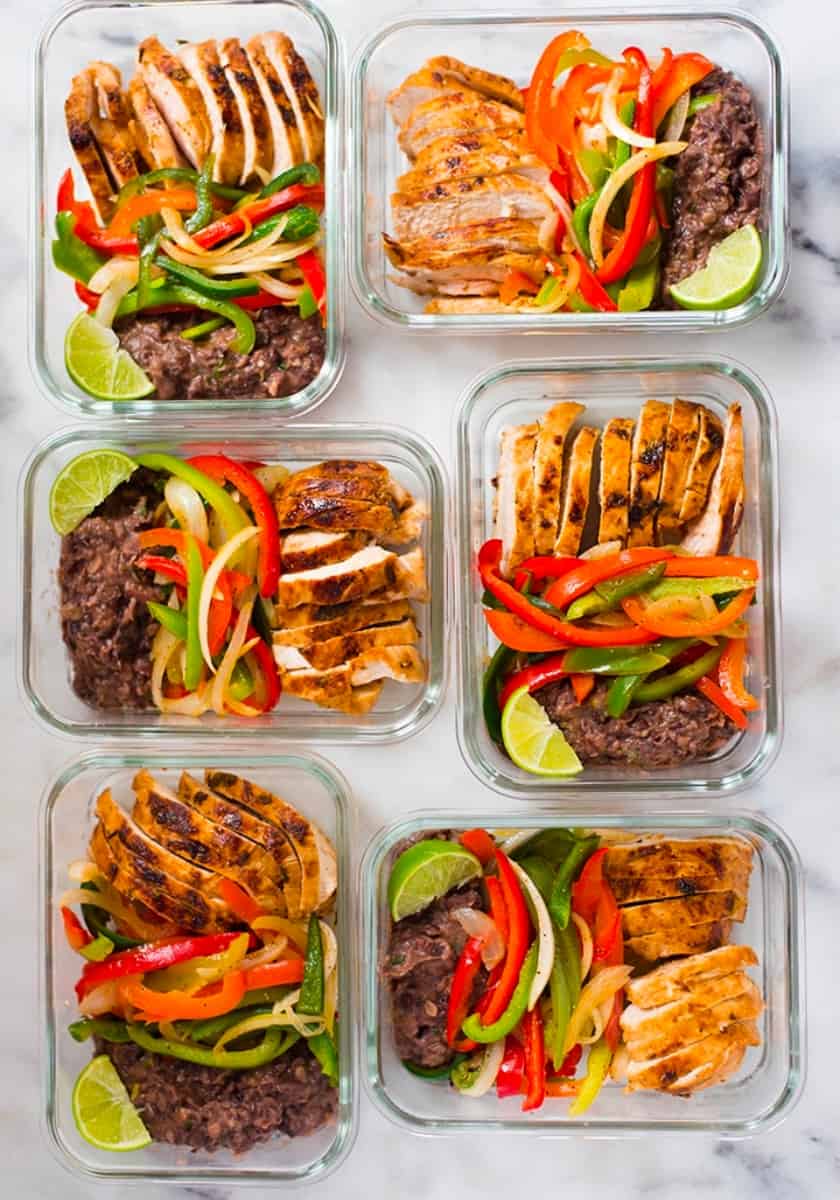
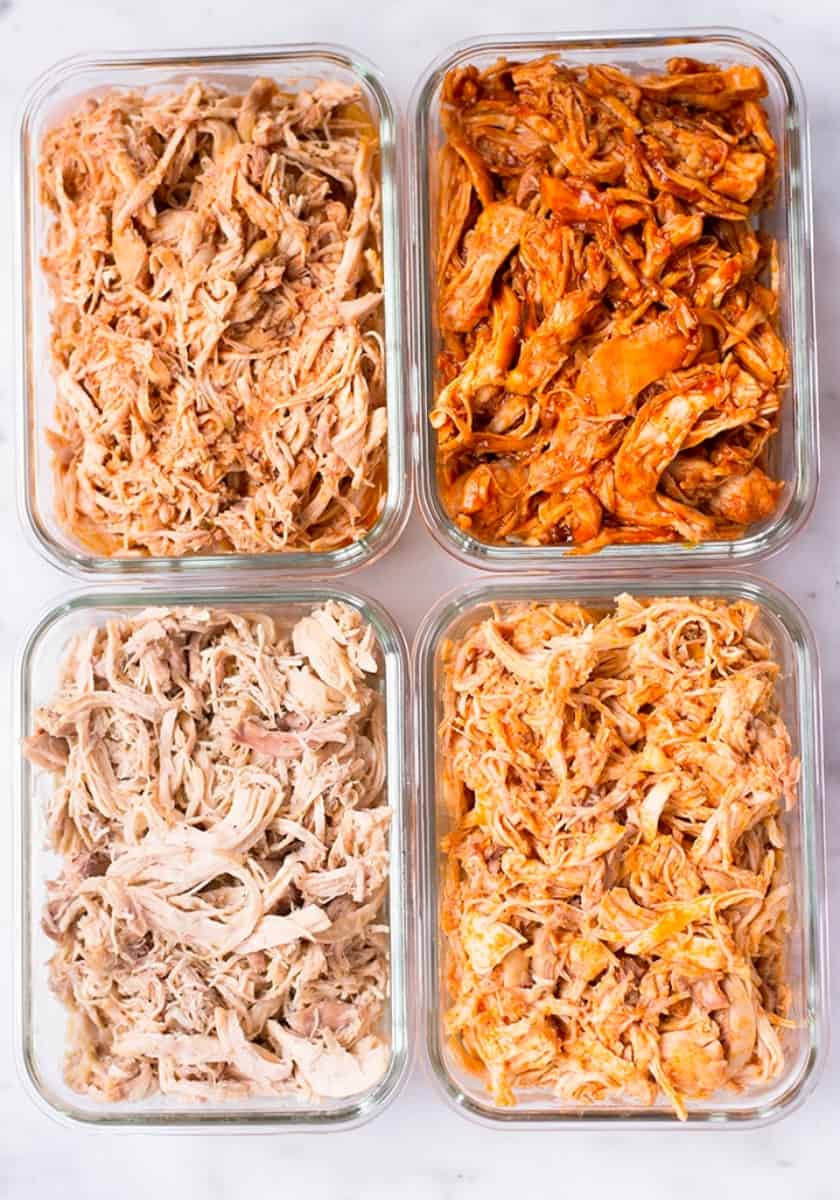
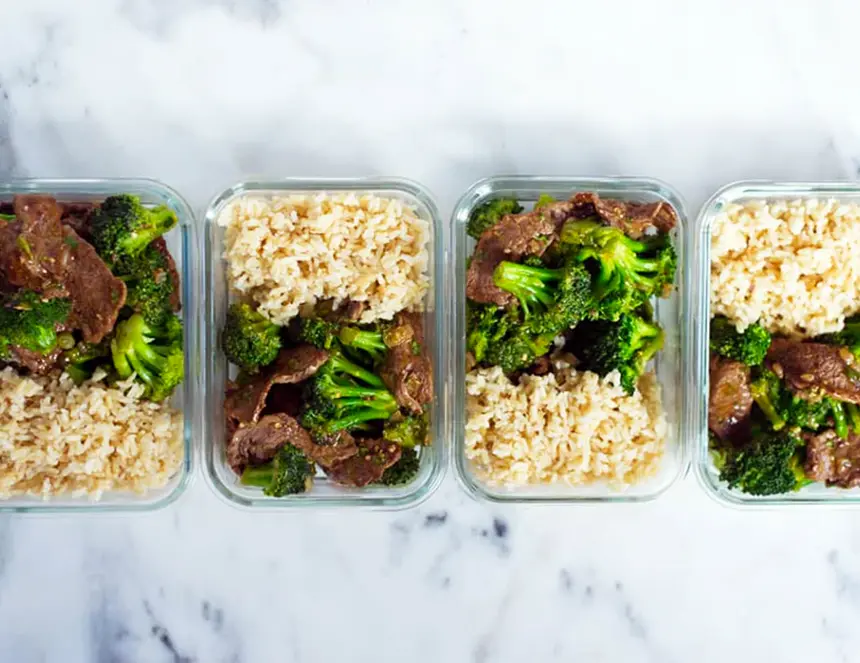
Meal Prep Ideas
These easy meal prep recipes are time-tested and family-approved.
Cleanish Movement
Get ready to stay motivated, engaged, and on track to reach your goals with my 90-day program focusing on Mindset, Nutrition, and Fitness as the key elements of a cleanish lifestyle.
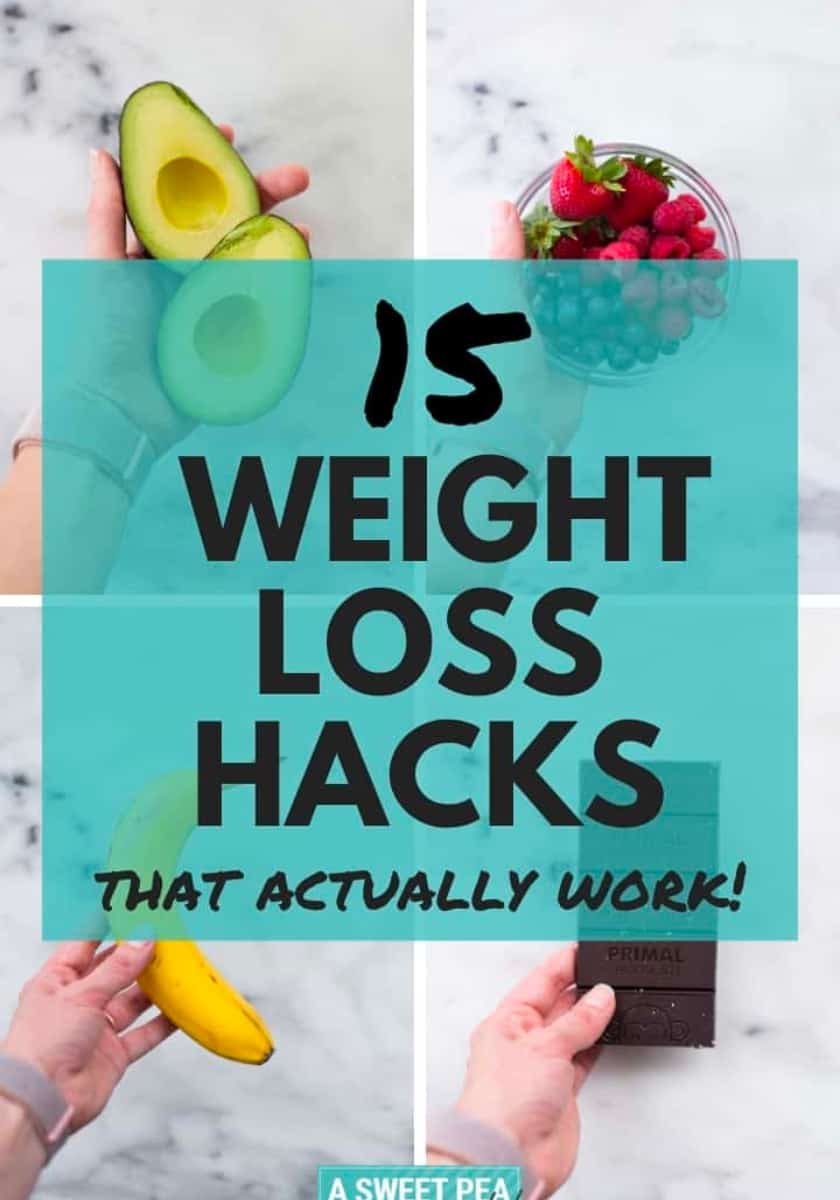
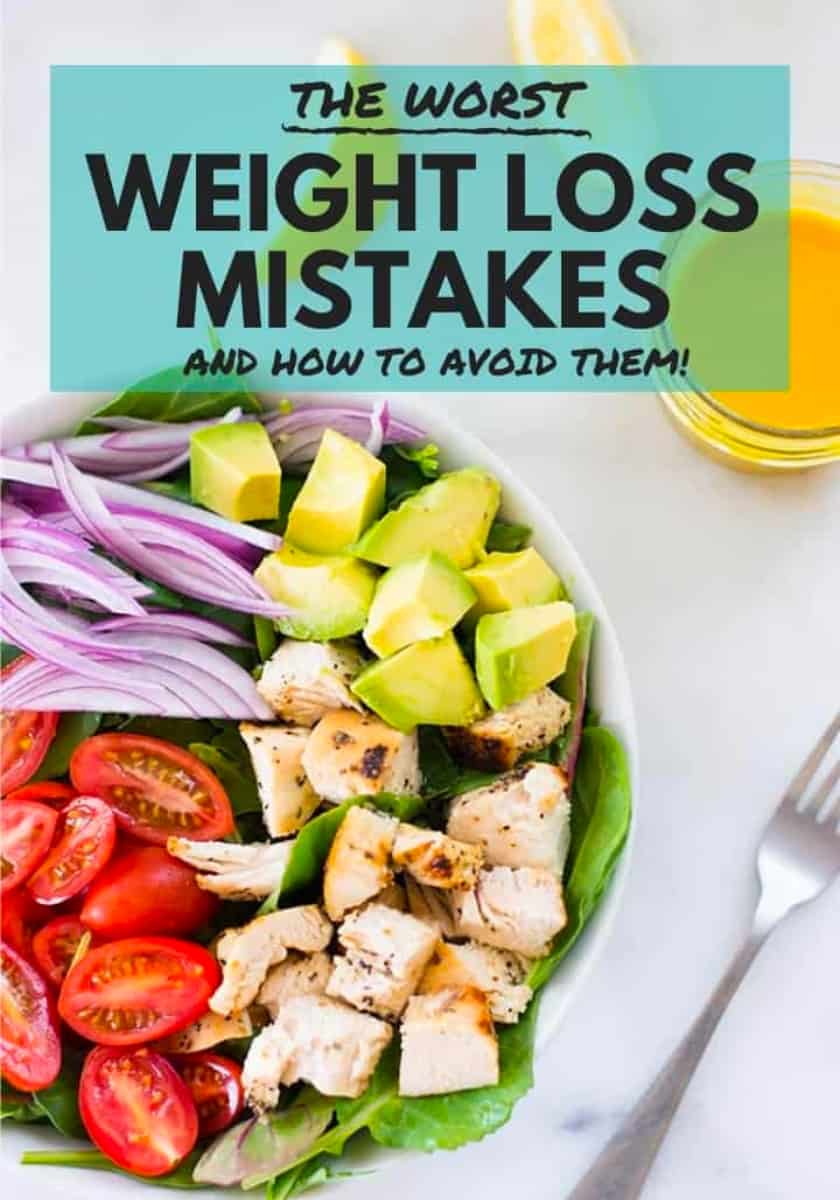
Weight Loss Tips
Stay motivated and successful with these helpful tips during your weight loss journey.


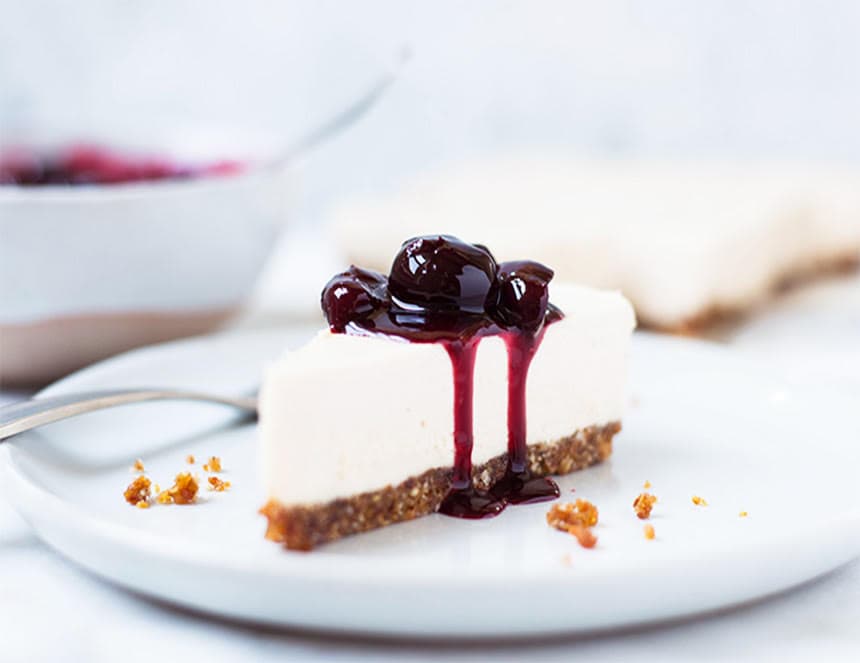
Delicious Healthy Desserts
Enjoy healthy desserts that use real ingredients. From cheesecake to ice cream, enjoy my collection of cleanish recipes.
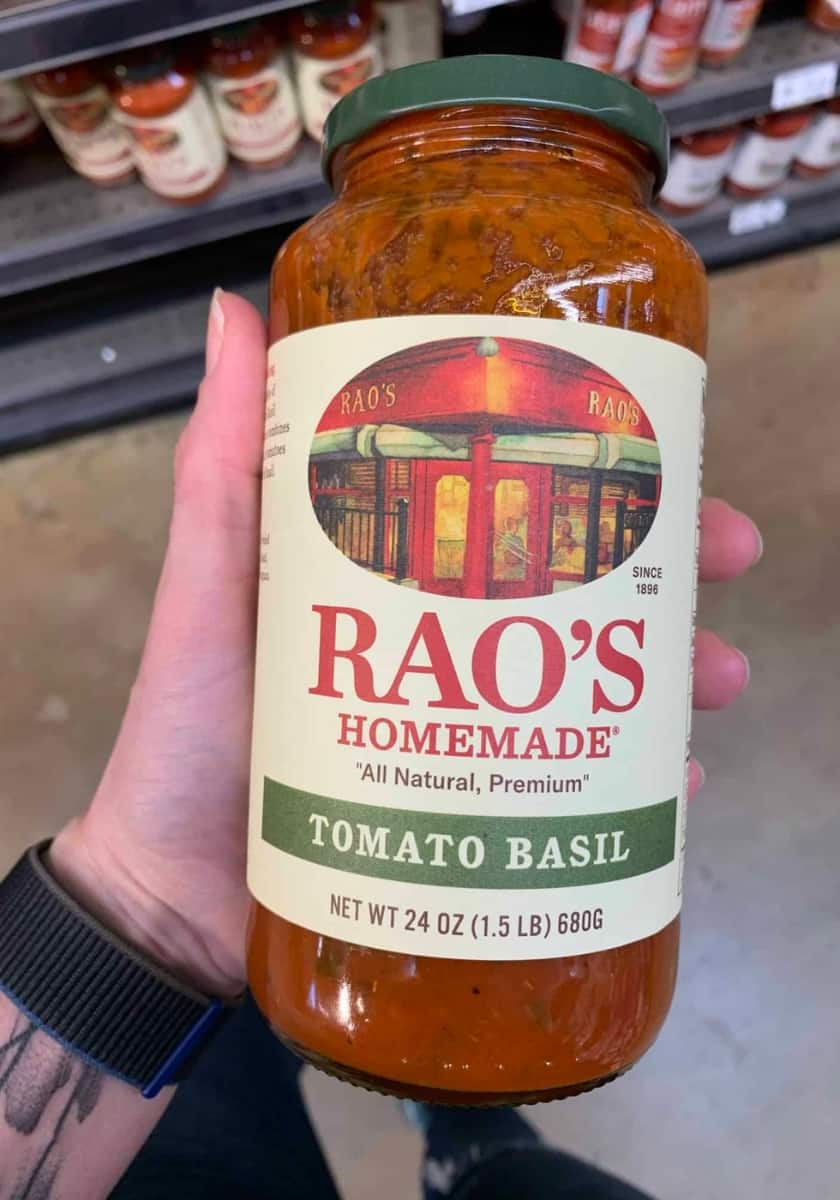
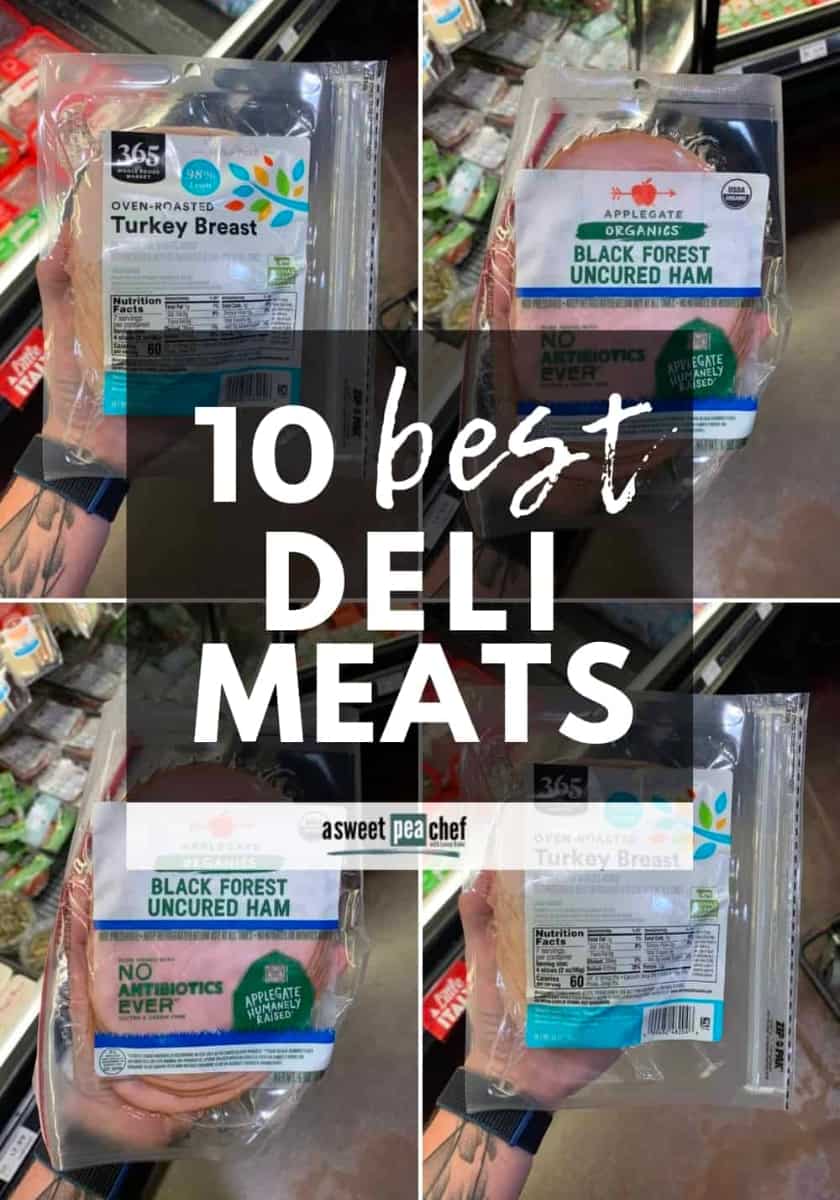
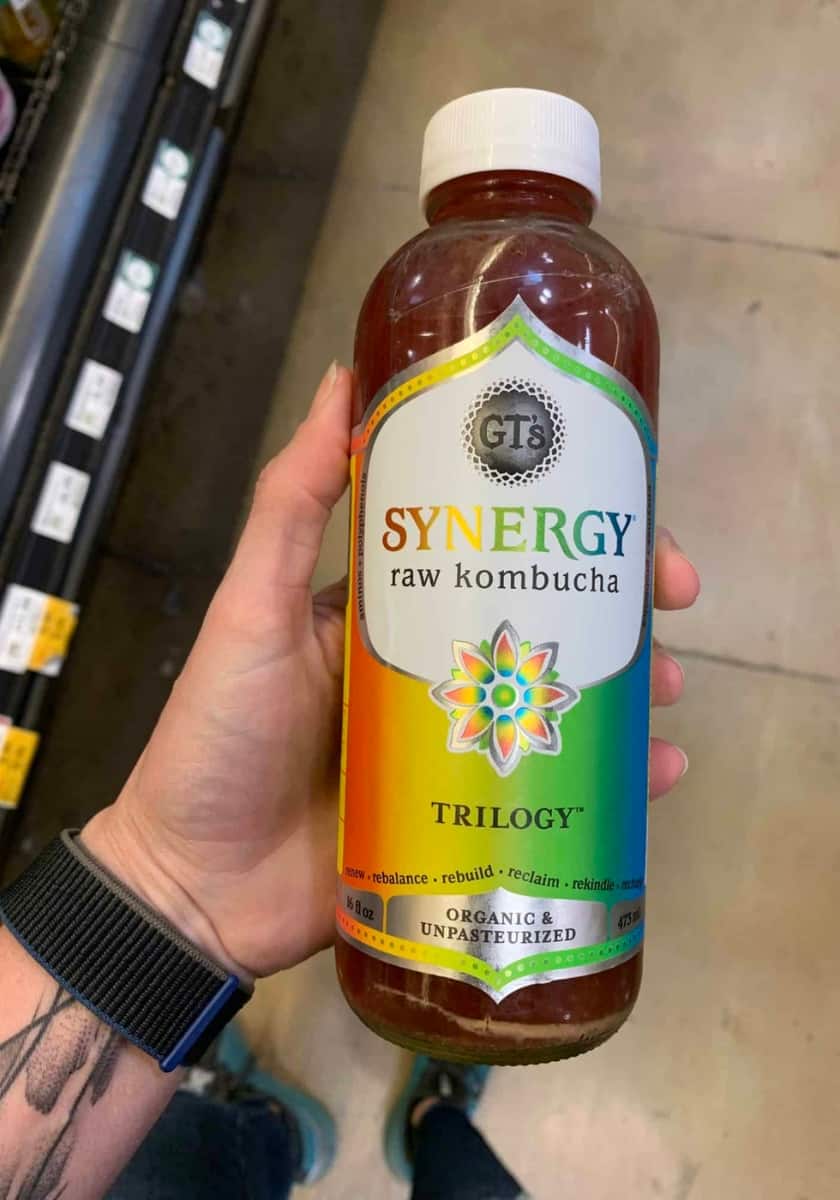
Cleanish Buying Guides
You'll find everything you need to make informed choices on your food and health.
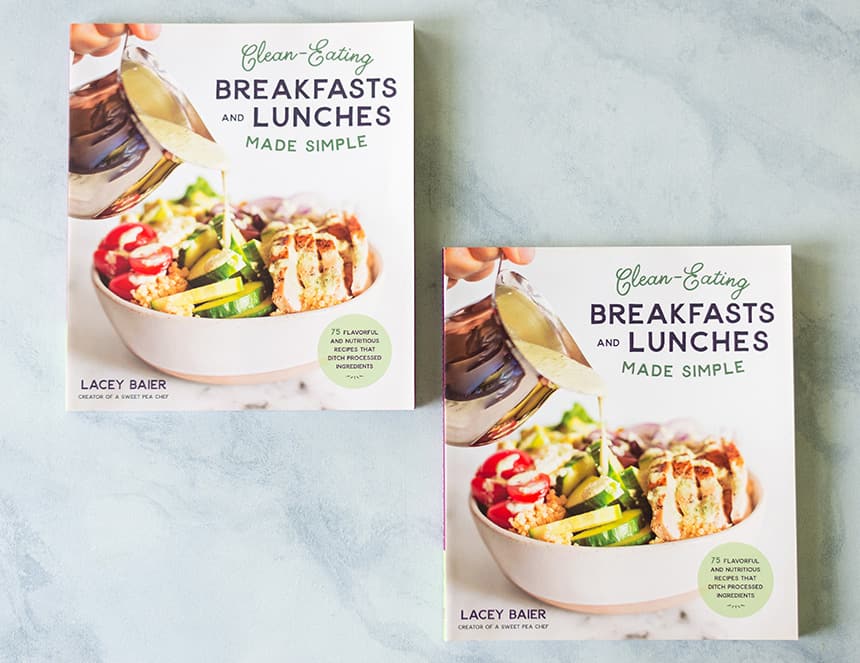
Clean Eating Cookbook
75 flavorful and nutritious recipes that ditch processed ingredients, refined sugars and harmful additives. Instead using natural sweeteners and low-carb, high-protein foods, you never have to give up the meals you love to eat.
Cleanish Resource Guides
Take advantage of these practical and handy resources for your journey.


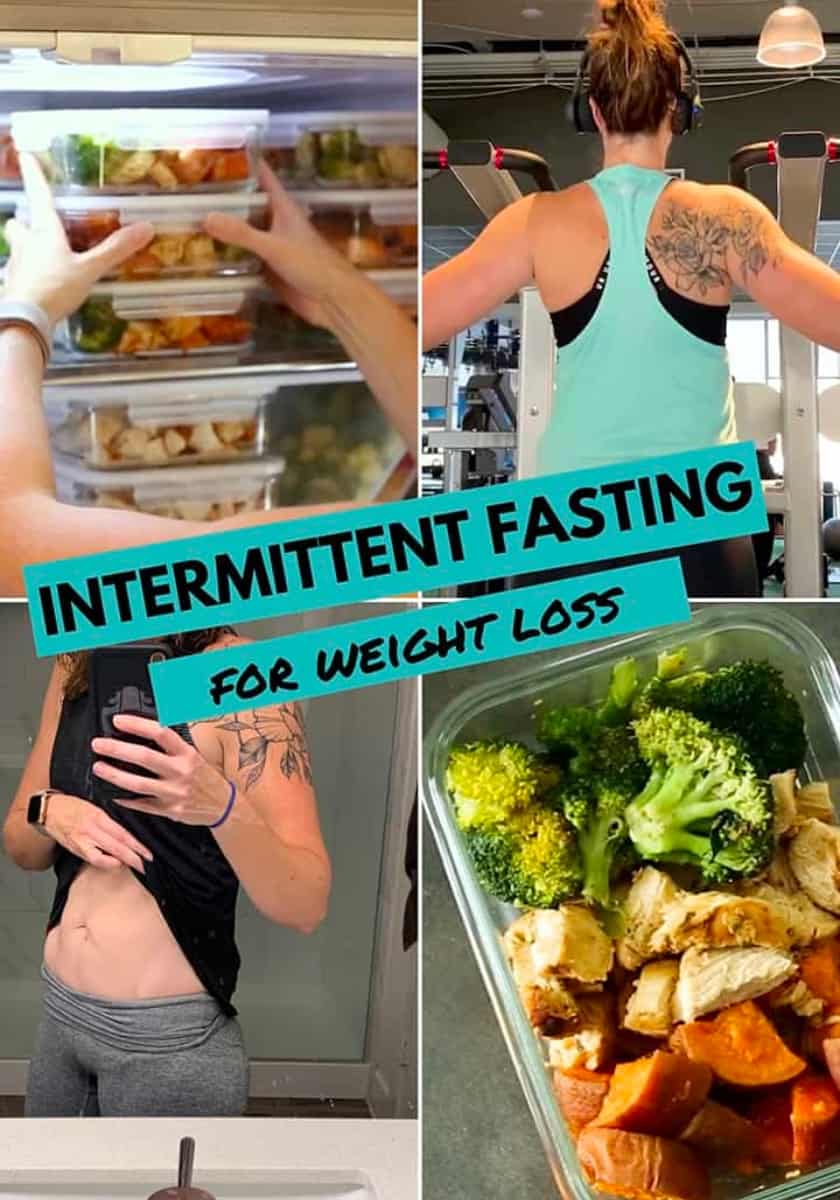
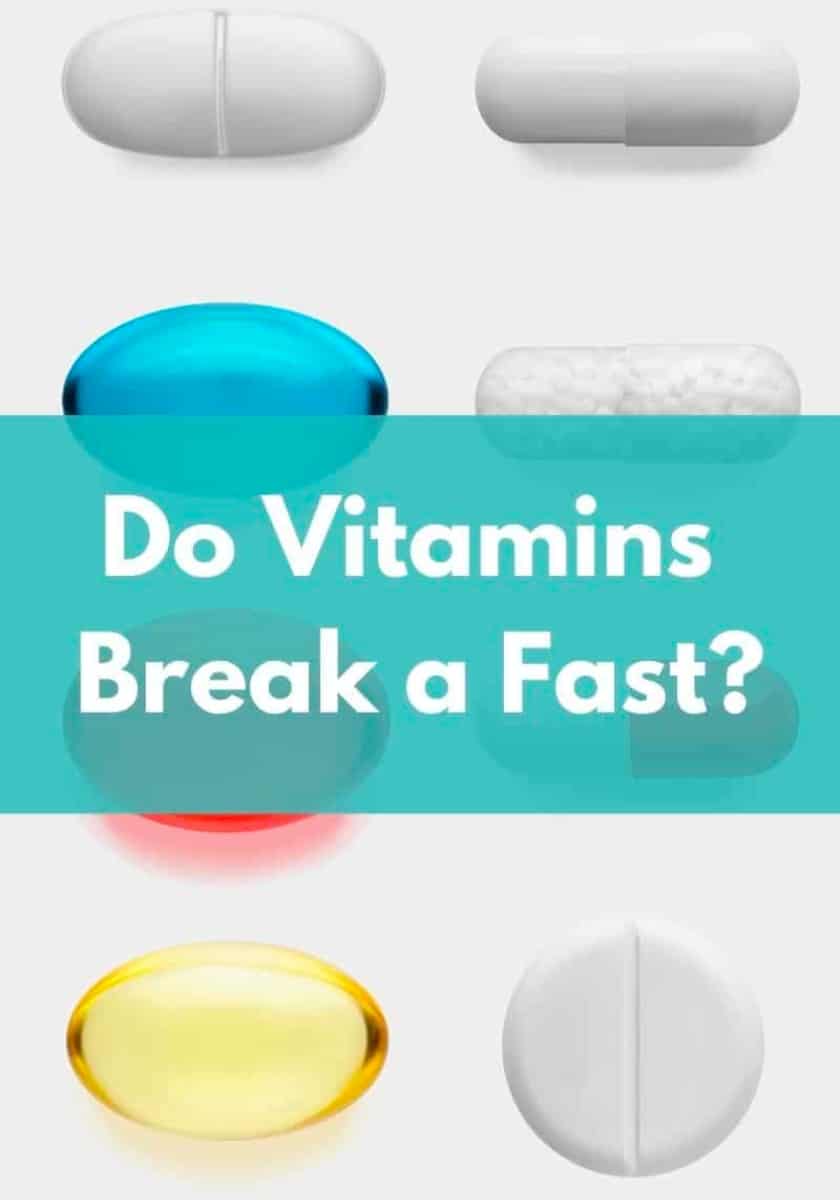
Intermittent Fasting
Learn everything you need to know to be successful with intermittent fasting.
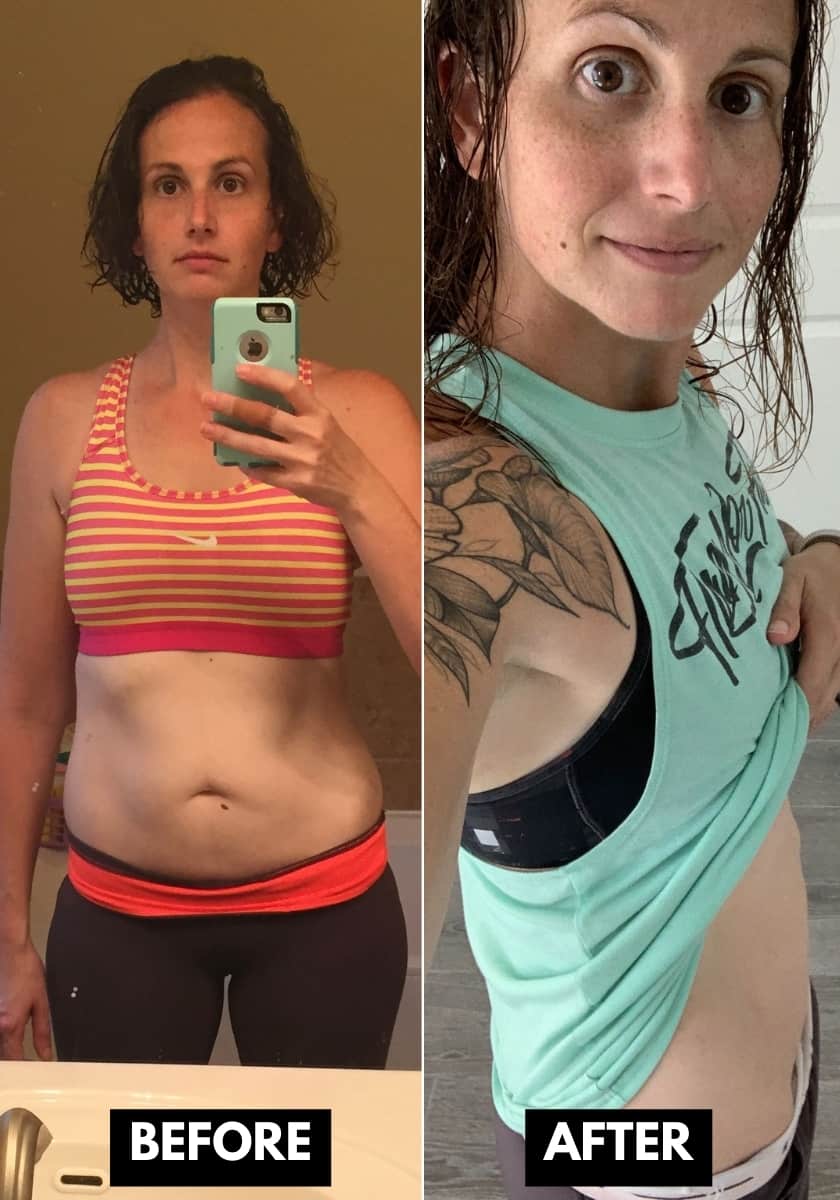
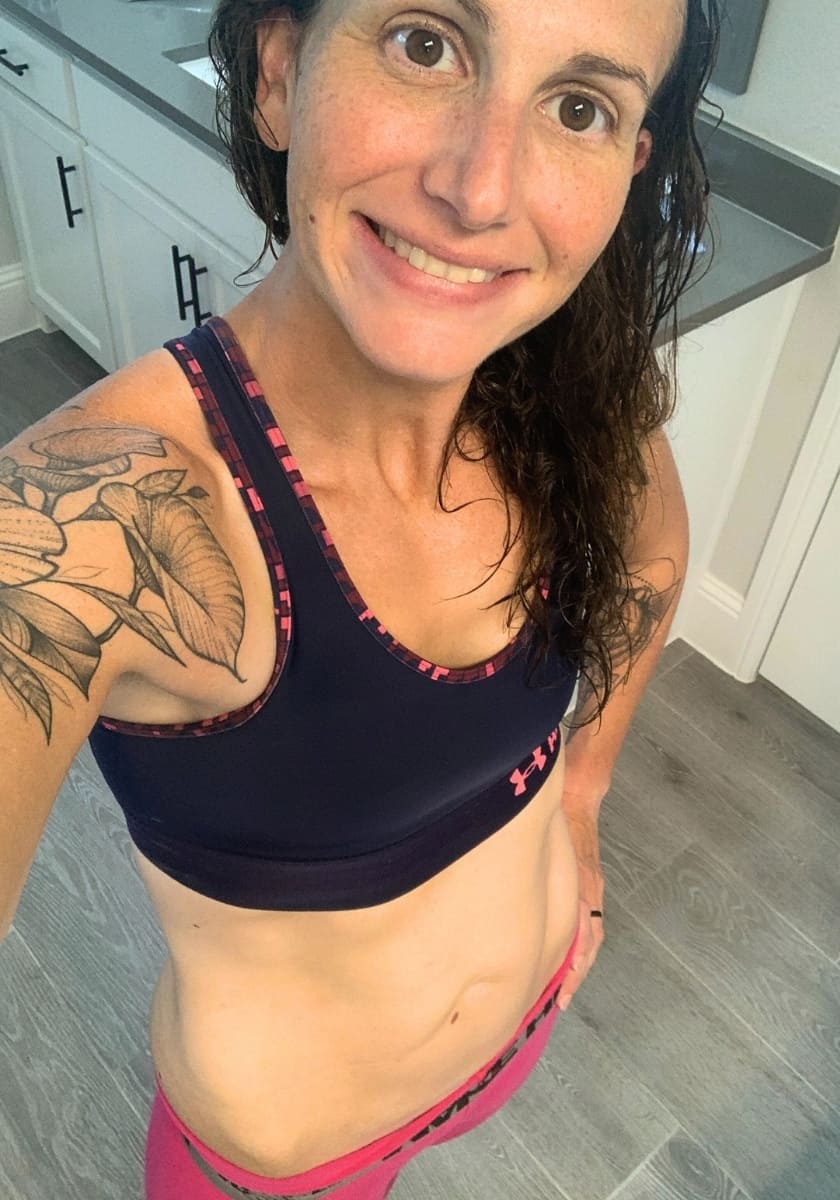
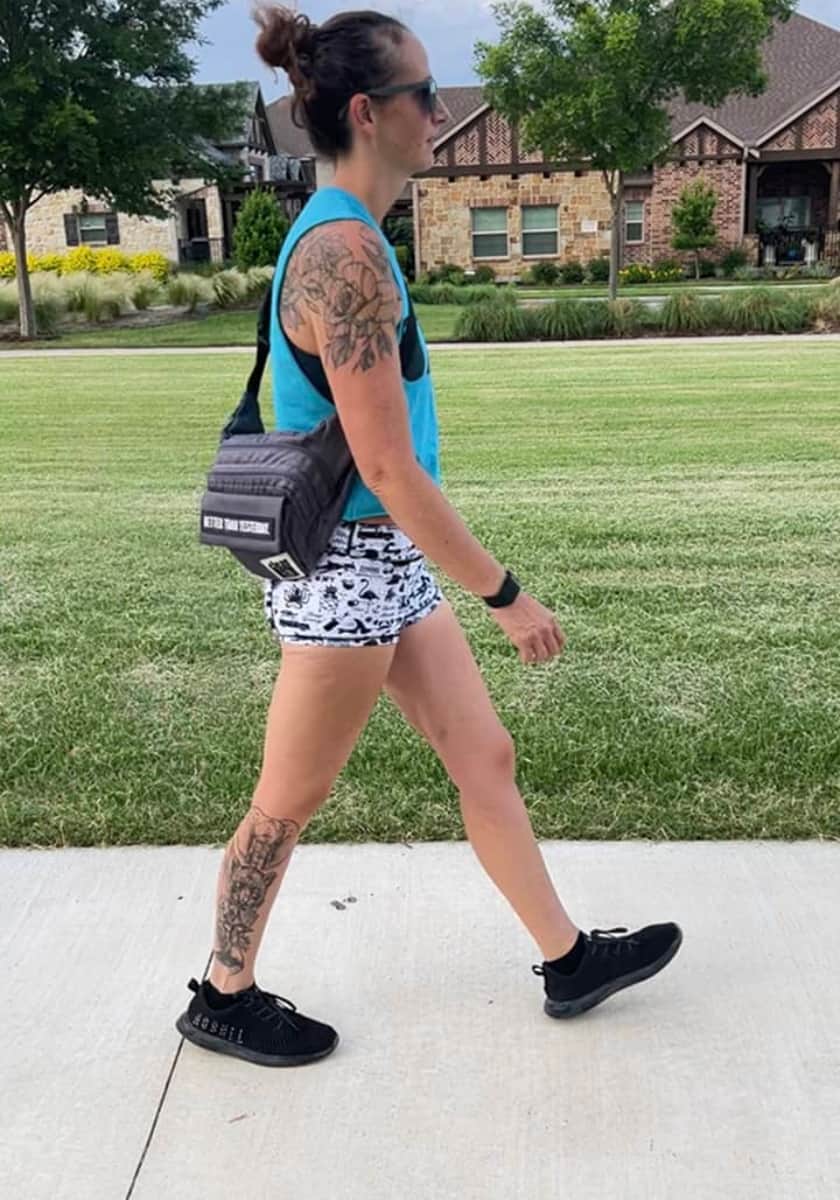
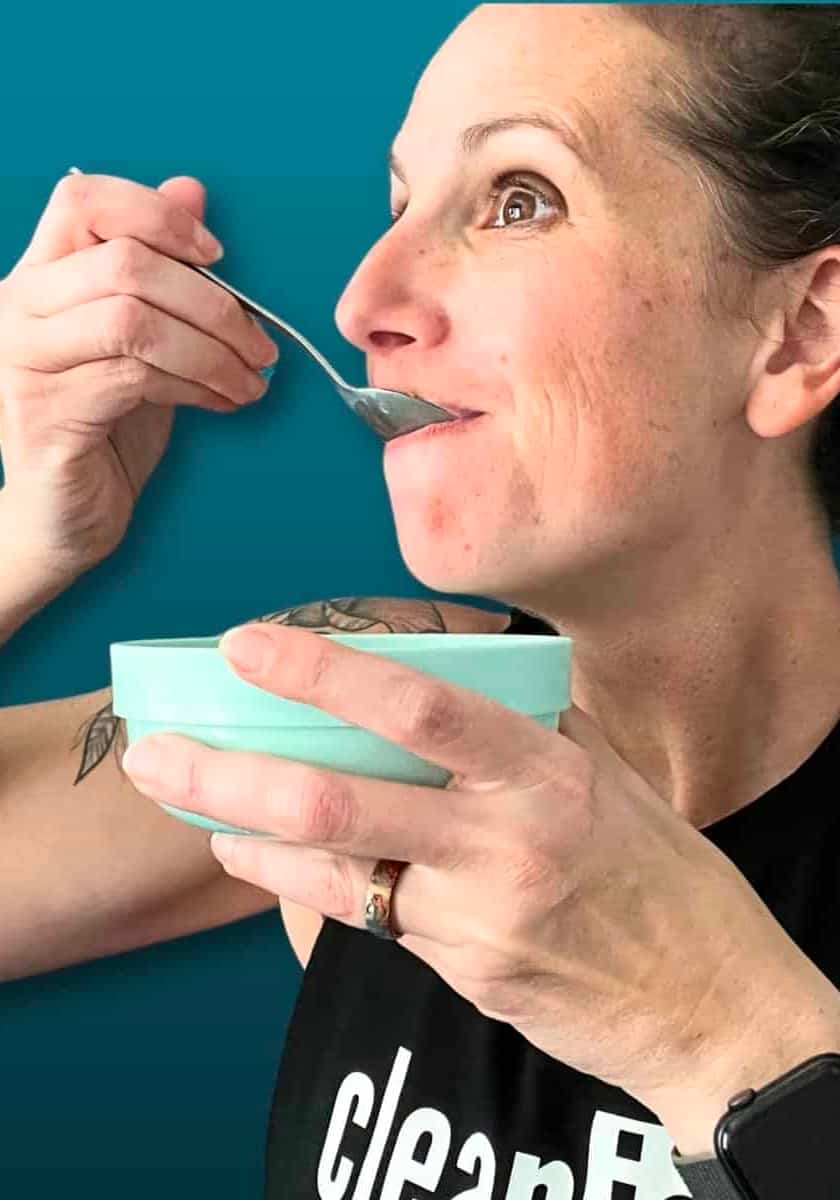
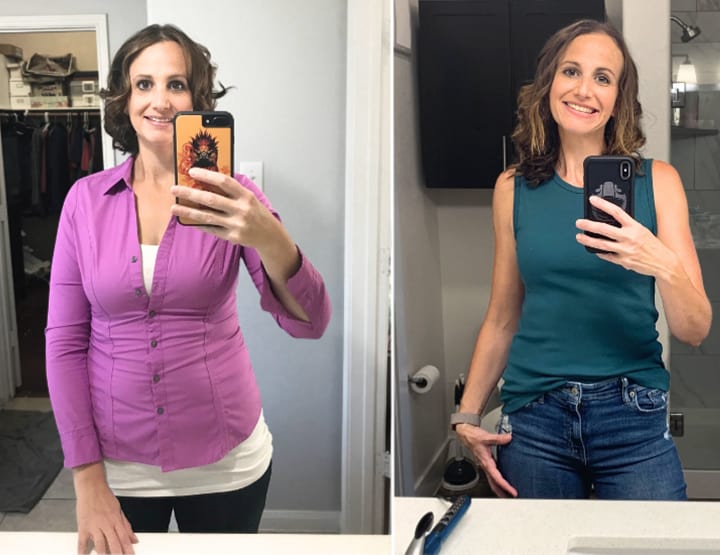
My Weight Loss Journey
How I Lost Over 200 Pounds With Clean Eating and intermittent Fasting, and have created a cleanish lifestyle where I no longer battle with my food or my weight.
Beginner Guides
Whether you’re interested in using a new kitchen tool, trying to impress with a new recipe, or just tired of not knowing how to use that dusty food processor, these posts will help you learn the basics.