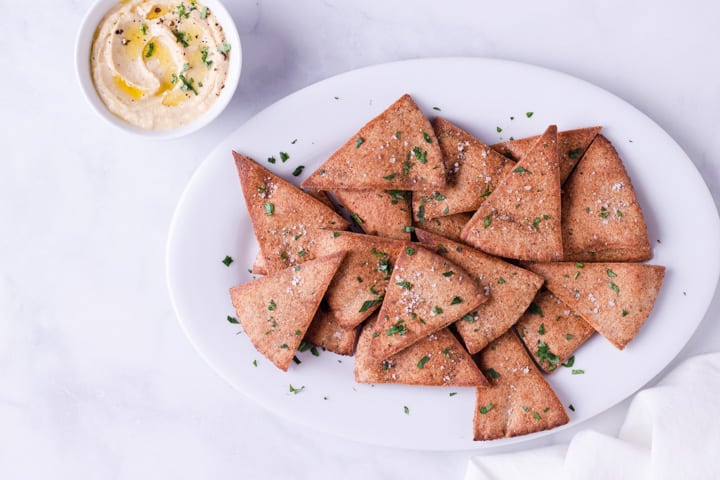
The perfect pita chip is crispy, flavorful and...healthy! This celebrated recipe for my Homemade Baked Pita Chips will satisfy your snack craving and keep your body happy. They’re totally dippable, too!

There are many ways to satisfy a crunchy snack craving (of which I have many).
A nice crisp apple or a bowl of nutritious baby carrots....but on days when a savory crunchy snack is all that will do, I head for the kitchen to make a batch of baked pita chips!
They are the BEST, my friends, and they make the kitchen smell great. Pairing your still-slightly-warm pita chips with a homemade hummus just makes the whole experience perfectly enjoyable.
And that's what matters, right?
Taking time to create and enjoy great food, all while keeping our bodies happy and healthy. Like my Healthy Homemade Popcorn Recipe.
I hope you like this recipe and please comment below to let me know how your pita chips turn out!

Are Baked Pita Chips Healthy?
Despite their reputation as a healthy alternative to potato chips, store-bought ( and processed) pita chips are usually not that great. They tend to be full of sodium and preservatives. But our easy homemade baked pita chips are indeed healthy!
That is if you buy whole wheat pita bread (which is basically whole wheat flour, water, salt, oil, and yeast). This type of pita bread won’t have any preservatives. Then, when you add healthy olive oil, sea salt, pepper, and garlic...you’ll have a good-for-you snack.
*Making homemade baked pita chips is also good for portion control. You won’t eat an entire bag from the store, just the quantity you’ve prepared.
Skip the store-bought dips, too! Try my maple Greek yogurt dip (you’re gonna LOVE it) and you’ll never buy packaged dip again.
How to Make Homemade Baked Pita Chips
- Prep oven: Turn oven on to 400 degrees F. Line 3 or 4 baking sheets with parchment paper.
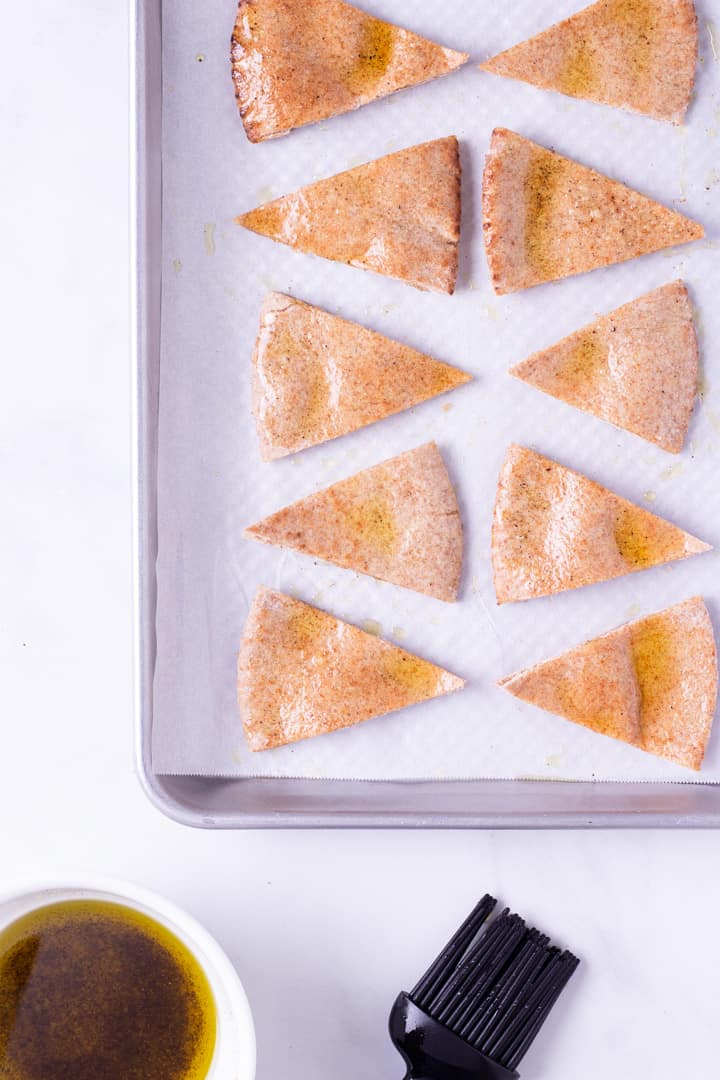
- Prepare the oil: Combine olive oil, sea salt, ground black pepper, and garlic powder.
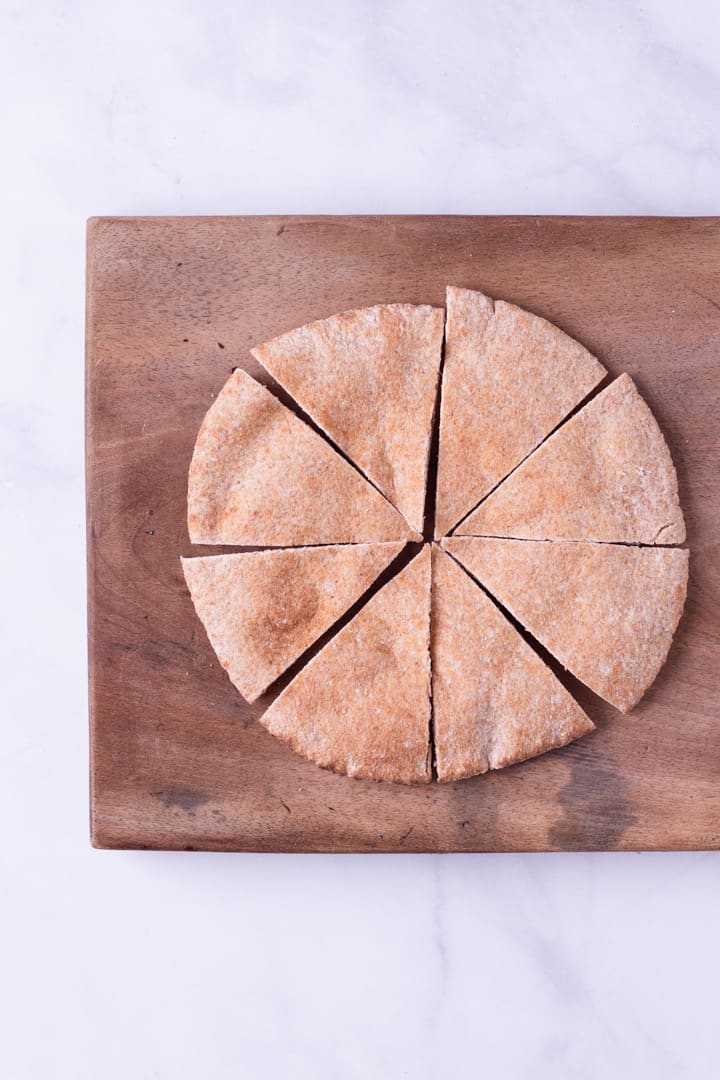
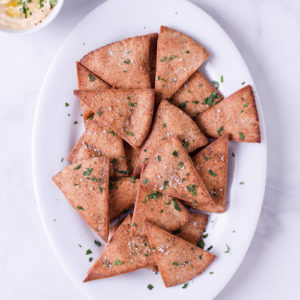
- Cut pita bread: Cut the pita bread in half. Then, cut like a pizza—in half, and then half again to make perfectly sized pita chips.
- Season: Brush each pita triangle with the olive oil mixture.
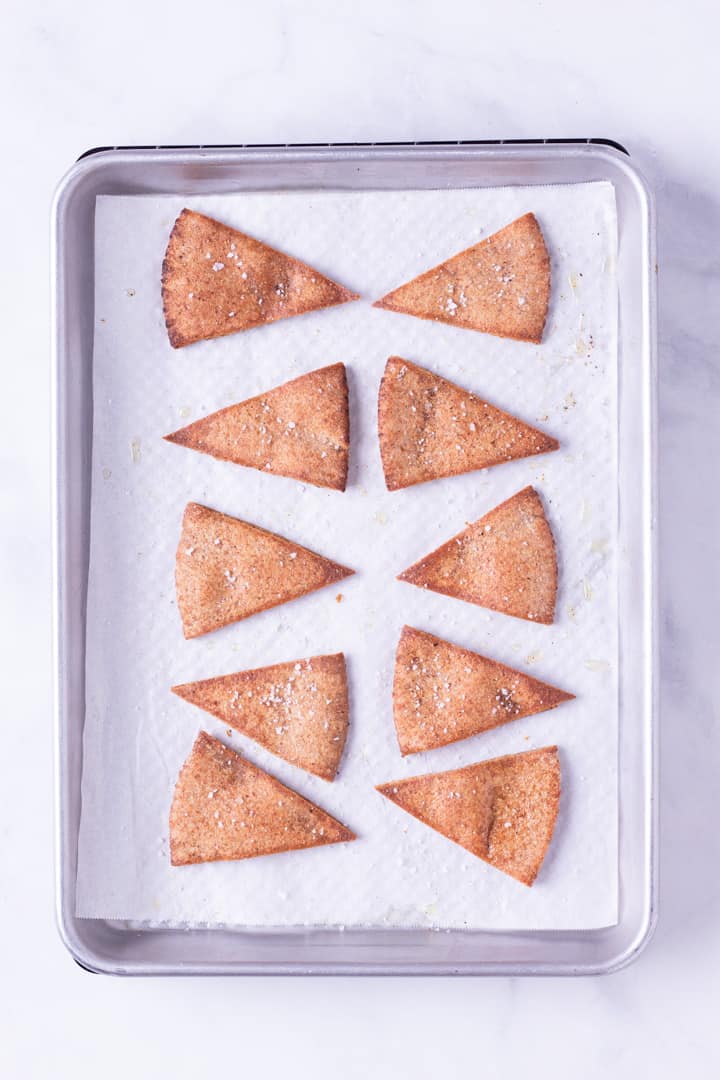
- Bake: Bake for 10-12 minutes (can vary depending on your own oven). Check for yummy crispiness!
Here's Everything You'll Need For A Quick Batch
Take it from me, once you make these, you won't be frequenting the chip aisle anytime soon. And that’s a great step toward clean-eating and a healthy lifestyle.
- Pita bread: I buy whole wheat pita bread and keep the pocket intact (rather than separating the pita to make thinner chips).
*If you prefer thinner chips, it’s all good. Just remember that they may crisp more quickly in the oven. - Spices: I keep it simple with garlic powder, sea salt, and ground pepper.
*But you can vary it however you like to make unique flavors. - Olive oil: Use a good quality oil for the best chips!
What's The Best Way To Store My Pita Chips?
The best way to store your pita chips is tucking them away in an airtight container. I usually put this container right on the counter, for reachable, dippable goodness. A zipped locked bag is generally NOT the way to go (I did this once before a party and they got a bit stale).
IMPORTANT: Make sure you let them cool completely before storing them in your container.
It’s fine to keep them at room temperature and they’ll keep up to a week. But if you want to serve them extra nice and crunchy, do so within 3 days.
How Can I Make My Baked Pita Chips Gluten-Free/ Paleo?
With a quick switch of a few key ingredients, your baked pita chips can be both gluten-free and paleo-friendly!
- Gluten-free pita chip options: Buy gluten-free pitas and check that your favorite garlic powder does not contain gluten. For a complimentary gluten-free dip, enjoy this creamy and delicious caramelized onion dip!
- Paleo pita chip options: Buy pitas that are made with a paleo-friendly flour (such as almond flour or arrowroot flour). Pair your chips with my irresistible guacamole for the perfect paleo snack!
More Dips For Your Chips
The great thing about these flavorful baked pita chips is that they pair well with a lot of tasty (and healthy) dips!
- Healthy Black Bean Hummus
- Sweet Potato Hummus
- Caramelized Onion Dip
- Easy Avocado Hummus
- Healthy Beet Hummus
- Queso Dip With Ground Beef
- Yogurt Ranch Dip
Easy Homemade Baked Pita Chips
Equipment
*This post may contain affiliate links for products I use often and highly recommend.
Ingredients
- 12 whole wheat pita bread pockets
- ½ cup olive oil
- ½ teaspoon sea salt plus more for sprinkling
- ½ teaspoon ground black pepper
- ¼ teaspoon garlic powder
Instructions
- Preheat oven to 400 degrees F and line 3-4 baking sheets with parchment paper. (If needed, you can rotate using one baking sheet, but this will take longer).
- Cut the pita pockets in half and then cut each half again into 4 equal triangles/wedges (each whole pita pocket will make 8 triangles). Place pita triangles on baking sheets, leaving space in between to allow for even baking.
- In a small mixing bowl, combine olive oil, ½ tsp. sea salt, ground black pepper, and garlic powder. Brush each triangle top with olive oil mixture.
- Place in the oven, and bake for 10-12 minutes, until lightly golden brown and crispy. Take care not to let the chips burn on the bottom.
- Remove from oven and lightly sprinkle with remaining sea salt, if desired. Allow to cool completely on baking sheet. Store in an airtight container.
Nutrition
This post contains affiliate links for products I use regularly and highly recommend.

Dustin
We should update this one 🙂
Rasha
I have always seen pita chips stored in paper bags.....perhaps that is a solution to keeping them crisp? I would imagine that the plastic bag forms some sort of condensation that will make the chips gather in moistness, but the paper bag "breathes" and allows the air to circulate so that the bag doesn't "sweat". Maybe try that idea out. 🙂
Molly
I am not sure if this will work with pita chips but anytime my mother-in-law baked cookies or rolls and stored them in Ziploc bags she would put a slice of bread in the bag with them. Everything stayed fresh except the slice of bread.