Food photography is arguably one of the more tricky types of photography given that, after just minutes, your prepared food is subject to change colors, melt, wilt, fall flat or harden. In addition to making an image look pretty, you also have to make the food look appetizing. Given this, it's very important to plan ahead.
To help you, I’ve compiled a list of 18 tips you can use that will completely change your food photography for the better. These are all food photography tips and tricks I have learned from my years working on this food blog and trying to find what works and doesn't work.
Whether you're simply interested in improving your own photography, you'd love to share impressive images on Instagram, or you're a food blogger looking to increase the chances of getting accepted on food sharing sites like Tastespotting and foodgawker, these food photography 18 tips will help you make the best of your food photography.
1. Use natural lighting.
Natural lighting is one of the most important aspects of food photography. Natural light enables the true color of the food to show through. While sunlight is natural, we do want to avoid direct sunlight because that will cause harsh shadows. So, to make the direct lighting softer on your subject, try diffusing it with a thin curtain or window blind. The best option is to shoot your photos near a large window and to shoot during daylight hours to get as much natural lighting as possible. If you aren't able to shoot during daylight hours or if you don't have access to a large window and you need to use artificial lighting, try to avoid regular household lights, such as fluorescent and incandescent bulbs. Instead, try to use studio lighting that attempts to mimic soft, natural light.
2. Shoot from different angles.
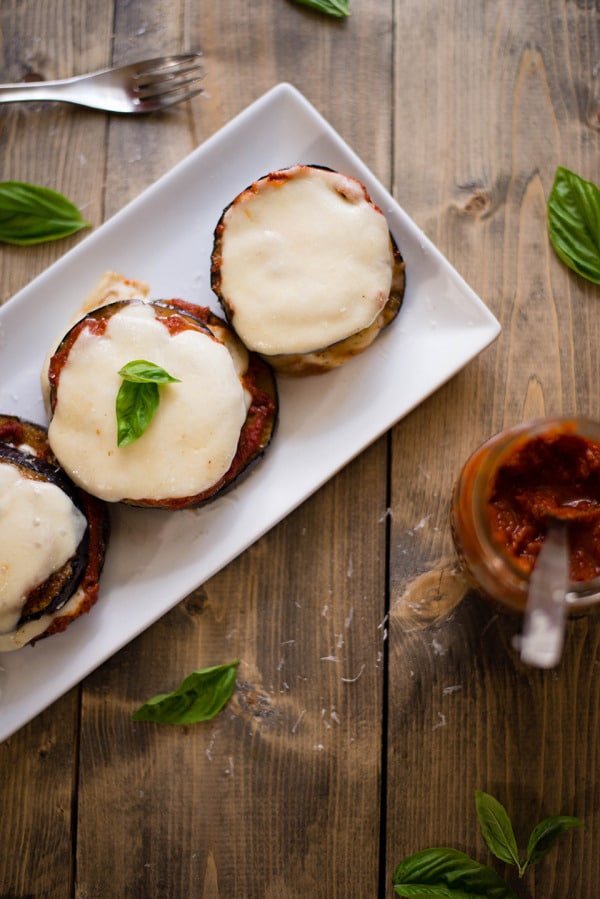
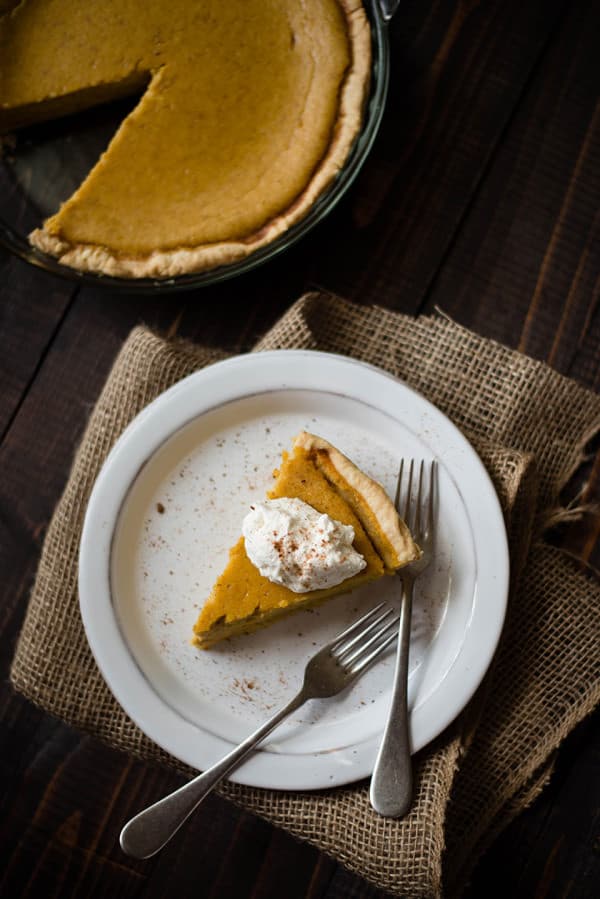
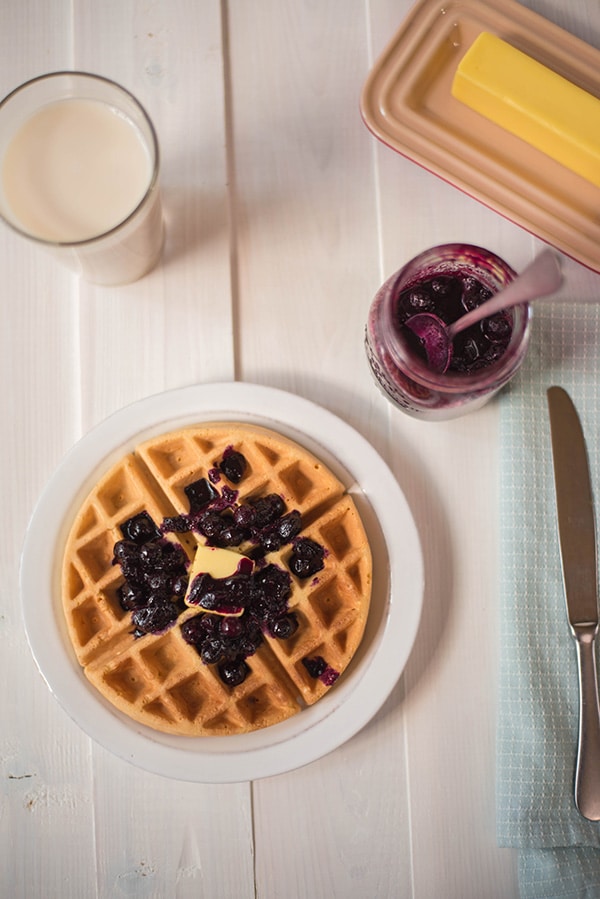
Play around with angles with every photo shoot. Especially with food photography, shooting from a lower angle can create visual interest in the food. Shooting from a lower angle enables you to see the thickness of the food, different layers and the sides of the food. This technique also mimics the perspective we all have when sitting at a table about to eat food, so it makes sense this would be an appealing angle. Shooting from an even lower angle and looking up to the food creates more of a grand presence as well. Shooting from above, on the other hand, or from a "bird's-eye perspective," works very well with food such as soups, mashed potatoes, and cookies -- food types that aren't very interesting from the side and may even look like mush. This angle allows you to see inside deep bowls and maybe even get more into the shot for the composition to tell a story.
3. Use a DSLR, not a Point And Shoot.
Though there are some amazing point-and-shoot cameras out there today, they just can't compete with the control you can get in a Digital Single Lens Reflex (DSLR) camera. DSLRs allow you to change the settings, most notably the aperture, ISO, and f-stop (more on these in a later post!) as well as the focus, all of which are vital to getting the best shot possible. If you don't already have a DSLR and plan to take your (food) photography to the next level, I highly recommend investing in a DSLR. I use this one and love it, but there are a ton to choose from. That being said, all of these tips still apply if you're using a point-and-shoot or even a iPhone or other smartphone to take your photos.
4. Avoid using Flash.
It is very difficult to make food look appealing when you use a flash. Using your camera's built-in flash will not only flatten the food (because it removes important shadows), but it will make it look oily and greasy. Use natural lighting during daylight hours as much as possible (see Tip #1). If you must use a flash, avoid using it directly on the food as it’s too harsh. Instead, use a Flash Diffuser or have the flash bounce off a ceiling or wall. Personally, I avoid it altogether and never use flash.
5. Learn a photo editing software.
Even the best photographers need to edit their photos. Get familiar with a photo editing software that allows you to crop, re-size, manipulate highlights, shadows, hues (temperature, tint, etc.), saturation, contrast and sharpness. There are tons of programs and software out there, both free and paid, including iPhoto (if you own a Mac) and Gimp. I use both Adobe Lightroom and Photoshop for my photos, and believe these two programs are the best for their robust capabilities. Making a photo really pop comes from the editing process and is every bit as important as the actual raw photo. To that end, I highly recommend shooting your images in RAW so you have the most room for editing later. RAW images are much larger, not compressed and carry much more detail that will help you when editing.
6. Play with colors, shapes and textures.
Changing the shapes, colors and textures of a plated meal or food item will dramatically enhance the way the food is perceived. The human eye can get bored with seeing all the same shape or color and prefers contrast because its more visually interesting. So, try to avoid using all round or similar-colored foods, for example, on the same plate. This goes for serving suggestions as well, as an overall meal will be more enticing and enjoyable with contrasting shapes, colors and textures. Similarly, use a contrasting color plate or utensil to help add interest to the picture. A white plate is typically a safe choice, as it will allow the food to shine. This is the beauty of garnishes. A bland, plain plate of food will look more elegant and interesting with the simplest of garnishes. Try using fresh herbs, like parsley, rosemary, basil or mint to make the food pop and to subtly remind the viewer what may be in the recipe. For example, use a sprig of mint to garnish some fresh mint lemonade or some basil with your chicken cacciatore. Garnishes are an inexpensive way to dramatically change your food photography and add visual interest to your plating. A little bit of green, yellow or red goes a long way on and around the plate. Also, add texture to your photo by adding in napkins, forks or even sprinkling ground nutmeg or grated parmesan cheese. All of this works to make the composition and feel more interesting.
7. Experiment with backgrounds and backdrops.
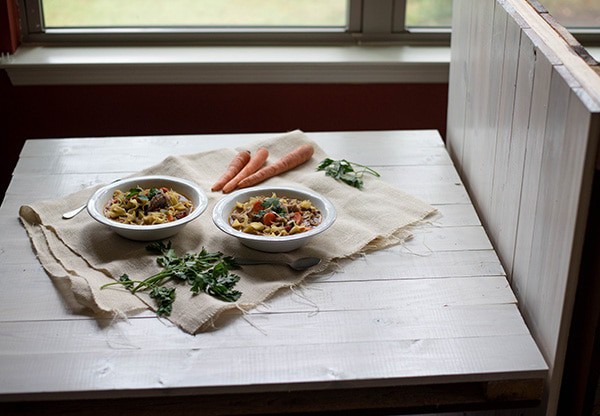
Just like with plating and garnishes, pay attention to the background of your photo and be sure to use a background that will enhance (i.e. compliment, not distract or drown out) the food. It's possible to get so focused on the food you're shooting that you can forget what's going on in the background. Trust me: I've totally been there. Clear out any unwanted elements you don't want in the final shot as well. Consider purchasing a sheet, board, or other large, flat item that you can easily manipulate to control how your image looks. I use 4 main backgrounds with my photos, 3 wooden crates with different stains (dark brown, white, greyish-green), and cutting board. Before I had them, though, I used my kitchen table and manipulated how it looked by throwing different textures and fabrics over it. I'd use butcher paper, parchment paper, baking sheets, place mats, and anything else that might work to enhance the colors in my shot and also to add texture and interest to the shot. Otherwise, I would have a boring, shiny wooden kitchen table in every single shot.
8. Play with framing and composition.
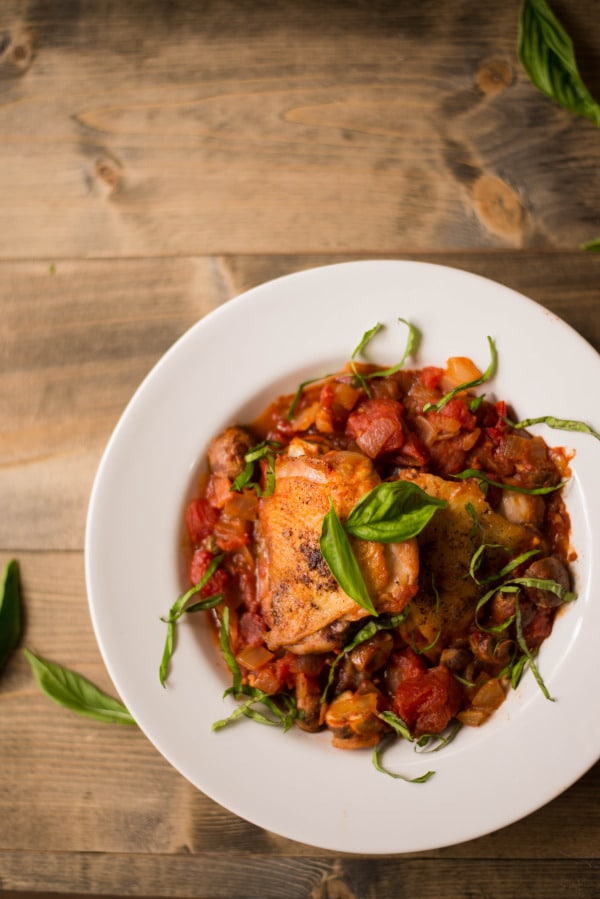
Each element in the frame (i.e. what's in the actual shot that you'll see in the photo) should have a purpose and a place. If it doesn't, you probably should remove it. Your goal is to have the observer see your subject, and not be distracted by competing elements in the shot. Generally speaking, I think simplicity is key. You don’t want to confuse the observer with too much to look at. So, with each shot, stand back and take a harder look. Does everything need to be there? Is each part important? Are there elements that can be eliminated or minimized? Is there anything that’s confusing or distracting to the eye? Conversely, pay attention to empty space. Is it beneficial to have that empty space, or would it look better to include something? Adding that milk in a glass bottle in the background, for example, might really make the focus of your frame pop. Consider adding props as well to make the composition more interesting. Think about the plating, the linens, the flatware, the napkins, the ingredients -- even the amount of food to use on the plate. All these different elements will help you create a scene for the final shot. What will be in the foreground? the background? on the plate? What angle(s) will you use? What type of lighting will there be? Thinking about all this ahead of time will not only make you better prepared to take a great shot, but will save you time while your food is cooling down or even melting. Visualization is key.
9. Props. Props. Props.
If you aren't already, start collecting different plates (varying in shape, color, texture, depth, etc.), napkins, serving utensils, serving bowls, straws, silverware, tablecloths, wood planks, etc. in order to add new dimensions to your photography. Anyone can take a simple photo of a meal, but using props in an artistic way will make the entire shot pop. Props add a dimension to the food and allow you to draw out subtle colors or textures. They also provide that nice contrast we are looking for. During your shoot, play around with different props to see what works best. Sometimes, a simple tablecloth and white round plate will suffice and make the food stand out. Other times, the same plating and props will make the food look boring and uninteresting. Have fun with it. Remember to keep Tip #7 in mind as well when deciding what to use. You want to choose contrasting and complimenting colors and textures to help enhance the photo, not overpower or drown out the food. It's a fine line, but it's very important to remember.
10. Adjust your camera settings.
This is where a DSLR comes in super handy. Understanding your camera settings is extremely important as a photographer. Being able to adjust simple factors, like white balance, f-stop, ISO, shutter speed, and aperture makes a huge difference in the overall appearance of every shot you take. If you don't understand a particular feature or how it can be adjusted, look it up on youtube, read your manual or google it -- there's tons of info out there on every piece of your camera -- all you gotta do is be willing to learn about it. Once I started to understand the relationship between all the settings and how they affect the shot and lighting, I feel my photography improved dramatically. ideally, you would be shooting in Manual mode which allows you to have total control over all the settings. If that's too daunting, start with Aperture-Priority (AP) mode which automatically makes adjustments based off your aperture setting. Try to avoid using Auto mode because you want to control the picture, not have your camera control it for you. Your camera doesn't have your eye in mind.
11. Use a tripod.
You could have the best camera in the world, the most beautiful place setting, a plate of the most gorgeously seductive food and amazing natural lighting...but it won't matter a bit if you can't focus your camera. No one likes a blurry photo. The best way to significantly reduce the amount of blur in your photos is to use a tripod. A tripod eliminates the natural hand-shaking we all do without even knowing it. Especially with low lighting, tripods enable you to lengthen your shutter speed without blurring your photo. They also make it super easy to take photos of yourself while pouring syrup or cutting a steak, assuming you are taking the photos by yourself. Tripods aren't very expensive and are definitely worth the money. If you have trouble getting your shot in focus, this is one of the first purchases I would make.
12. Use exposure compensation.
Get to know your exposure compensation button on your DSLR camera (look at your camera's user manual for where this feature is on your particular camera mode). Exposure compensation allows you to increase or decrease the amount of light being shown (exposed) in the shot. This is a feature that can and should be played with for every shot, depending on the lighting, time of day, shadows, orientation, etc. This handy little button will make a huge difference in your photographs. This is a quick trick that revolutionized how I shot photos in the beginning because it allowed me to increase and decrease lighting without fully understanding all the setting of my camera.
13. Get up close. And back off, too.
Don't be afraid to get up close to the food. A large component of food photography is, essentially, macro photography. We want to see the details of the food, just like it was plated right in front of us on the table. Getting in close to the food allows you to simplify the shot and makes it easier to see the details of the food. The tighter the cropping, the less empty space or props to distract from the food. Just like Tip #2, getting in close to the food allows you to see more of the details of the shot and creates more visual interest. Just be careful not to get so close to the food that we can't understand what we're looking at. As a general rule, food photography shouldn't be abstract. Ideally, we should be able to know exactly what we are looking at and not be confused. Alternatively, don't be afraid to back up as well. Taking a step back and incorporating more into your scene can be a very useful technique to create certain feelings or to tell a story. I like backing up in shots where I show multiple plates of the food as well as other key components of the recipe.
14. Tell a story.
Some of the best food photography, in my opinion, tells a story. Whether it's through the placement of props, the use of ingredients in the shot, or through some other method, telling a story helps the observer connect with a deeper meaning of what he or she sees. What kind of morning was this recipe made on and does your lighting reflect this? What ingredients were used? What process did you follow? Is this a fancy recipe or a casual one? Setting the mood and telling the story of the food will help to evoke emotions that just a simple plated, beautiful dish never could. Is this a romantic recipe for two or an easy meal for a family to share? Allowing your photos to answer these types of questions will take your photography to another level.
15. Show the process.
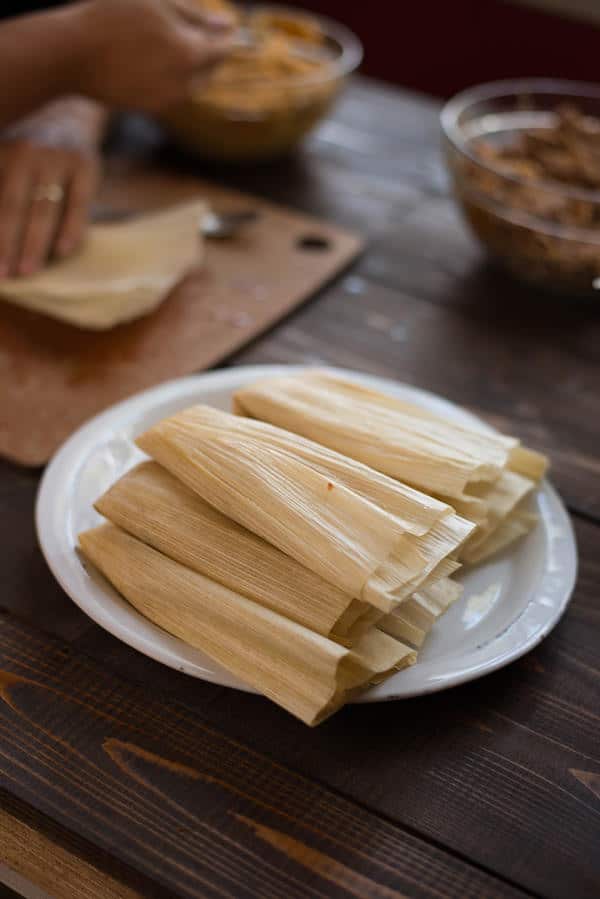
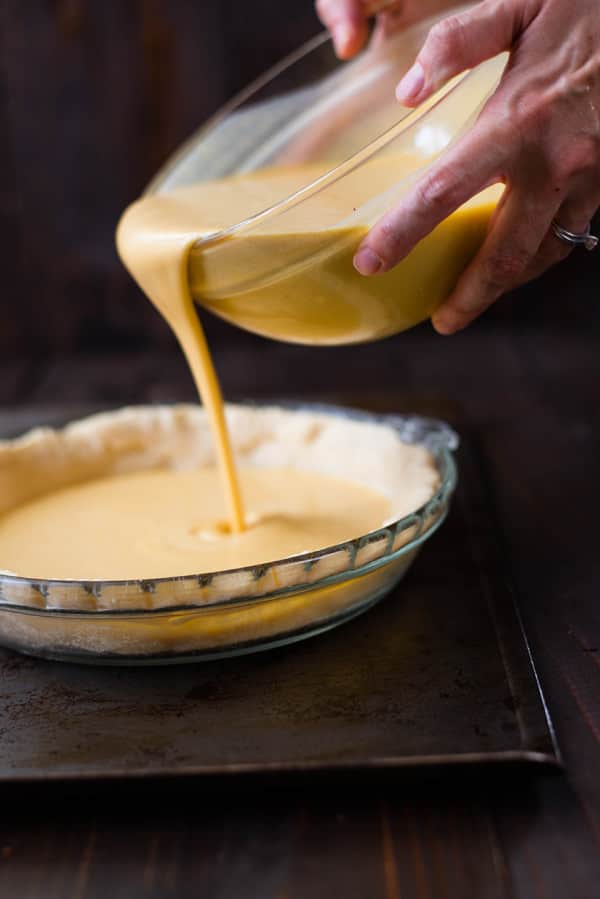
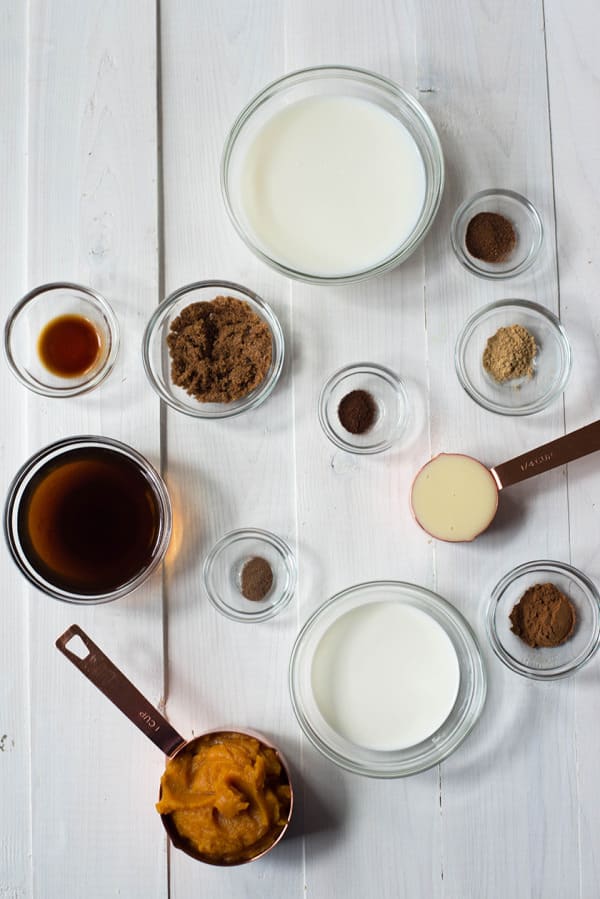
This tip is similar to Tips #7 and #15, but more specific. Highlight the ingredients of a dish even with the final product shot. Using an orange rind, a slice of lime, ground nutmeg or a sprig of mint can not only help highlight that flavor in the recipe, but can create a more finished and well-rounded look for the image. While you're cooking, think about the ingredients you're using and what might make the dish pop when it's done. I love using fresh herbs, parmesan cheese, and nutmeg in my final shots.
16. Build up.
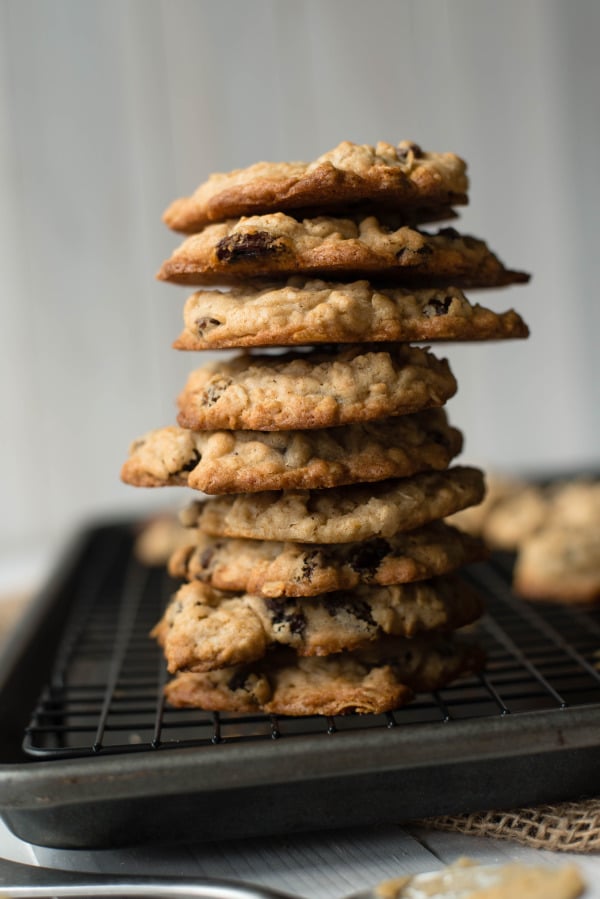
Food is a dynamic and beautiful beast. The beauty about food photography is it's really all in your hands and it totally able to be manipulated. You can essentially make it do whatever you want it to do. So, why have it be flat and boring? Create movement and interest. One way to accomplish this is by building the food up, literally. This not only provides an almost majestic quality to the food, it gives the eye with more to see which, in turn, makes it more visually appealing. Think about it: 5 layered pancakes look way better than 1 al by itself. In addition to adding garnish to the top of the food, think about layering cookies on top of eachother, stacking marshmallows up high, and even adding a straw to a drink -- all of this brings the eye up, and creates movement and contrast with your shot.
17. Rule of Thirds.
Simply stated, the Rule of Thirds is placing the subject off to the side in the frame, rather than right in the center. The Rule of Thirds can change a boring, ordinary image into an eye-popping, interesting photo. Using this technique enhances the visual interest of your shot and allows you to show off your artistic abilities. When composing a scene for a photo, imagine drawing 4 lines -- 2 horizontal and 2 vertical -- over your photo, similar to a tic-tac-toe game. Where the lines intersect are called “sweet spots” and are the areas that will create the best visual interest for a subject. When you're shooting, pay attention to where your subject is within the frame and avoid placing your subject directly in the center of the shot.
18. Look at other people's photography.
Take some time and start looking at other people's photography. While looking, think about what you like or don't like about their work. What is it that you don't or do like? Try recreating photos you like to learn new techniques. As with anything, we can get caught in a pattern of doing the same thing (i.e. same angle of shot, same plating technique, same props, etc.) over and over. Taking a step back can help you improve immensely as a photographer. For starters, take a look at food blogs known for their great and unique photography, like I Am A Food Blog, Half-Baked Harvest, White On Rice Couple, Local Milk, Joy The Baker, and What Should I Eat For Breakfast Today. You can't go wrong learning from these wonderful photographers (and food bloggers).
If you're looking for recommendations on food photography equipment, check out My Camera Bag post. If you'd like to learn more about my upcoming course on Food Photography, go here.
I wish you the best of luck in improving your food photography. It's a fun and exciting challenge and I find I learn more (and have more to learn!) every day. Please let me know what you think of this post below in the comments!



Kylie Perkins
This blog looks very interesting. Thank you very much for sharing this information. I will be happy to share this information with my colleagues! You can reach me at the address written here: https://householdprof.com/
swiggy coupons
wow very nice post with very good information. Thanks for sharing this.
ushootvedit
Thank You for such deep story insights.
Rashel Ahmed
Amazing article, I really appreciate your website. thank you
Judith Gould
Thanks for this amazing blog post. I remember when I took my first photos in direct sunlight, holding my food in my left hand and my camera in my right hand. Well, back then I thought my photos were pretty cool, lol.
himshikha
This is wonderful satisfactory blog I ever reading. It's worth to every single word with meaningful logic what I am looking for. Thanks for sharing your experiences. All the best. Keep blogging.
Iane
Thank you very much for the tips. I am a brazilian photographer and I love food photography.
Lacey Baier
Oh, you're so very welcome. I'm glad you enjoyed the tips 🙂
Barb
Great tips on food photography! I look forward to starting my food props collection.
Lacey Baier
Thanks so much, Barb! I'm glad you found the tips helpful 🙂 Let me know if you have any questions as you grow you props collection!
Super Food Snacks
Great tips and thank you for sharing. I've been practicing my food photography lately on my new projects, and it's amazing how long it takes to get good ones indoors with low florescent light. Very fun though when you get the intended results.
lacey - a sweet pea chef
Yep! Good luck with your photography 🙂
Conna
Thanks a million for the tips.
Really useful.
lacey - a sweet pea chef
You're very welcome!