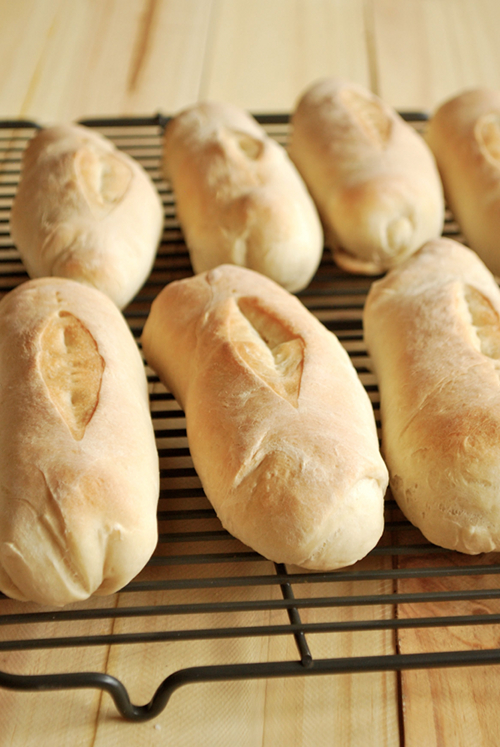
The more I learn about photography -- and, in particular, food photography -- the more I recognize the importance of a background to an overall image.
I really like how food looks on a wood background. Like on an old picnic table, white-washed door or faded pine.
After searching in vain for possible backgrounds, I decided it was time for me to create my own.
If you're like me and you tend to shy away from do-it-yourself crafts, rest assured that this wood background is pretty easy make.
Tools and Supplies Needed:
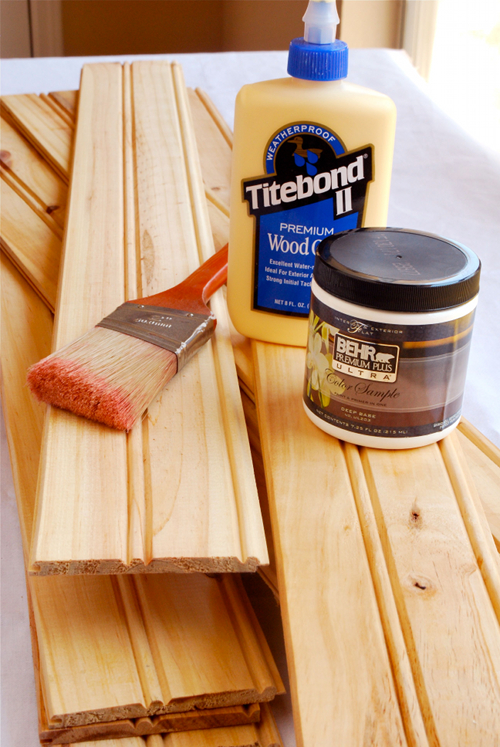
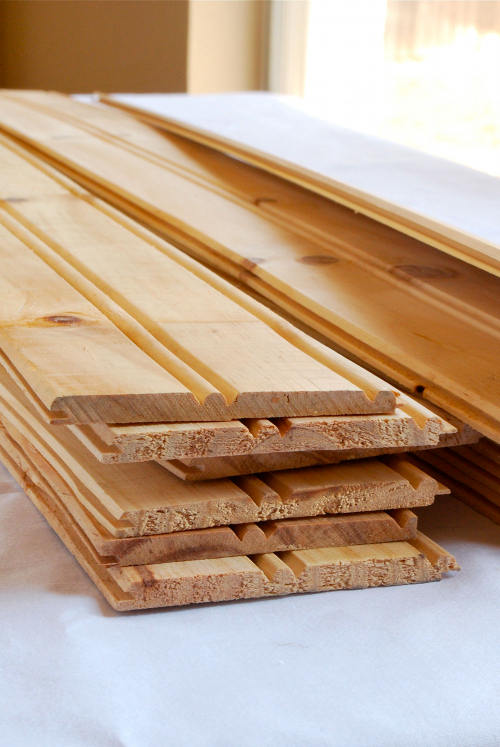
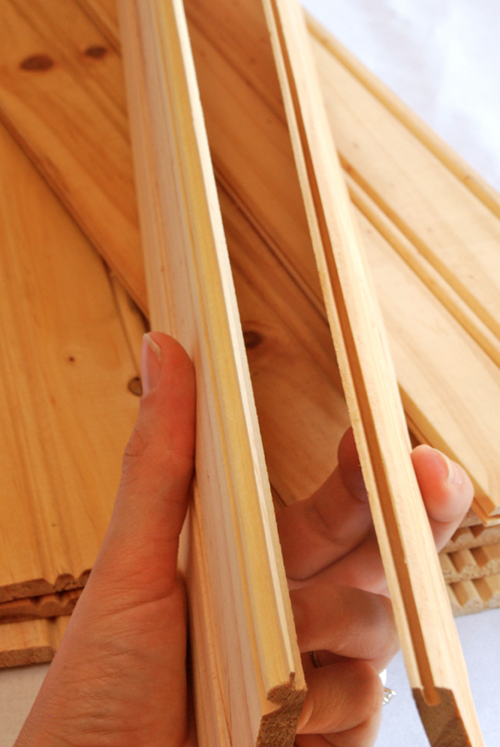
- 5-8 wood planks/panels (approx. 3-4-inches wide and 3-4 feet long). Try to find thin boards (less than 1-inch) so it will be easy to handle once it's assembled. I found some tongue and groove wood paneling on sale at Home Depot.
- Wood Glue
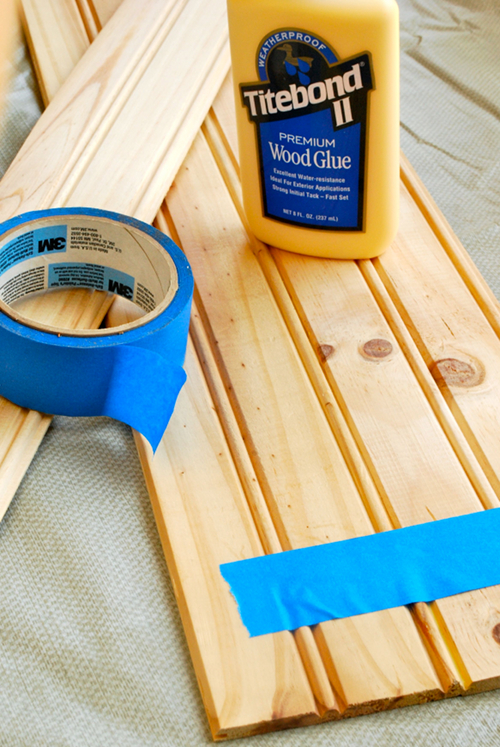
- Painter's Tape to hold the panels together when glue is drying
- Paint brush
- Small can of white paint, non-glossy finish
- Water
- Drop cloth for spills
Once you have all the tools ad supplies, there is a simple 2-Step Process: (1) Glue and (2) Paint (if desired), each requiring it own drying time.
Step 1: Glue
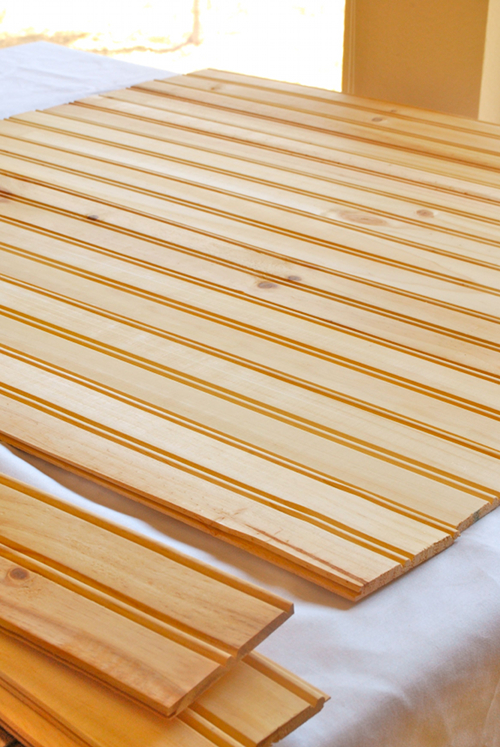
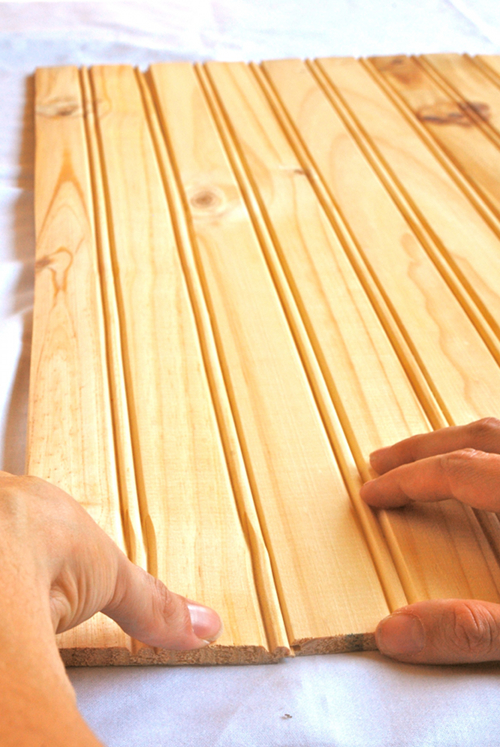
To glue the panels together, first lay out all the panels and make sure they fit together well. Some pieces will just fit together better than others. Lay out panels on a flat surface and, starting at one side, squeeze a line of wood glue along the "groove." Then, push the tongue into the groove until it is secure and makes a tight seam.
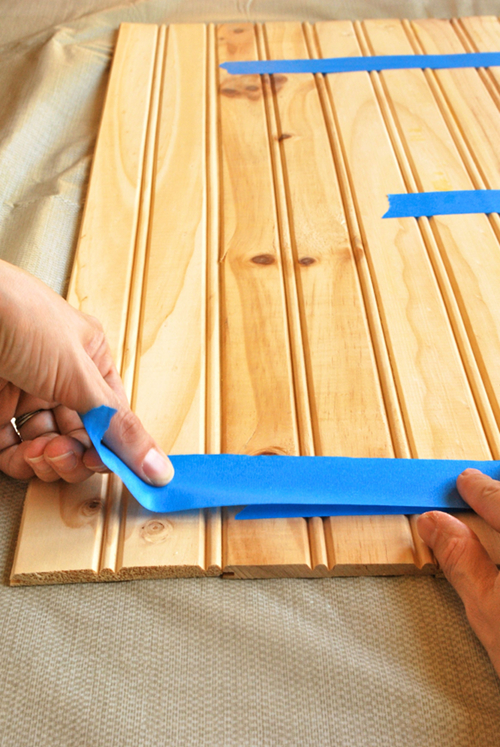
Use the painter's tape as you move through the following pieces to firmly hold the panels together while you work.
Once panels are all glued together, check for any seeping glue or gap that need to be fixed. Let sit on flat, dry surface for at least 2-3 hours.
Step 2: Paint
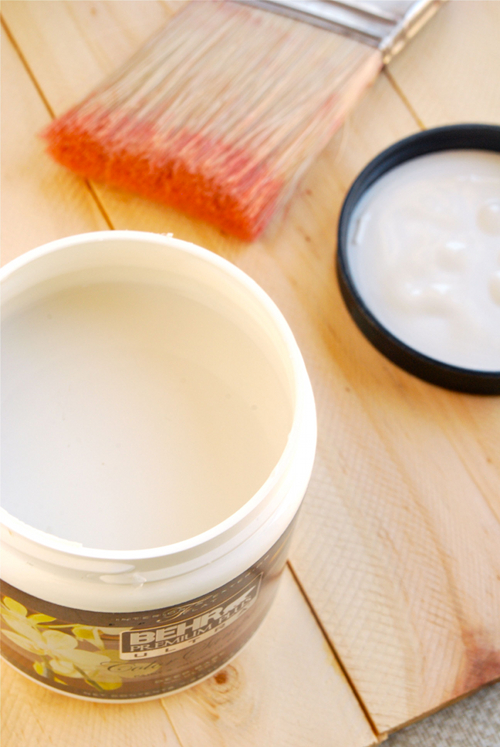
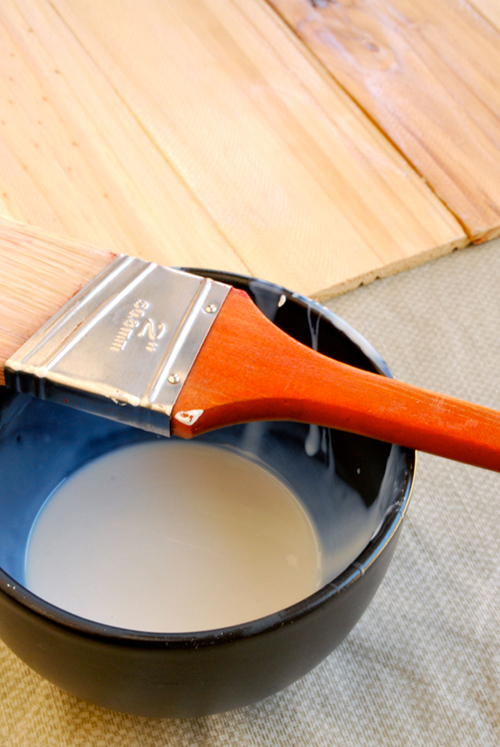
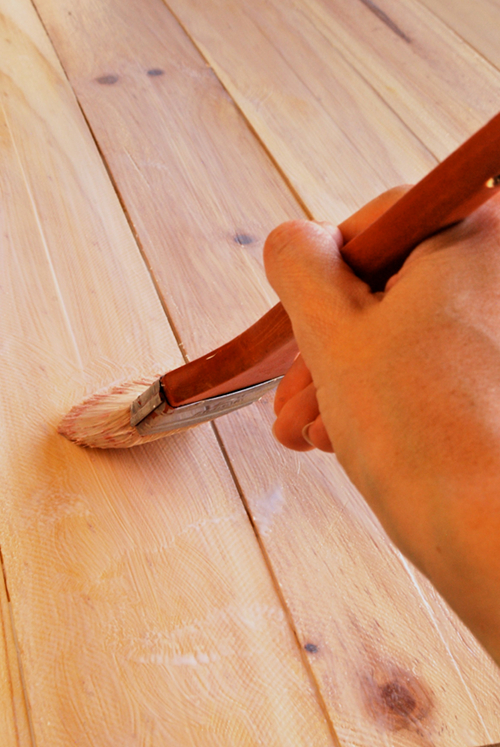
Once the glue is dry, remove the painter's tape and discard. In a small bowl, mix equal parts water and paint. Using a paint brush, paint one side of the background.
Depending on the quality and opacity of your paint and the porosity of your wood panels, you may need 1-2 coats to acquire the desired look. Because we are going for a whitewashed look, it's not necessary to glob a lot of paint down. Instead, try to have some of the wood show through. This will create more visual interest and depth to your photos.
Let dry overnight.
At this point, you can choose to paint the other side, but I like having the option to use a whitewashed backboard or a plain wood backboard. Feel free to also paint the other side a different color, like turquoise or red.

Caitee
Wow, thanks for the tip. I'm in awe of some blog photography and I didn't realize how simple certain props could be.
Matt
Thanks for the tip on creating a wooden background! I've been meaning to do it myself for some time, but will probably try and find some really old looking wood, for extra texture! 🙂
lacey - a sweet pea chef
You're welcome, Matt. I always have my eye out for a great old piece of wood for a background but, alas, I have not yet come upon it. Old cabinets are also a great idea 🙂 Good luck!