One thing I find many people have difficulty with is checking meat for doneness.
It's such a shame to let a good piece of meat -- whether it's pork, fish, chicken or beef -- go to waste because of over-cooking (and, sometimes even under-cooking).
That's why I thought it'd be a good idea to share with you how I check my meat for doneness. These methods, which are by no means my own, have helped me tremendously in the kitchen. Never cease to amaze your family and friends at how perfectly cooked you can get your food. Trust me.
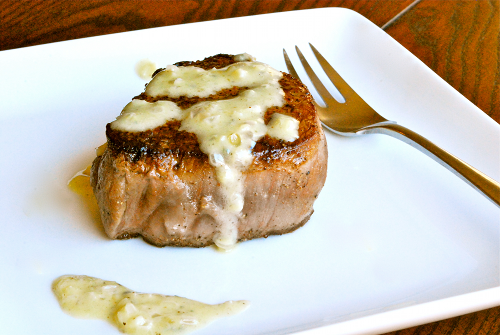
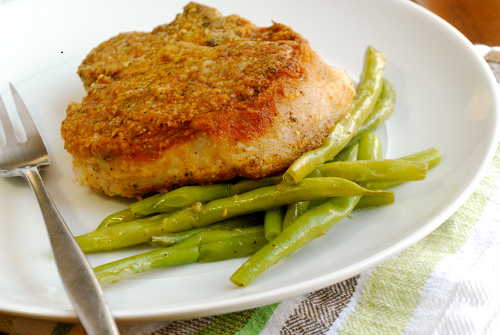
Using the Finger Test (instructions below) to check for doneness for smaller cuts of beef, pork and chicken will allow you to keep from having to cut into your piece of meat to see how pink it is -- or to think it's cooked perfectly, only to find it's as dry as a bone from being cooked too long.
Of course, you can always choose to use a meat thermometer and follow meat temperature guidelines, but this is a quick and dirty method -- my preferred method for smaller cuts of meats, like steaks, pork chops, chicken breasts and the like.
The problem with using a meat thermometer is, by poking a hole in the meat, you allow valuable and tasty juices to escape during cooking. I'd recommend using your meat thermometer for larger cuts, like roasts and whole poultry, as those are harder to test with your finger and cook for much longer times.
For fish and seafood, there is an equally useful trick to know when it's fully cooked: Check the color. Fish should be opaque on the outside and inside while shrimp should be pink on the outside and opaque on the inside. Or, you can ever-so-gently twist a fork in the center of a fillet of fish to check its doneness -- if it's flaky, it's ready!
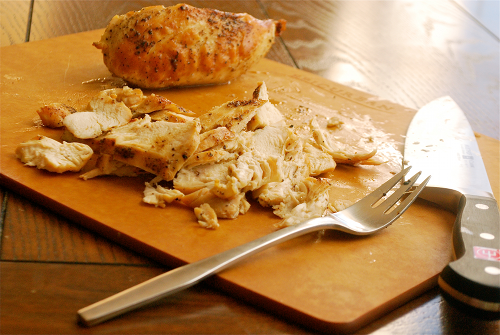
For larger cuts of meat, use the fork test. Meat that is tender will pull apart easily when done, like pulled pork.
It may take some practice, but keep the following tips in mind and you'll be on your way to making perfectly cooked meat every time. Good luck!
Using the Finger Test to Check the Doneness of Meat
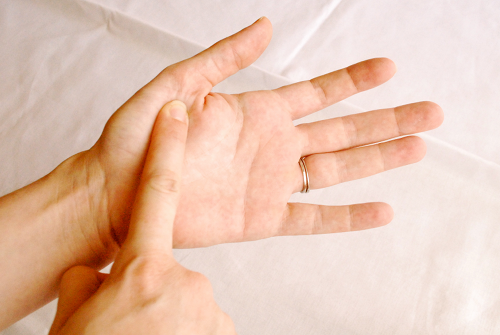
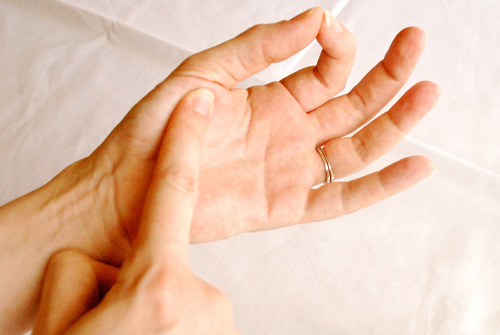
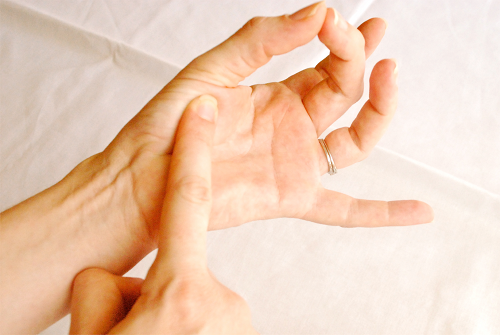
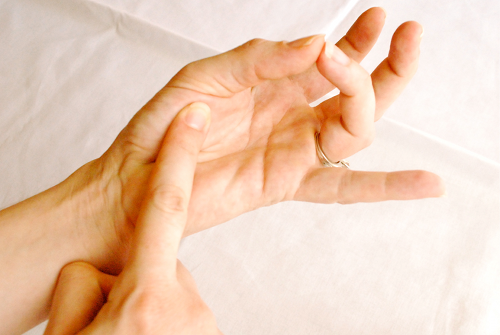
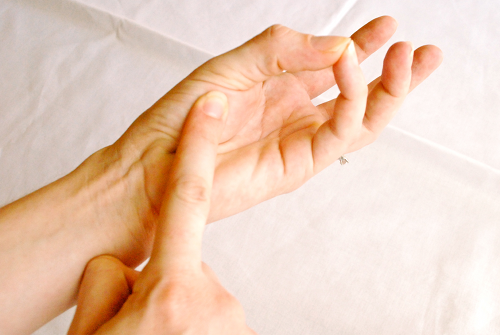
All of the following tests will be compared to how parts of your hand feel in different positions. It is important that your hand be relaxed so you get a good idea of what the meat will feel like. Each example involves you using the index finger of your "poking" or "feeling" hand to press on the fleshy area between your thumb and base of your palm on the other hand (Look at the photos below if this sounds confusing). You will be comparing the feeling in this area of your palm with that of the center of the meat you’re cooking.
Raw
To get a good indicator of what raw meat feels like, open the palm of your hand and relax it. Take the index finger of your other hand and push on the fleshy area between your thumb and base of your palm.
Rare
Press the tip of your index finger to the tip of your thumb. The fleshy area below your thumb should not be tough at all and should give when touched. Now, open up your palm again to compare how this compares to the Raw feeling.
Medium-Rare
Gently press the tip of your middle finger to the tip of your thumb. The fleshy area below your thumb will be what it feels like when meat is Medium-Rare, which is more firm and less giving, but still spongy.
Medium
Gently press the tip of your ring finger and the tip of your thumb together. The fleshy area beneath your thumb should still give a little but be getting more firm.
Well-Done
Gently press the tip of your pinky finger to the tip of your thumb. The fleshy area beneath your thumb should feel pretty firm, yet springy.
Okay, now that you're an expert for how to use these tests to check for doneness, keep in mind one thing: meat continues to cook even after it's removed from the heat. So, if you're wanting a steak cooked at medium-well, for example, you should remove the steak from the heat when it is about medium and let it rest for approximately 5-10 minutes. As the steak rests, it will continue to cook to medium-well.

Anis
I'm amazed! Thank you for your tips - You made me believe that cooking can be easy. When I first came across your blog, it inspired me to start cooking!
Lacey Baier
Anis, that makes me so incredibly happy to read! I'm so glad you have been inspired to start cooking! Hooray!!! 🙂
Paul
Just some helpful feedback (I hope :-)). Love the explanation, you obviously know what you're talking about. However I think you made a bit of a mistake near to the end ..You say
"if you’re wanting a steak cooked at medium-rare, for example, you should remove the steak from the heat when it is about medium and let it rest for approximately 5-10 minutes. As the steak rests, it will continue to cook to medium-well"
At the start of the paragrapgh you wanted a medium-rare steak ... but then say to cook it to medium and then leave it .... which we both know is wrong 🙂 .. as you'd end up with medium-well as you correctly say at the end, but it could confuse an easily confused person 🙂
Just trying to be helpful 🙂
lacey - a sweet pea chef
Ha! Thanks for pointing that error out! I'll go ahead and fix it. Oops. 😉
Taylor
This is such a great post! Thanks for the useful info 🙂
lacey - a sweet pea chef
You're welcome, Taylor! I'm glad you found it useful 🙂
NanaBread
I've heard of pressing the meaty part of your palm to test for doneness, but I've never seen it fully explained. Thanks for that. Now I can actually start using this technique instead of poking my hand and then scratching my head.
lacey - a sweet pea chef
Haha, NanaBread! Great visual 🙂
Tara
HA! That's genius! I am not good at figuring out how done my meat is so I make DH do it but now....well I might just try it!
lacey - a sweet pea chef
I hope you find it works for you, Tara....it takes some practice, but it's a handy little trick!