Looking to celebrate the Fourth of July with something cool and sweet? These Red, White & Blue Fruit Popsicles are easy, delicious, and refined sugar free! Just 5 ingredients, too!
Happy Fourth of July, friends!
We're gearing up for a fun day with the kiddos, followed by a big fireworks show at night out in the country (with me covered head to toe in mosquito repellant). Every year, we all love it so much and the memories from watching the kids eyes sparkle with each firework boom over the open field and their sweet laughter always melts my heart.
You know what else we enjoy on this great holiday?
Popsicles.
Because why the HECK not, am I right?
I mean...it's hot outside and it's a holiday. It just calls for frozen treats.
Plus - with these festive red, white, and blue fruit popsicles that are perfect for the occasion, how can you say no?
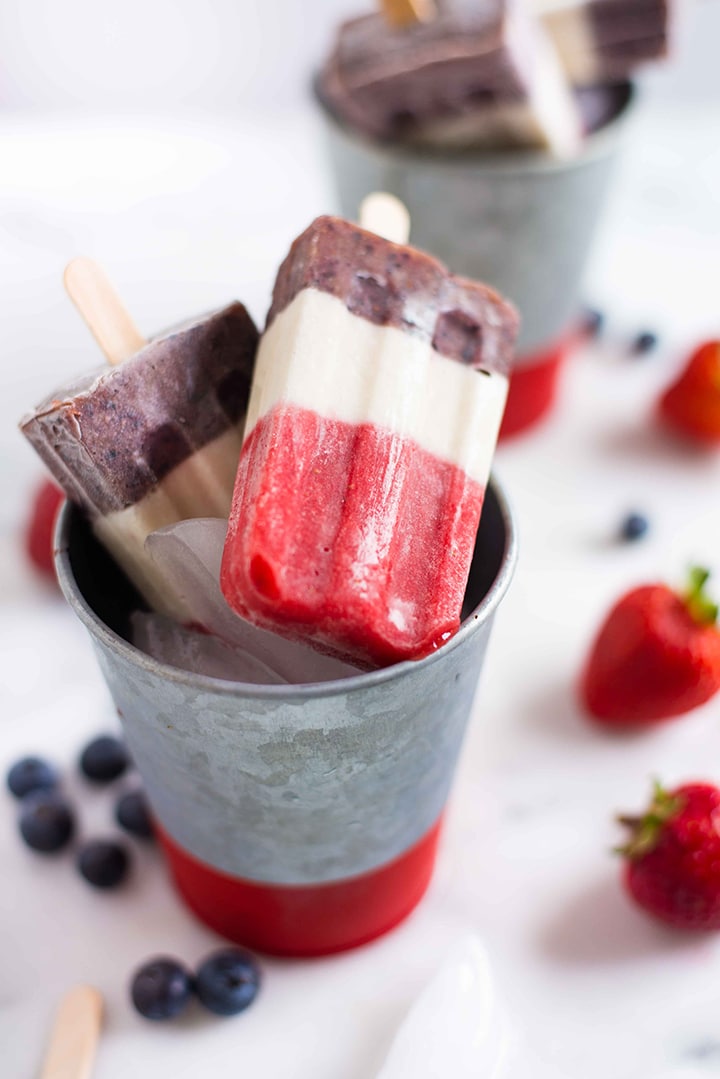
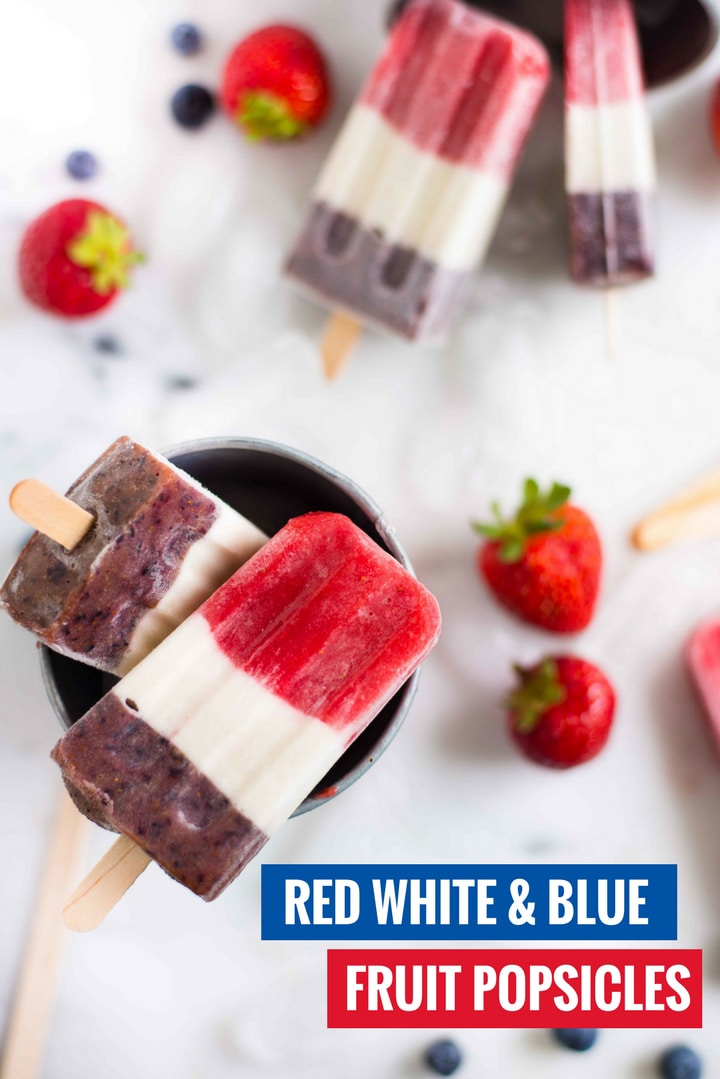
Now, I know what you're thinking: Lacey, that's more like red, white and purple, not blue. And I hear ya. It kinda annoyed me, too...at first. BUT the truth is you just can't get a true "blue" color with natural ingredients so I'm just fine enjoying these red, white and blue-ish popsicles that are made with just 5 (natural) ingredients and are free of refined sugars and artificial dyes. And I sure hope you will be, too.
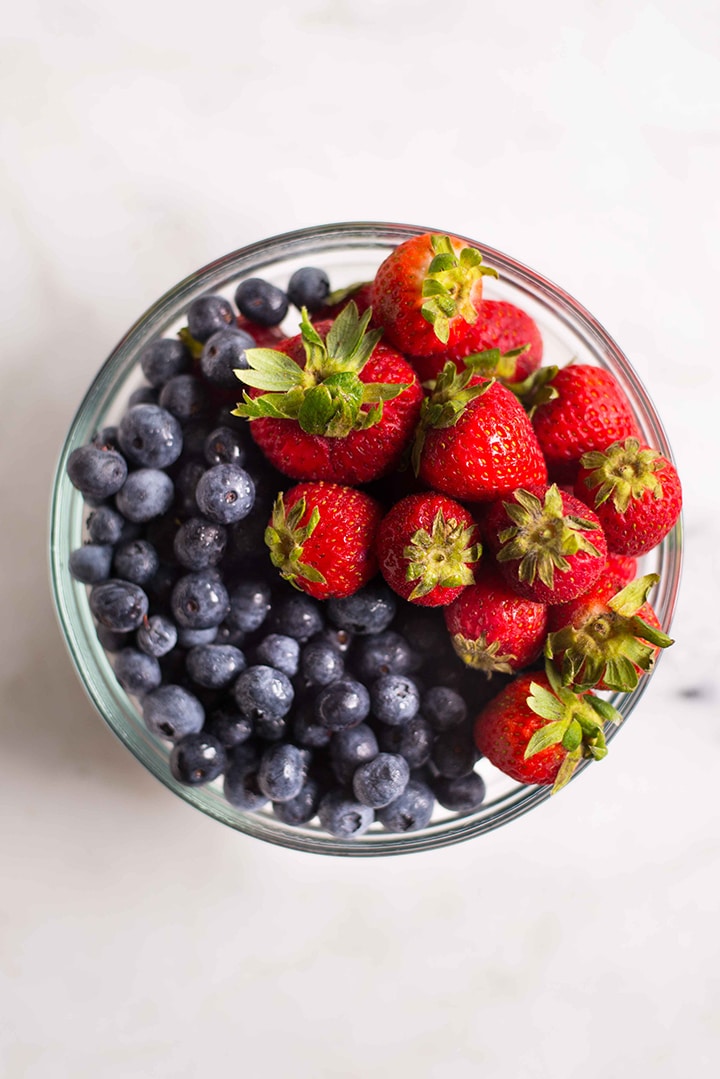
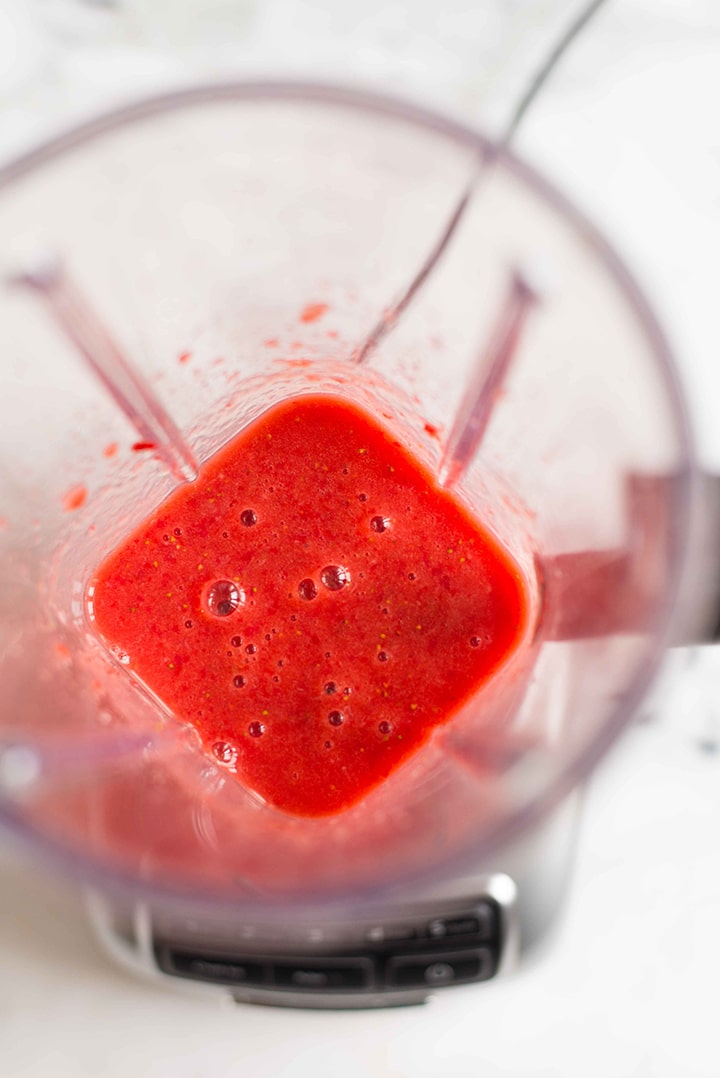
How To Make Fruit Popsicles
Making your own fruit popsicles is so easy and a great way to add more whole fruits into your diet. What I love so much about making fruit popsicles is that I can completely control the flavor, textures, and amount of sugar (or lack thereof!) that goes into my popsicles.
While I prefer to use a blender or food processor, you really only need some way to mash up the fruit, add any extra flavors and/or textures you'd like, and then place it into the freezer in some sort of mold. It's really that simple.
You can also start to have a lot of fun with flavors -- some that you might not ever see in grocery stores...like these healthy orange creamiscle popsicles or these watermelon mint popsicles. So easy and so yummy!
How To Make Fruit Popsicles With And Without Molds
You really just need some sort of container that will be safe for the freezer and will allow you to remove your fruit popsicle when you're ready to eat it, either by peeling it away or running it under some worm water for a quick sec to release the popsicle.
I use this popsicle mold and ABSOLUTELY FRIGGIN LOVE IT. It's downright amazing - the popsicles look great every time and they easily release when I drizzle some warm water over them for just a sec. Plus, the actual mold is stainless steel and looks pretty slick...if you're into that sorta thing.
Which I totally am.
If you'd like the same popsicle mold, you can get it here.
However, if you don't have a popsicle mold and want to still make popsicles at home because they're amazing and it's HOT outside, I have some good news. You can use any ol' cup that is freezer safe (I've totally used my kids' plastic cups before) or you can use Dixie cups and then peel away the mold when everything is frozen.
For a handle, many popsicle molds come with handles or sticks to use, but I actually prefer the old fashioned wooden sticks, like these. They're super cheap, easy to use, and work great. You could also use a plastic spoon, if that's all you have.
See all the possibilities?
If you're adding in the popsicle sticks or spoon, you'll either need to wait until the fruit filling is hardened some and will allow the stick to stand up straight or create a handle "holder" by poking holes in some aluminum foil to fasten them in place and then setting something over the top so they stay down. Personally, I just set a timer when I first add the popsicles into the freezer for an hour and I'm good to go for most popsicles. These Red, White & Blue Fruit Popsicles are slightly different, since they are frozen in three layers (and you can see how I make them on the recipe below).
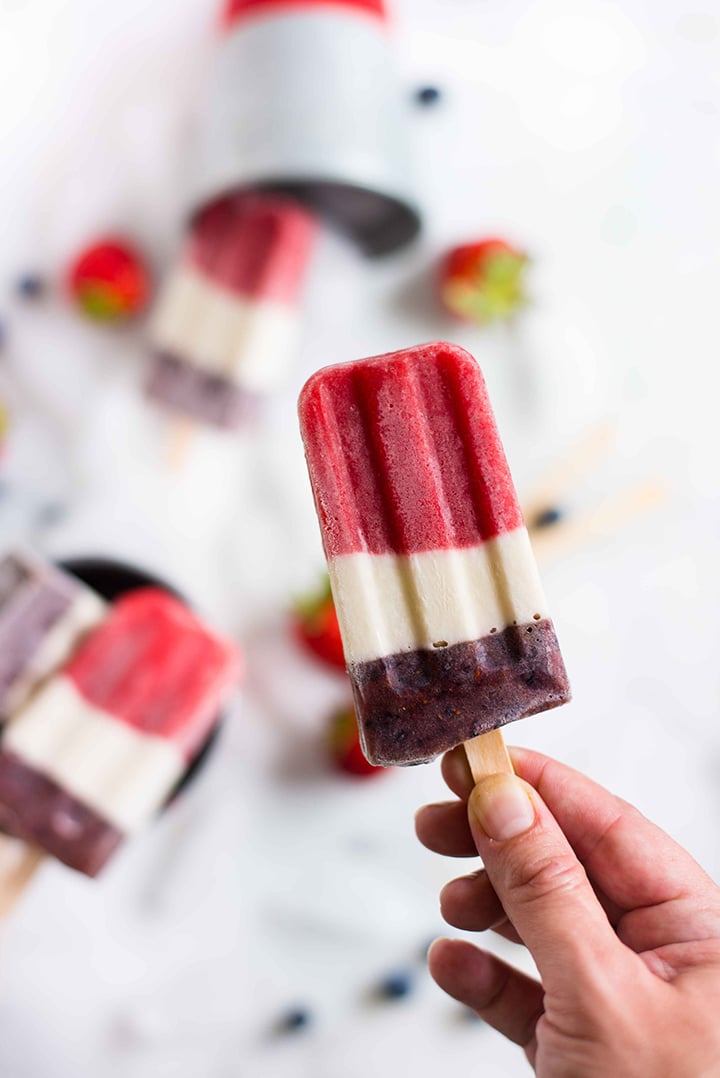
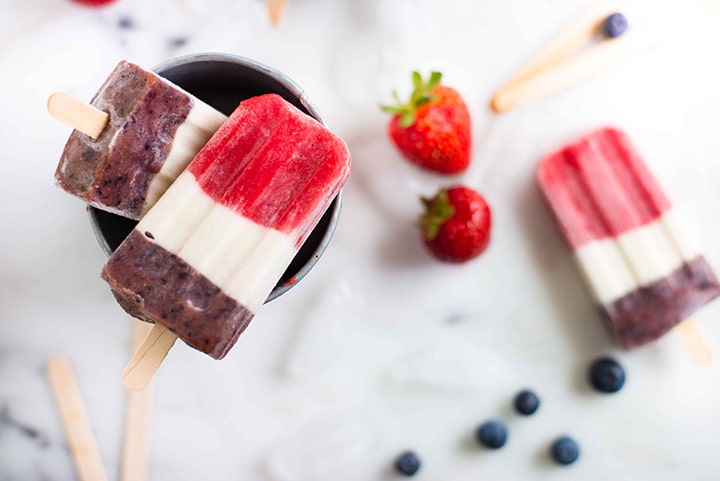
How To Make Fruit Popsicles With Coconut Milk
One of my favorite ingredients (besides fruit!) to add into my popsicles is full fat coconut milk. It's so naturally thick, creamy, and sweet that it makes a great base for a denser popsicle.
In these Red, White & Blue Fruit Popsicles, the white section is a mixture of full fat coconut milk, vanilla extract, and pure maple syrup and it's super yummy. There are so many ways you can make fruit popsicles with coconut milk, too -- like using it as a cream for these orange creamiscle popsicles or as a rich base for these healthy fudgesicles.
Are Fruit Popsicles Good For You?
Sadly, fruit popsicles from the store aren't always good for you. Some contain high fructose corn syrup and other high sugar, highly processed ingredients that have (in my opinion) no business anywhere near your mouth. This makes it even more important for you to read the nutrition label and list of ingredients for what's in the fruit popsicles you're purchasing at the store.
OR you can just make your own homemade fruit popsicles, control all the ingredients, and know you're making a very healthy, very good for you fruit popsicle you can throughly enjoy. Most homemade popsicles won't take many ingredients to make at all.
Fruit is already pretty darn sweet on it's own, but there's no problem in adding a tad more natural sweetener, like raw honey or pure maple syrup to bring up the sweet factor. Because -- hello -- we ARE talking about sweet popsicles here and, interestingly enough, food tends to not taste quite as sweet when it's frozen as it does when it's fresh.
Fruit popsicles that contain the entire fruit (like these patriotic beauties right here) and not just the juice of the fruit will also be significantly more healthy for you as well because it will include all the fiber and vitamins you'd lose if that goodness was trained out. That all being said, you definitely want to enjoy them in moderation and as part of a well-balanced, clean diet.
More Healthy Fruit Popsicle Recipes
Here are some of my absolute favorite fruit popsicles that I know you're gonna love.
Now, go on and enjoy the holiday. Stay safe, have fun, and celebrate with some festive healthy and delicious Red, White & Blue Fruit Popsicles!
Red, White And Blue Fruit Popsicles
Red White and Blue Fruit Popsicles
*This post may contain affiliate links for products I use often and highly recommend.
Ingredients
For the Red Layer:
- 1 ½ cups fresh strawberries, chopped
- 1 teaspoon pure maple syrup
For the White Layer:
- 1 cup full fat coconut milk, at room temperature
- 1 teaspoon pure vanilla extract
- 1 teaspoon pure maple syrup
For the Blue Layer:
- 1 ½ cups fresh blueberries
- 1 teaspoon pure maple syrup
Instructions
- In a blender or food processor, combine the chopped fresh strawberries and pure maple syrup.
- Puree the strawberries until very smooth. This should yield approximately 1 cup of pureed strawberries.
- Carefully pour about 2 tablespoons into each popsicle mold. We’re looking for the mold to get filled about ⅓ of the way.
- Place the popsicle mold into the freezer and freeze for 40 minutes to allow the strawberry puree to set. (You could move onto the next step at this time without freezing, but the popsicles will look more tie-dyed instead of clean red, white, and blue lines.)
- Combine the full fat coconut milk, pure vanilla extract, and pure maple syrup in a small bowl and whisk to combine.
- Carefully pour about 2 tablespoons of the coconut mixture into each popsicle mold, over the frozen strawberry puree. We’re looking for the mold to get filled about ⅔ of the way.
- Freeze this layer now for about 10 minutes until it’s solid enough to insert the wooden popsicle sticks.
- Carefully add a popsicle stick into each mold and then return to the freezer for another 30 minutes to harden.
- For the blue layer, add the fresh blueberries to a blender or food processor as well as the pure maple syrup.
- Transfer about 2 tablespoons into each popsicle mold over the coconut layer, filling the popsicle mostly to the top of the mold. (Don’t fill the mold completely to the top because the mixture will expand a little when it freezes.)
- Freeze the popsicles until completely solid, about 2-3 hours before removing them from the mold and enjoying.
Video
Nutrition
This post contains affiliate links for products I use regularly and highly recommend.

Comments
No Comments