Stand Mixers are a versatile kitchen appliance. You can use them for multiple tasks, with mixing baking ingredients one of the most popular uses. This guide will teach you how to get the most out of your stand mixer. I’ve included fabulous recipes, too!

A stand mixer is a kitchen tool that has been around for a long time. I can remember my mom using one to make cookies, meringue for pies, cake batter and all kinds of doughs. She'd also mix other yummy ingredients as prep for main meal dishes.
I did a little research on the stand mixer and did you know this handy kitchen tool was invented about 100 years ago? The first mixer ever built was 80 quarts and was used on Navy Battleships in World War I. Once the KitchenAid mixers hit “mainstream” and were patented in 1919, they were smaller, of course, and weighed a mere 65 pounds.
That’s still a far cry from the 26 pounds that my mixer weighs! And you’ve gotta love the color choices for today’s mixers, right? It’s also kinda cool that the stand mixer attachments available in today’s market will fit any KitchenAid machine, even back to my mom’s mixer. From the veggie spiralizer to the pasta maker, the handy attachments are the best!
If you need help with using a spiralizer, check out my post on Spiralizer Beginner's Guide + Veggie Spiralizer Recipes.
Let’s take a look at how to use a stand mixer so you can get the most out of yours. (Your hand mixer may not see the light of day again!) I can guarantee you’ll use your stand mixer for a ton of tasks in the kitchen!
What Size Stand Mixer Do I Need?
I use the 5-quart stand mixer. I find the size perfect for the tasks I use it for, like mixing filling for Sweet Potato Pie or awesome Homemade Pork Tamales. The 5-quart bowl is just the right size.
Let’s look at it in batches of cookies. My mixer yields about 9 dozen cookies (and 4 loaves of bread and 7 pounds of mashed potatoes for those big holiday get-togethers), while the 4.5-quart mixer yields 7 dozen cookies. The 3.5 quart mixer yields 5 dozen and the 6 quart, 13 dozen cookies. These numbers kind of give you an idea of the bowl capacity and what the mixer can do.
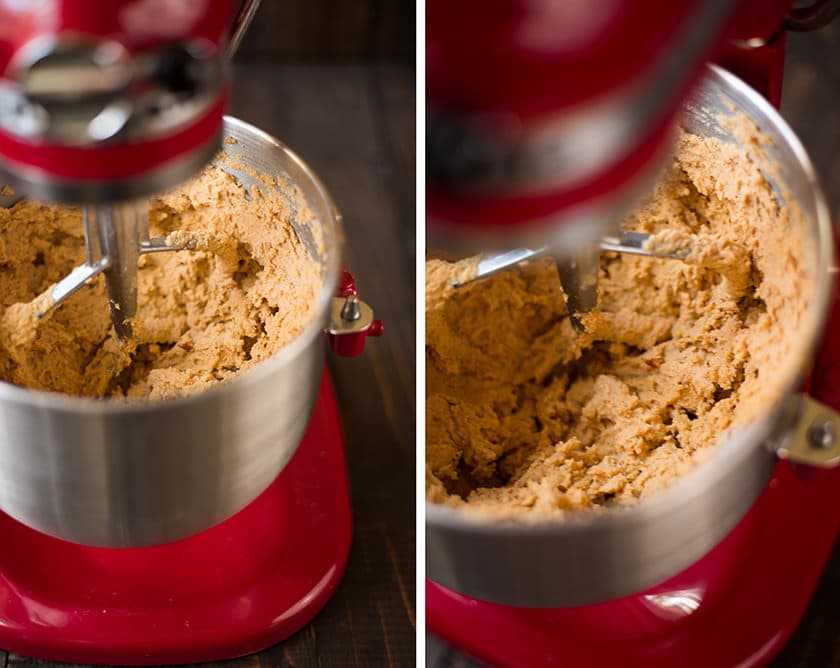
The wattages of the motors are different, too. My mixer, at 325 watts, is just perfect. And like I mentioned, you can choose from 20 colors, from lime green to a really nice sky blue. That’s really cool and fun, don't you think? Matching kitchen decor is a bonus! Not to mention the fabulous cookie dough you get when you use a mixer.
Bowl-Lift And Tilt-Head Model Differences
You can choose a bowl-lift stand mixer or a tilt-head model. Here are some points on that:
- The tilt-head mixer is 14.0” tall.
- The bowl-lift mixer height can be 16 7/16” to 17”.
- These heights can make a difference, depending on how low your cabinets are from the countertop.
- If you want easy access to the beater, you may want the tilt-head model.
- Some love the look of the bowl-lift mixer but find removing the bowl a little trickier than when using the tilt-head version.
- With the bowl-lift mixer, the bowl sits on the arms of the mixer and you raise it by using a lever.
- With the tilt-head, the bowl attaches to the base.
There's really no right or wrong with a stand mixer. The goal is an easier time in the kitchen and less mess, right?
What Do I Need to Know Before Buying a Stand Mixer?
If you are planning to use your mixer a lot like I do (think pizza dough, bread dough and even as an ice-cream maker), you’ll want to keep a few considerations in mind. There are a few different versions but I’m not going to go into all the detail.
For example, you’ve got the KitchenAid Classic mixer, the KitchenAid Artisan mixer, the Artisan Mini, and the KitchenAid Pro. That's a whole lotta mixer choices! What's the best stand mixer for you? Well, for basic pointers, take a look here:
- You may want a pouring shield that works like a splash guard, and they can be bought for every model except the glass bowl models.
- Some people like to have extra bowls when doing tasks like making healthy lemon bars. You can buy clear glass, ceramic, and stainless steel bowls. However, some bowls fit the tilt-head model only, while others fit the bowl-lift model.
- You can get a mixing bowl with a handle, or without. It’s really your preference but does depend on the model.
- Beaters come in coated or burnished aluminum beaters, with the coated beater being dishwasher safe (the aluminum beater must be hand-washed and dried right away).
- If color choice is important to you, the Artisan series in the KitchenAid brand has the most color options.
Tips on How to Use a Stand Mixer
Are you looking for a few tips and tricks for using your stand mixer?
- Read the manual: Sure, some think reading the manual is a time-waster. But it’s an important (and helpful!) thing to do. You want to know every fine detail about your new mixer. The manual will let you know how much flour your bowl can handle at once, how to use the attachments, and good-to-know info like that.
- Start on low speed: Always begin a task on low speed and work your way up to high. This helps against spattering ingredients all over the kitchen!
- Don’t scrape while mixing: This is tempting, but really not a good idea. Just one slip of the spatula, and you can bend the beaters out of shape.
- Adjust the beater: This is one of the reasons to read the manual. You’ll learn how to adjust the beater so it mixes well and does not touch the bottom of the bowl.
- Tighten the hinge: This isn’t always necessary, but if the head of the mixer starts to shift and shake, just turn the mixer on its side and tighten the pin (the manual, my friends, will show you how).
- Spin the beaters: Once your mixture is combined, lift the beaters just a little with the mixer on low and then high, to spin off the mixture and reduce waste.
- Use a towel: Use a towel to help prevent ingredients from flying out of the bowl in the event you turn it on high. Flour, for example, poofs out of the bowl and goes everywhere. Just lay a clean kitchen towel over the bowl and use it to your advantage!
- Chill the bowl: Chilling the bowl and the beaters really makes a difference. Keto whipped cream turns out super fluffy with great peaks!
- Invest in a silicone scraper: Silicone scrapers are the best for scraping down the bowl.
- Store your stuff wisely: Storing attachments in the bowl is super smart and a great counter space saver. Line a stainless steel bowl with a towel to avoid scratches.
- Buy attachments: Who can resist all of the nifty accessories? Want to learn how to use a stand mixer? Buy fun stuff like the pasta maker, dough hook, wire whip and the meat grinder.

What Should I Make First in My Stand Mixer?
I said earlier that the stand mixer is versatile and I meant it! I use mine for just about everything. Sometimes I use my Vitamix, Slow Cooker, or Instant Pot. But a stand mixer works well, too. I’ve listed 10 things to make in your stand mixer right here!
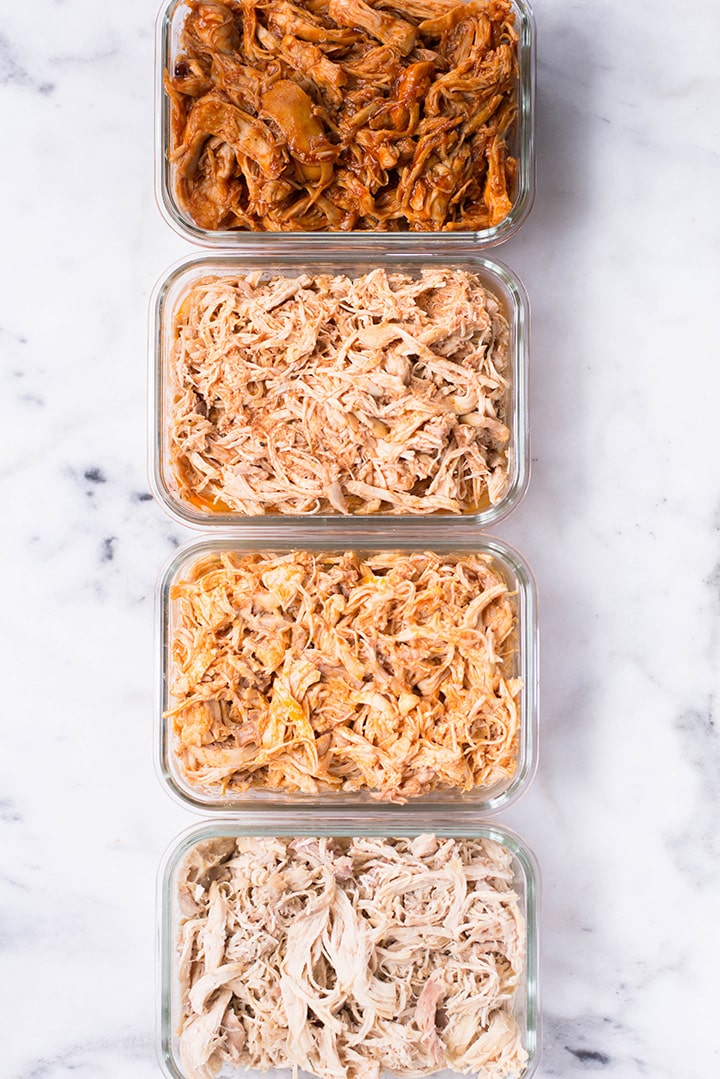
- Shred meat - Use the beater to shred the cooked meat for crock pot pulled pork. Awesome!
- Shred chicken - Meal prep is even more efficient when you shred the chicken in your mixer.
- Mix beef - Making homemade burgers for the grill? Use your stand mixer to combine the ingredients.
- Mashed potatoes - Need I say more? Creamy and delicious crockpot mashed potatoes <--yum.
- Make guacamole - Love the perfect guacamole? You can whip up a batch quickly in the mixer.
- Mix dip - Caramelized Onion Dip for the Super Bowl!
- Make cinnamon rolls - You can use your dip for either kneading the dough or mixing the yummy frosting for healthy cinnamon rolls.
- Make quick breads - Chocolate zucchini bread is amazing and moist.
- Create tortillas - Sometimes I mix the ingredients for my chickpea tortillas in my stand mixer.
- Make a sauce - A sauce can be mixed in the blender or the mixer.
More Stand Mixer Recipes
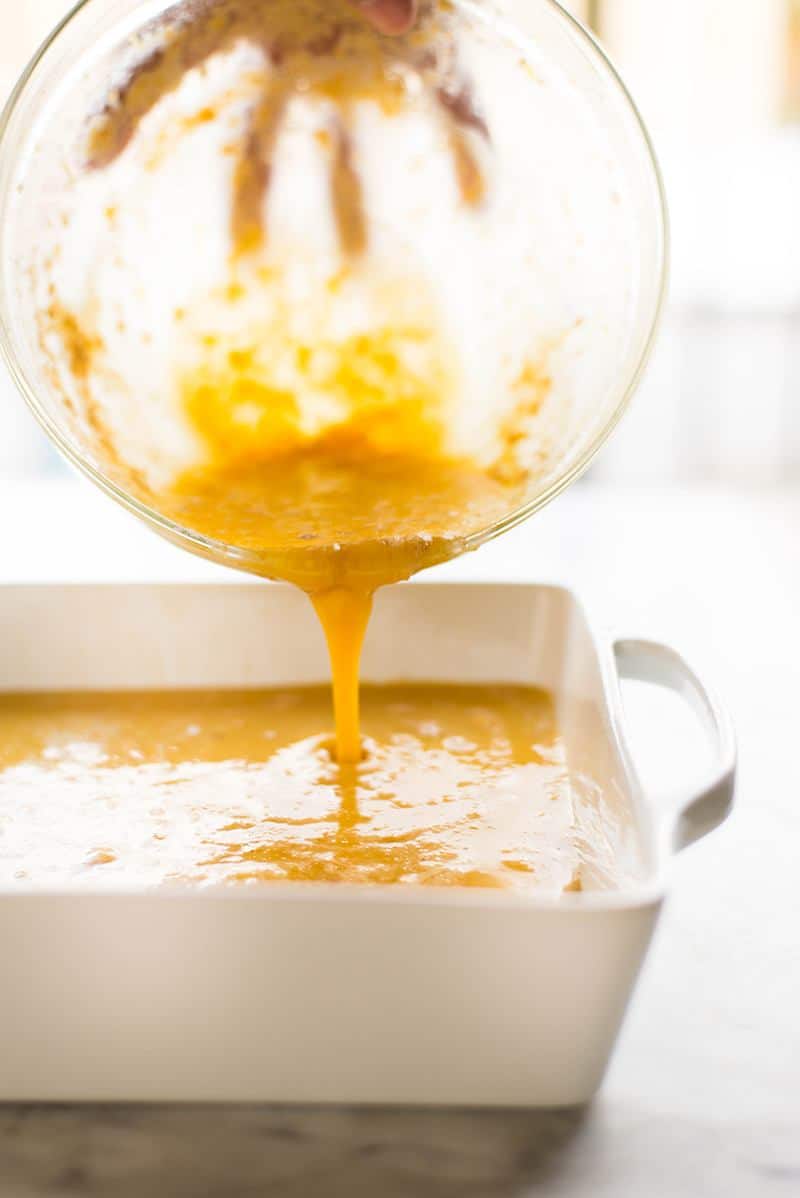
I love, love my stand mixer. It's the best to whisk ingredients together, mix eggs and egg whites, cream butter and so many more tasks that cooks and bakers love to do. You'll be like a professional in the kitchen in no time and you'll be having fun, too! These are a few of the recipes where my stand mixer helps to make the recipe turn out perfect!
- Homemade Keto Whipped Cream
- Zucchini Noodles
- Sweet Potato Pie
- Homemade Pork Tamales
- Healthy Lemon Bars
- The BEST Pumpkin Pie From Scratch
- Hoagie Rolls
- Healthy Ginger Molasses Cookies
- 15-Minute EASY Pumpkin Ice Cream
- Homemade Pimento Cheese Spread
This post contains affiliate links for products I use regularly and highly recommend.

Comments
No Comments