Welcome to A Sweet Pea Chef! Browse hundreds of recipes that are delicious, healthy, and support a clean eating lifestyle! Transform your life with science-based knowledge and delicious food.


Hey there!
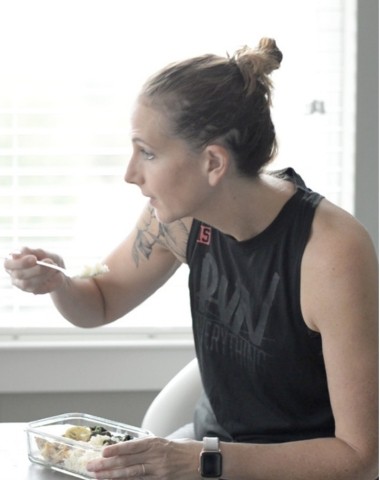
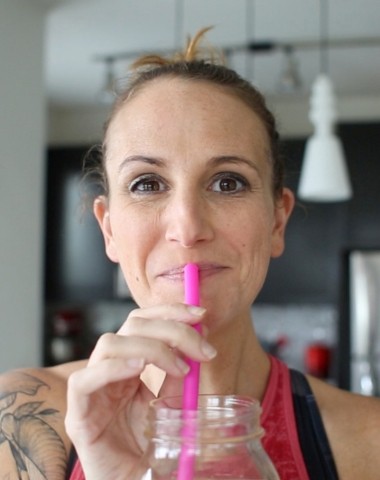
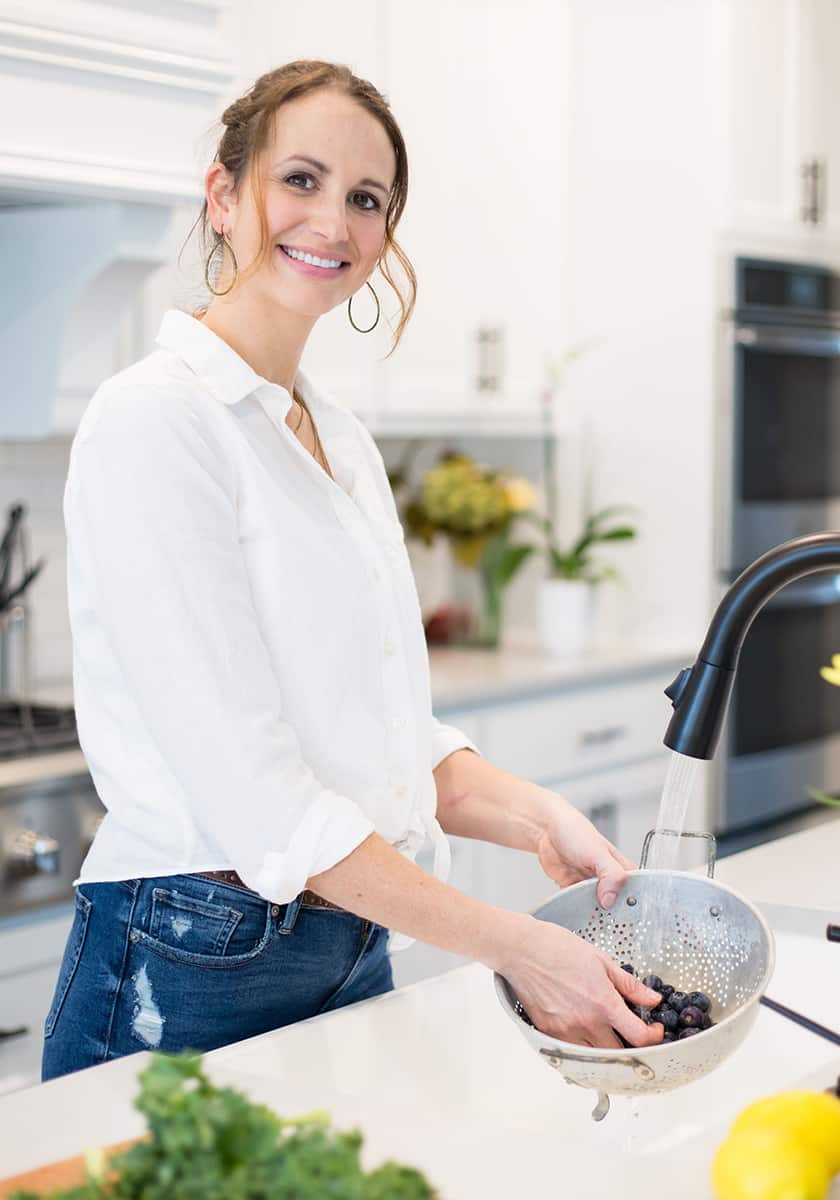
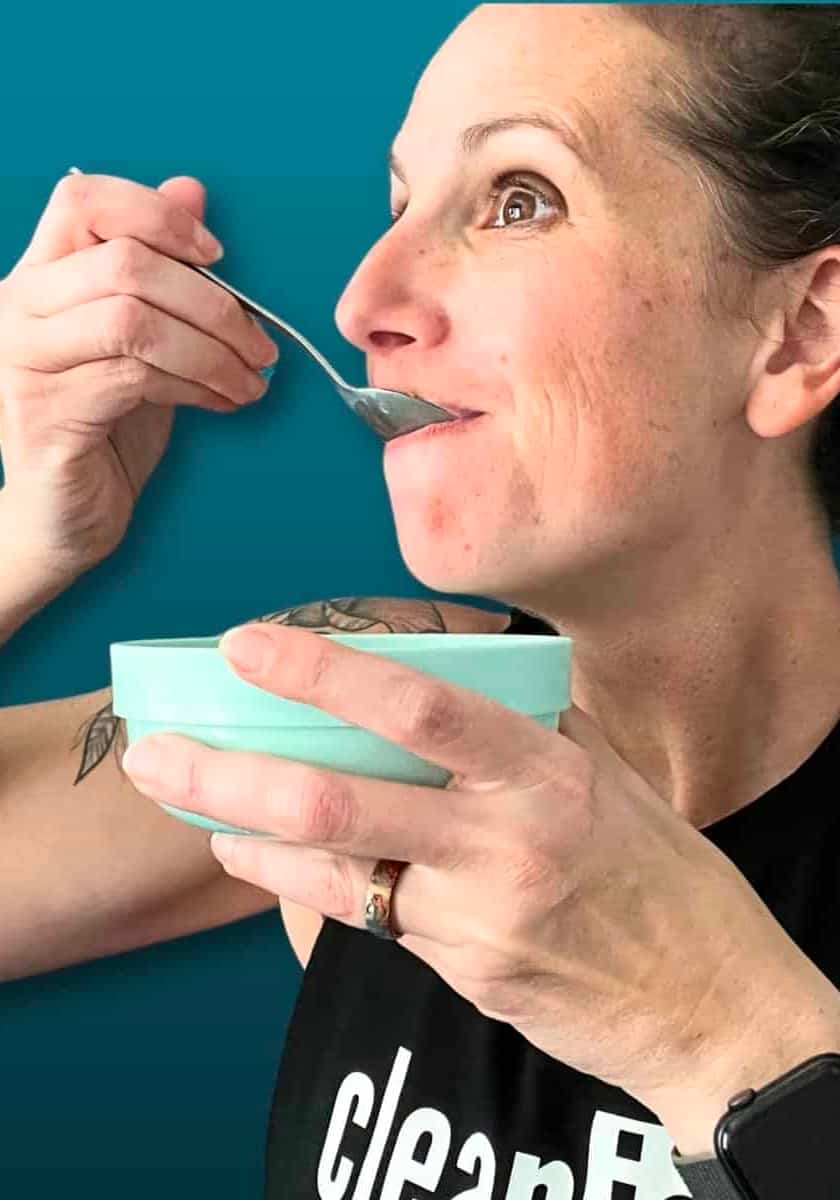
I'm Lacey! Nice to meet you 🙂
I’m a Cleanish Lifestyle Coach, YouTuber, and Blogger. I live in Austin, TX with my husband, 4 kids, and 2 mini Aussies. I'm here to help you transform your life through delicious clean eating recipes and science-backed knowledge!

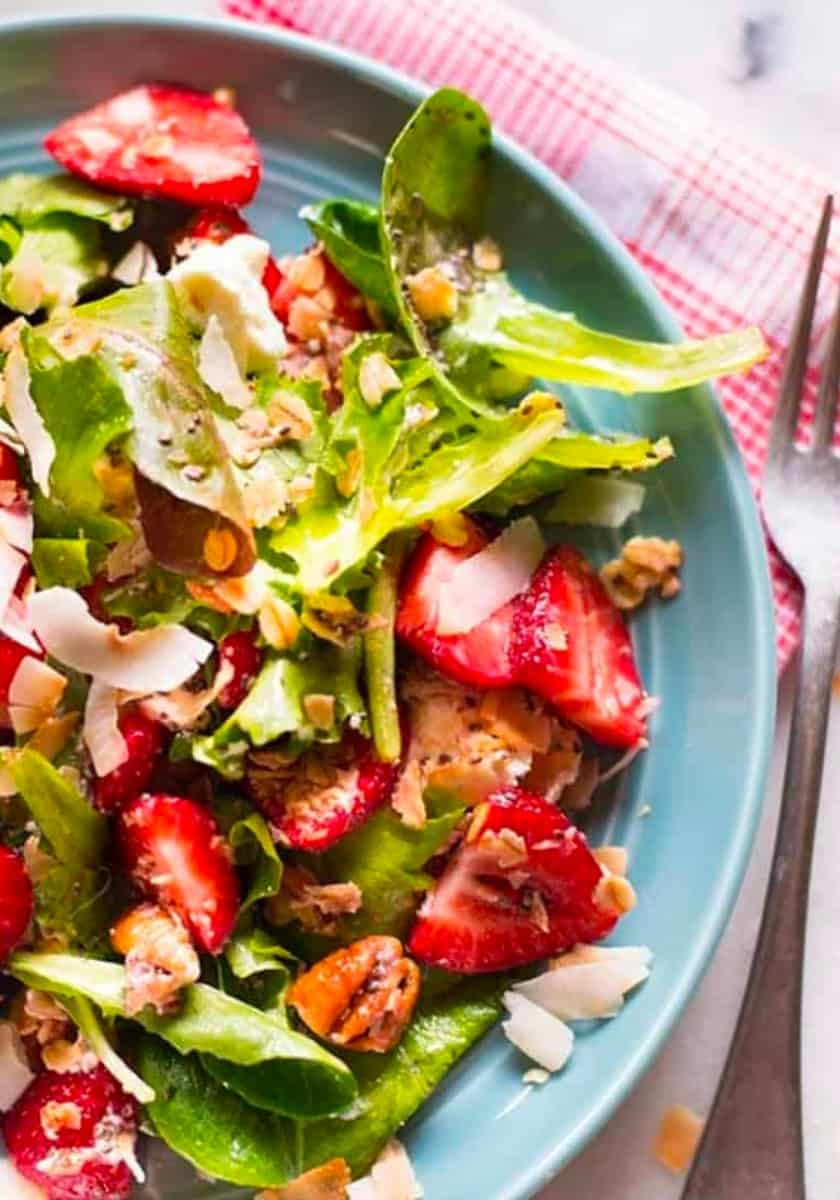
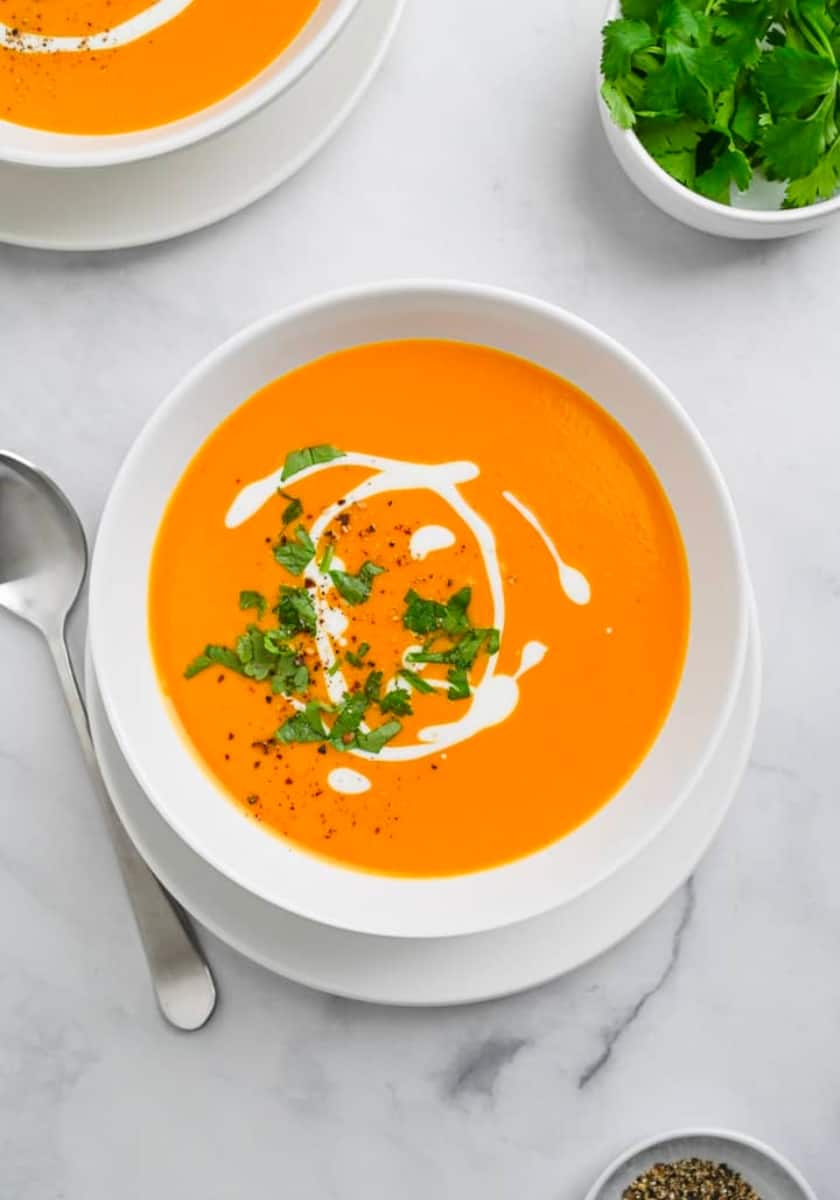
Recipe Spotlight
Try these wholesome and delicious recipes.
Most Popular Recipes
While there are a lot of great recipes on the blog, here are the most popular ones.

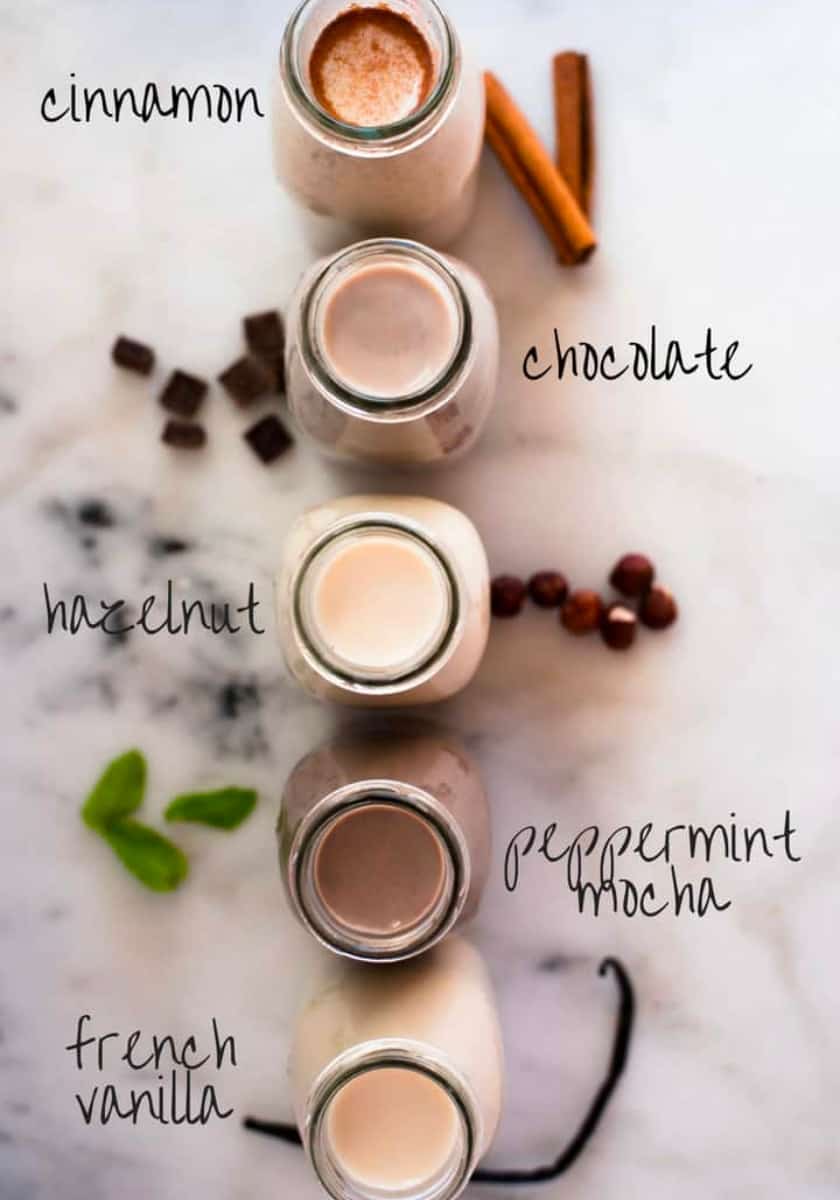

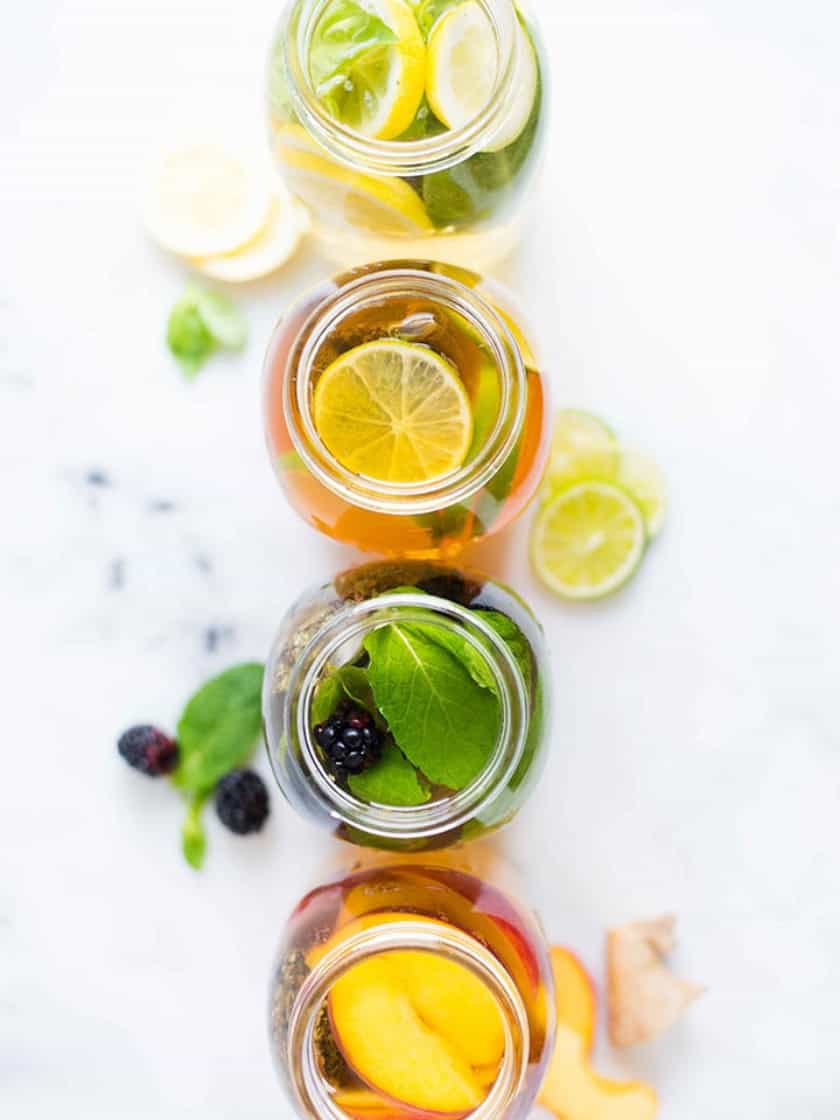
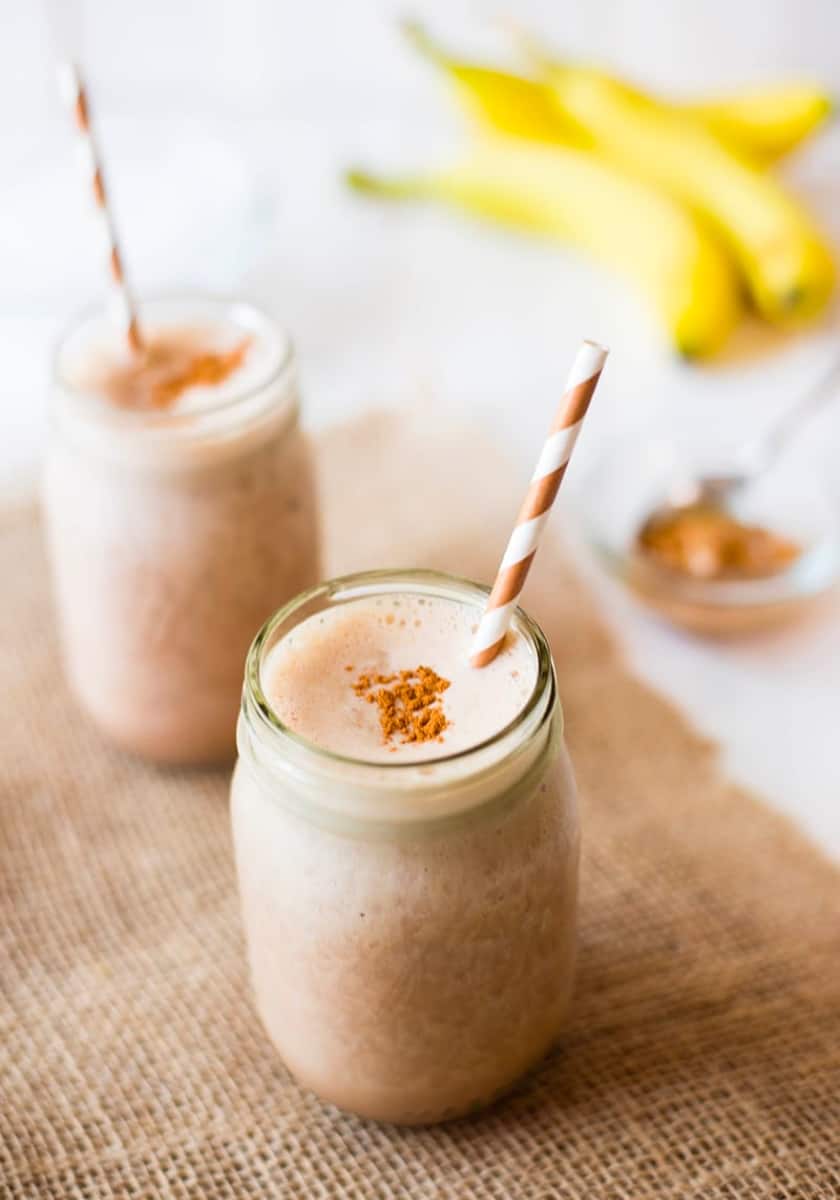
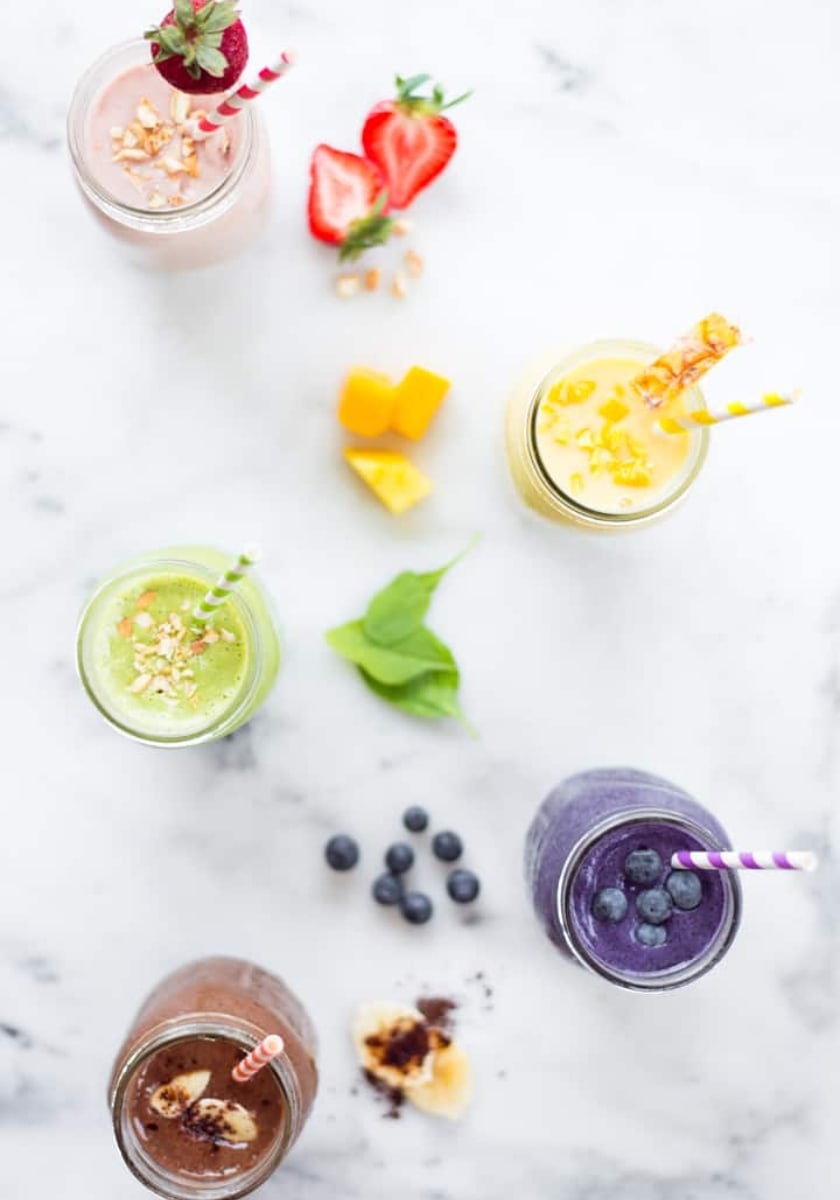
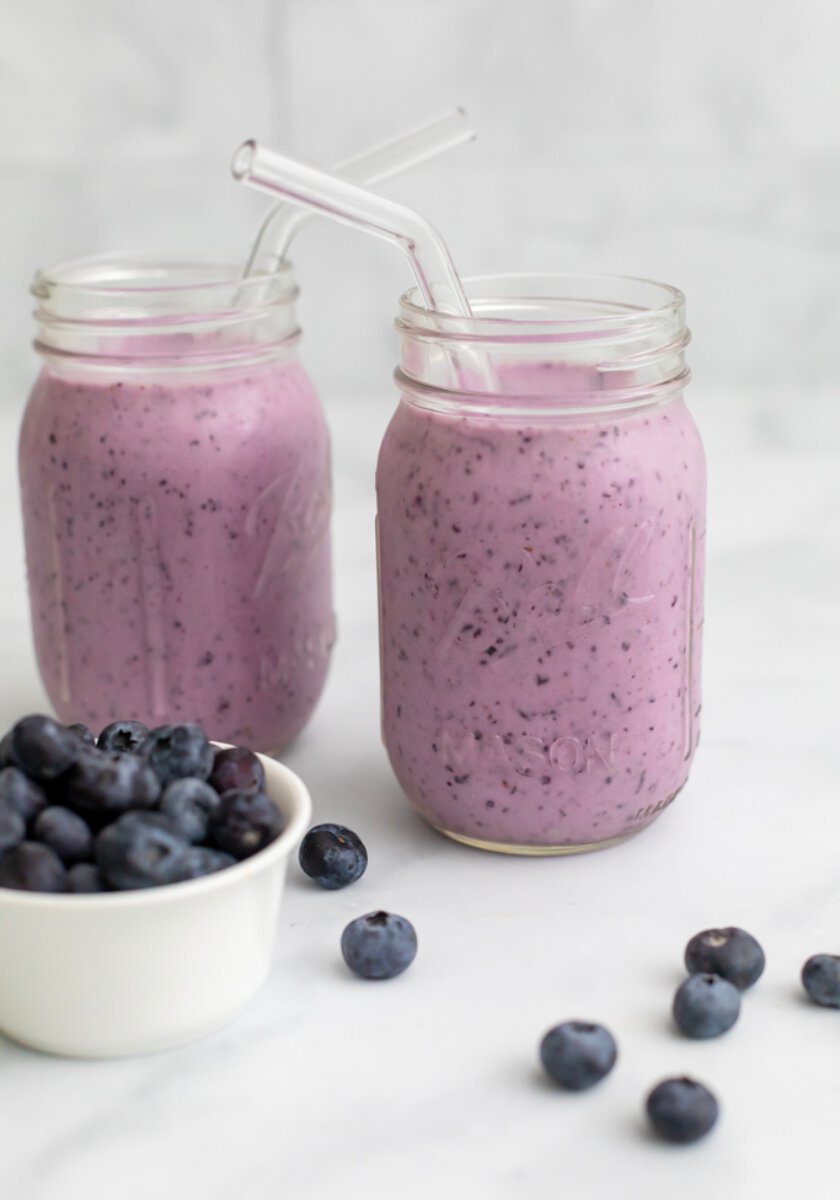
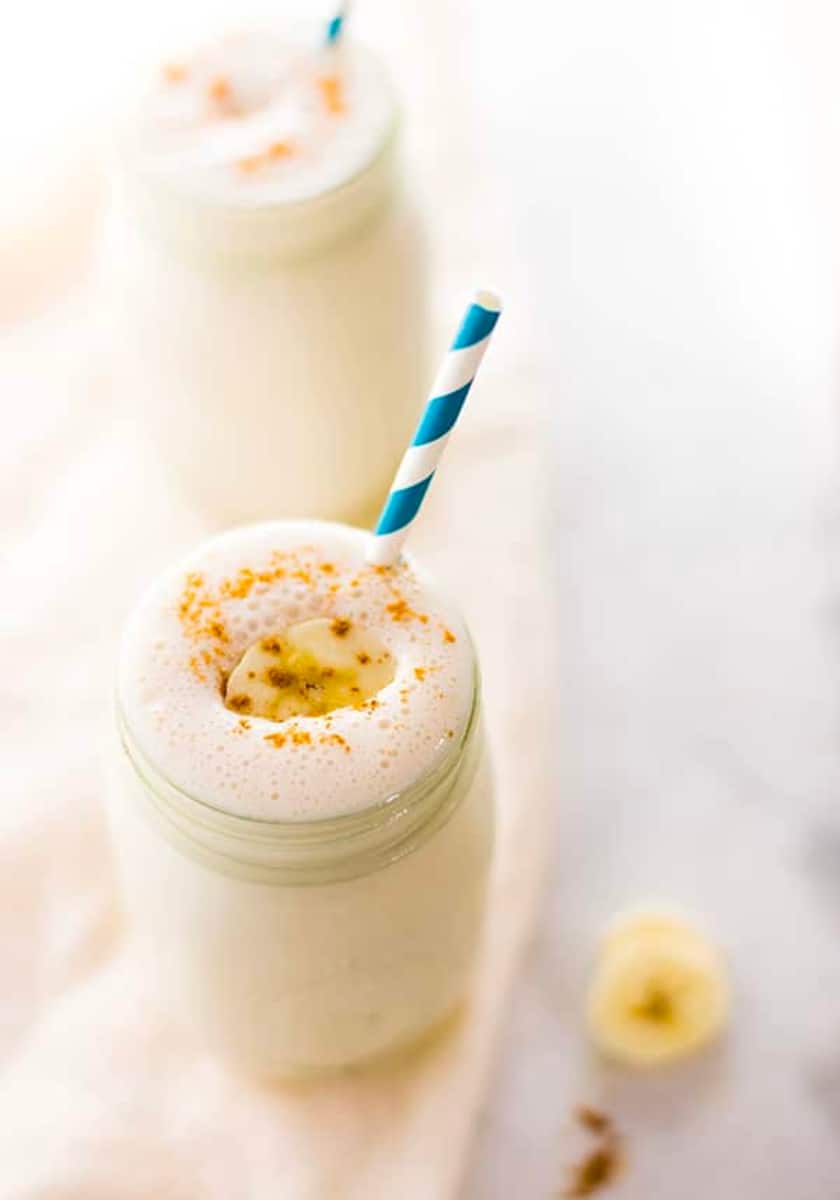
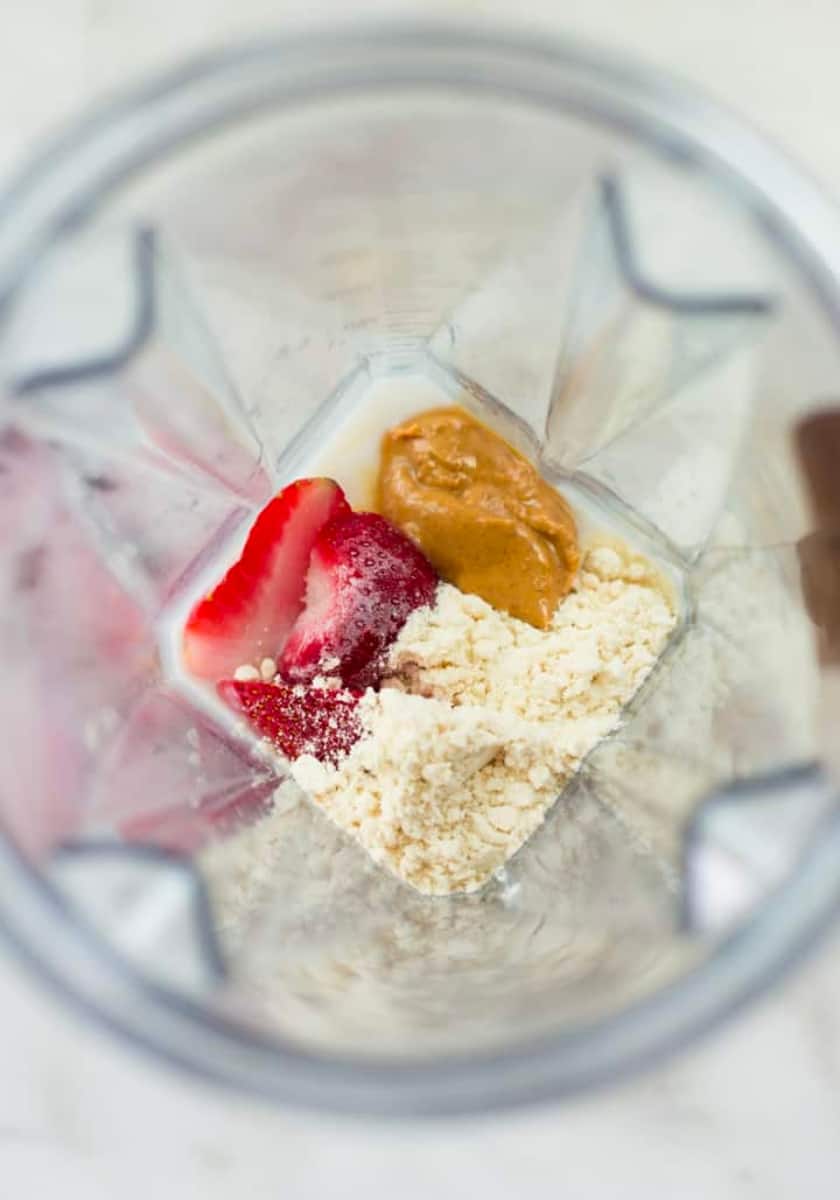
Top Rated Protein Smoothies
The healthy protein smoothie recipes will become a favorite part of your daily routine.
Recent Posts
Explore my latest articles and recipes for your clean eating lifestyle.
-

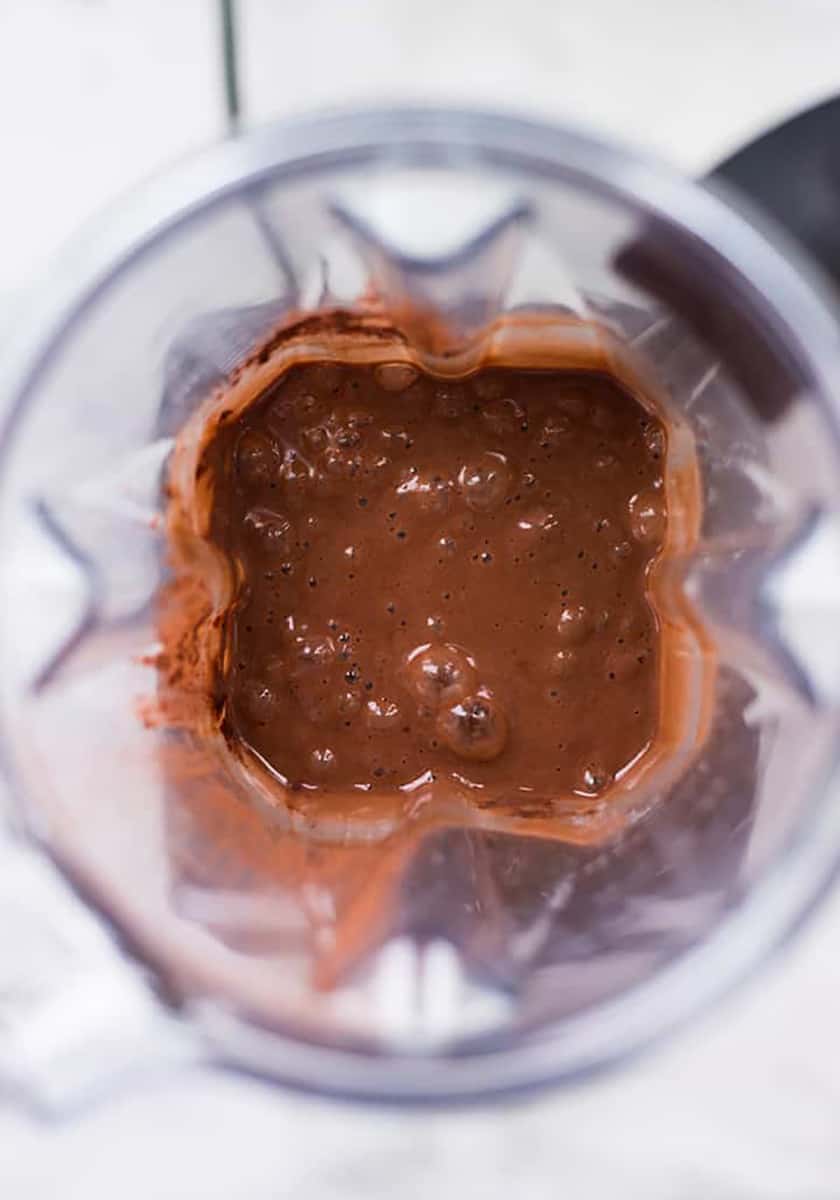
Chocolate Peanut Butter Overnight Oats
Looking for a delicious grab and go breakfast thats healthy and filling? This easy to make Chocolate Peanut Butter Overnight Oats recipe is full of protein and rich chocolatey goodness! If you love overnight oats, you'll also love my Blackberry…
-

Homemade Avocado Toast
This Homemade Avocado Toast is packed with complex carbs, protein, healthy fat, and fiber. Make avocado toast just the way you like it! Homemade Avocado Toast is such an amazing breakfast. If you're looking for more breakfasts like this one,…
-

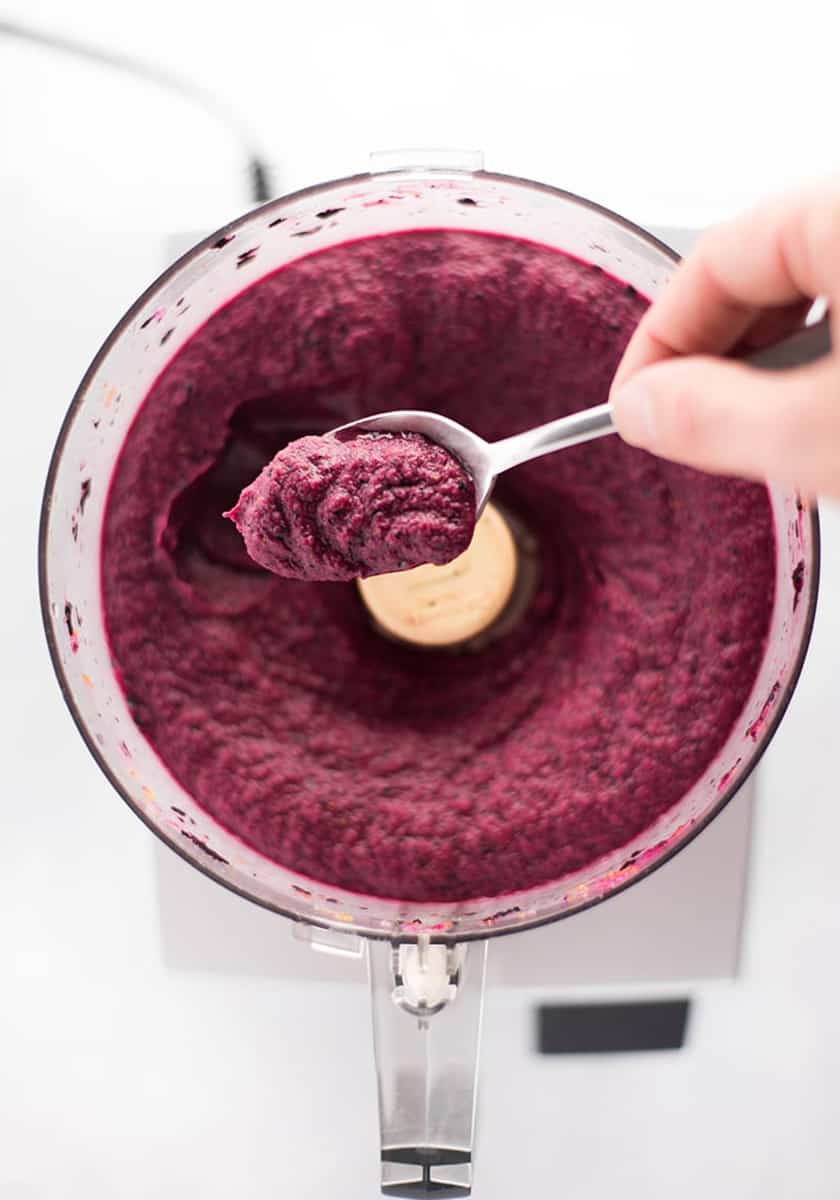
Strawberry Chia Jam
Making homemade Strawberry Chia Jam has never been easier! This jam only requires 3 ingredients, and no sugar is needed. You will not believe how easy it is to make strawberry chia jam for a healthy jam option! Chia jams…
-
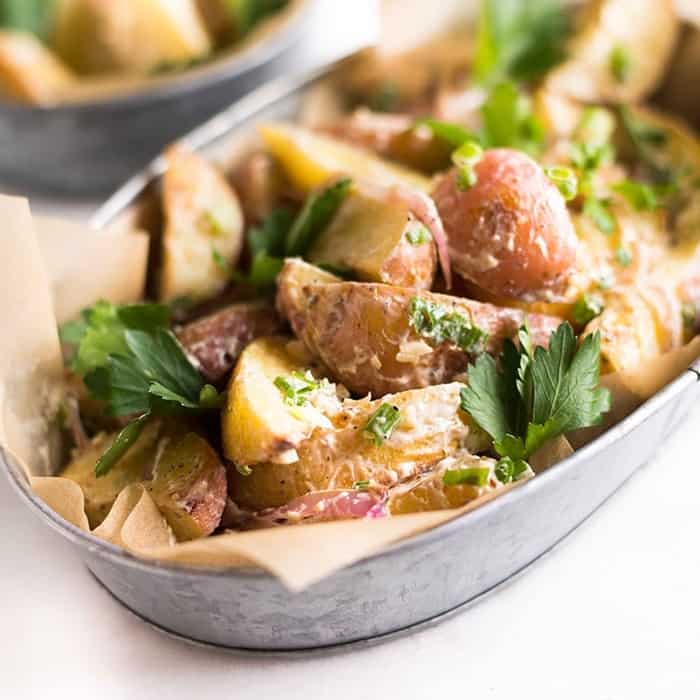
Roasted Potato Salad
With no mayo or eggs, this easy Roasted Potato Salad makes the perfect healthy summer side and is a great new way to enjoy a classic comfort food. Try my other delicious and healthy salads, like Springtime Cobb Salad, or…
-

Homemade Pico De Gallo
This Homemade Pico De Gallo recipe is one of my favorite salsas I have ever made. It's delicious and it has just the right spice. I've been making this EXACT homemade salsa from scratch for years. It's been a welcome topping…
-

Homemade Seasoning Salt
This Homemade Seasoning Salt is a staple for adding flavor to your favorite meals—without the questionable ingredients hiding in most store-bought blends. With just 6 simple, real-food ingredients, it’s a cleaner, healthier choice. Just like my Homemade Fajita Seasoning, Homemade…
-

Healthy Homemade Chili
This easy Healthy Homemade Chili is full of satisfying meat, beans, and veggies, and will be the last chili recipe you'll ever need. If you're looking for more amazing weekday dinners, check out my 15-Minute Healthy Beef and Broccoli, my…
-

Iced Matcha Collagen Latte
This refreshing and nourishing Iced Matcha Collagen Latte is the perfect way to energize your day! It’s light, antioxidant-rich, and super easy to make at home. If you love this Iced Matcha Latte, you’ll also enjoy my Iced Vanilla Latte for a creamy classic,…
-

Blueberry Crisp Overnight Oats
These creamy and satisfying Blueberry Crisp Overnight Oats are the perfect make-ahead breakfast! They’re wholesome, protein-packed, and incredibly easy to prep. If you love these amazing overnight oats, you'll also enjoy my Pumpkin Pie Overnight Oats, Cinnamon Raisin Overnight Oats, and my Fresh Peach Cobbler…
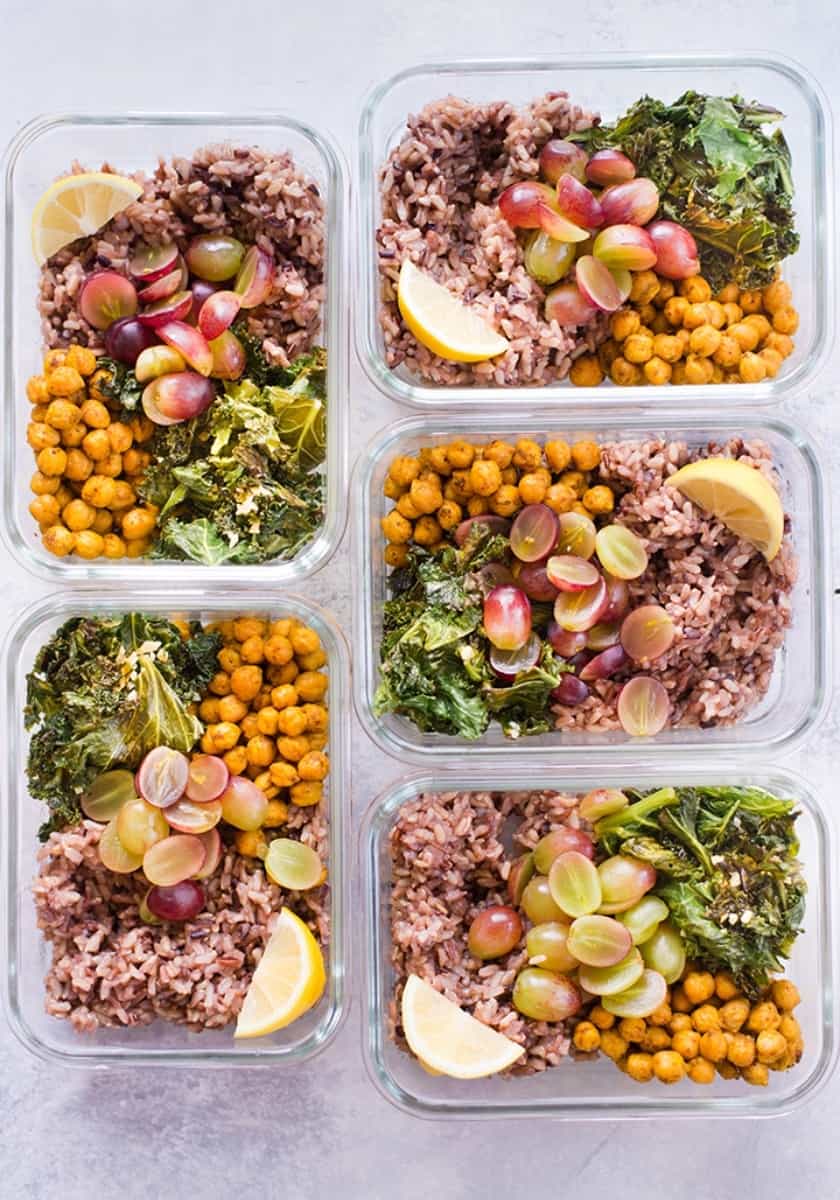
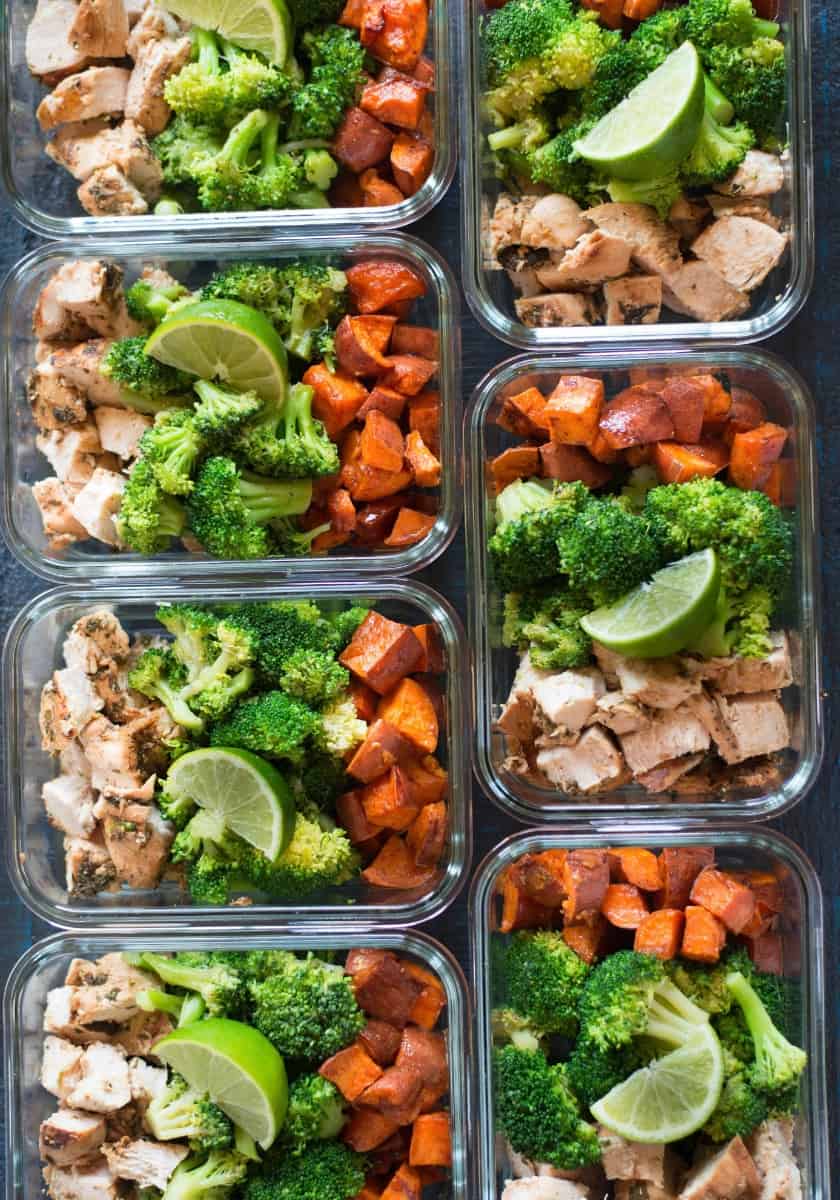
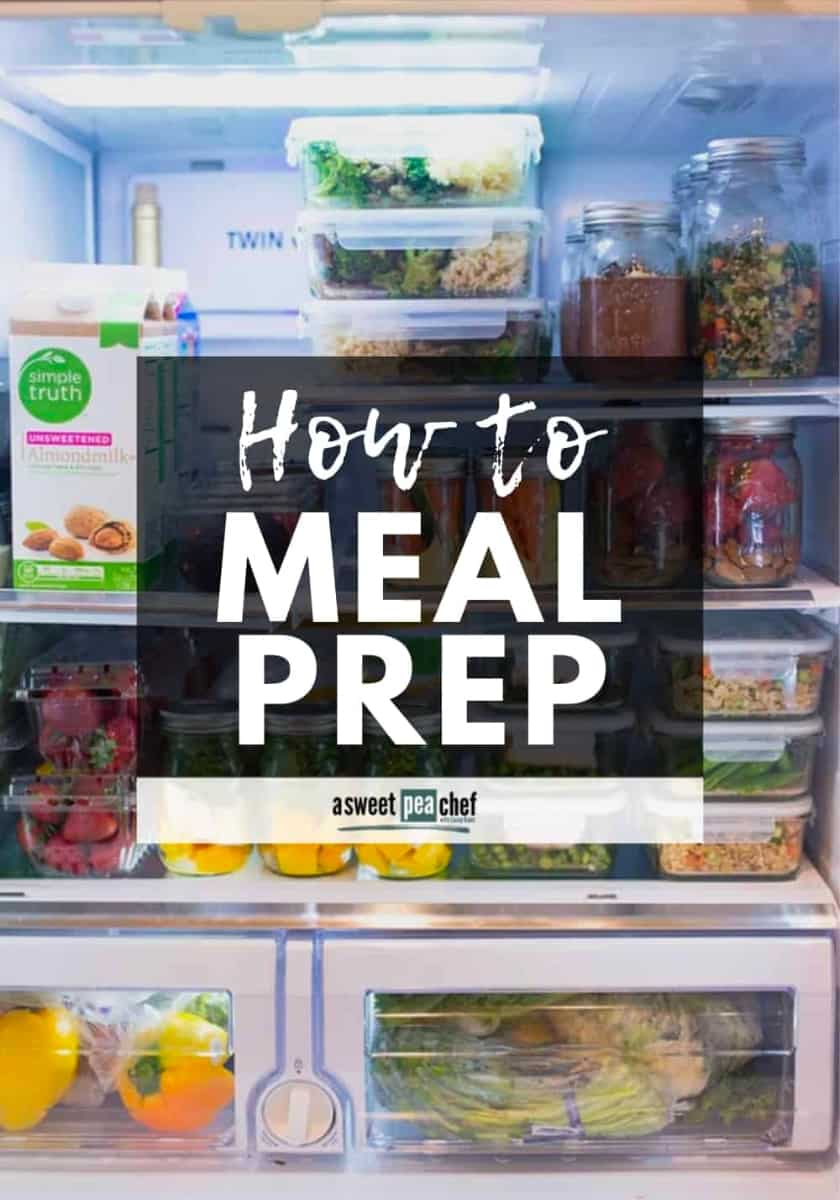
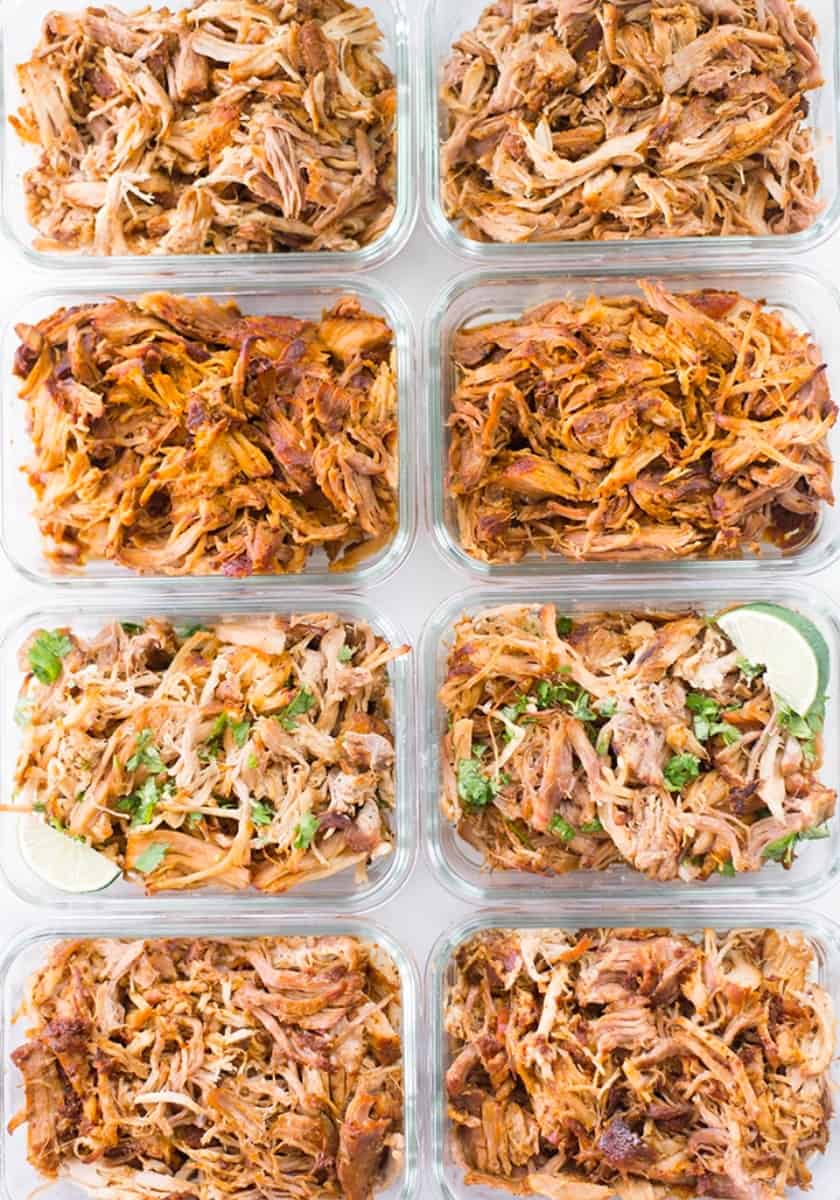
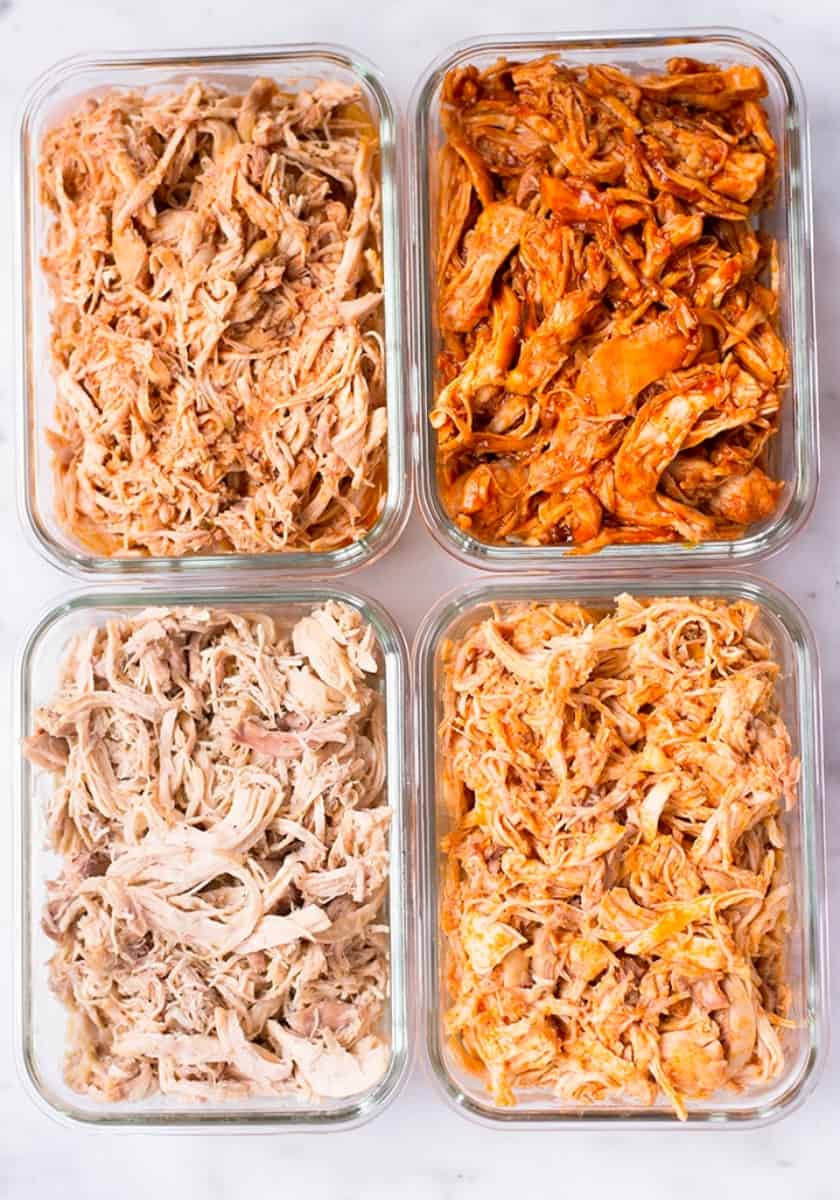
Meal Prep Ideas
These easy meal prep recipes are time-tested and family-approved.
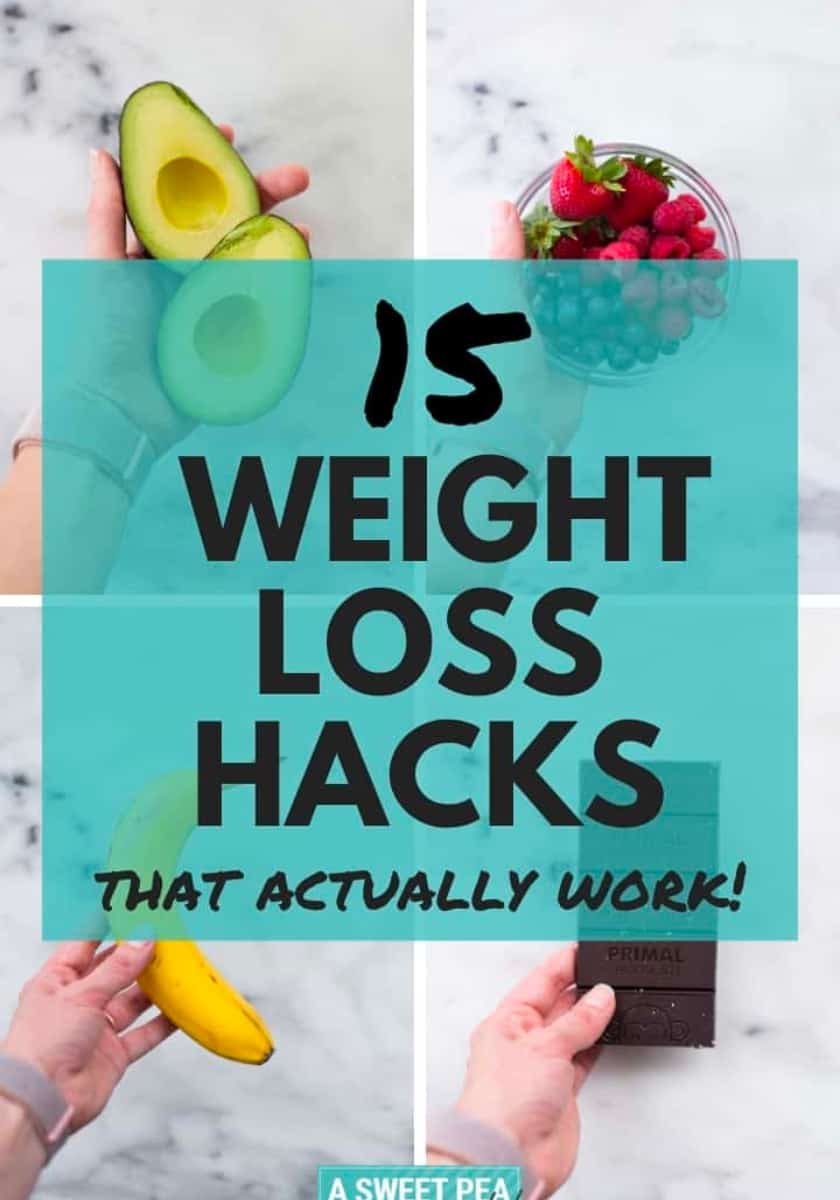
Weight Loss Tips
Stay motivated and successful with these helpful tips during your weight loss journey.


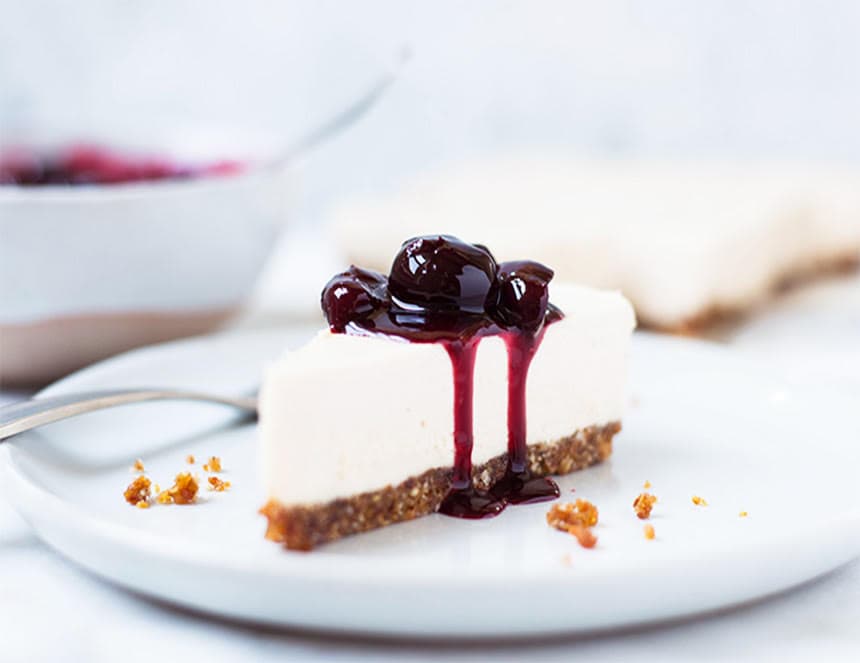
Delicious Healthy Desserts
Enjoy healthy desserts that use real ingredients. From cheesecake to ice cream, enjoy my collection of cleanish recipes.
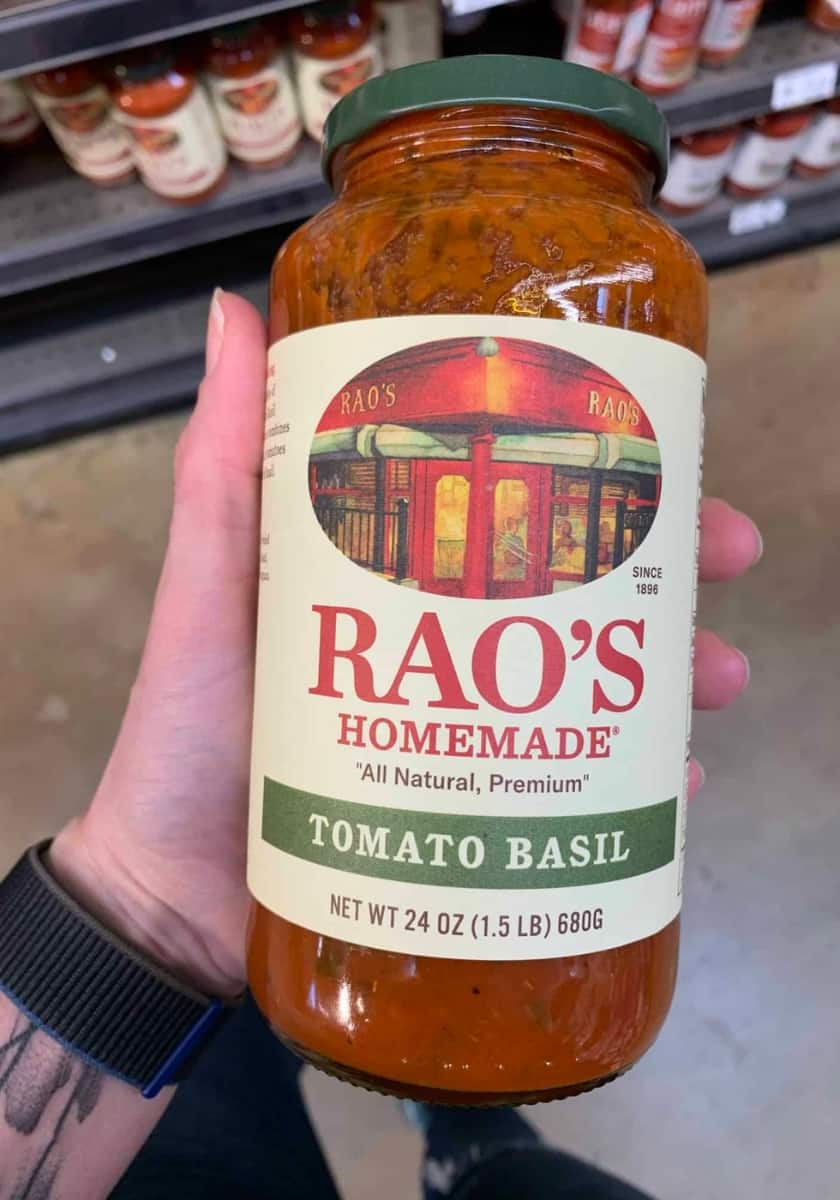
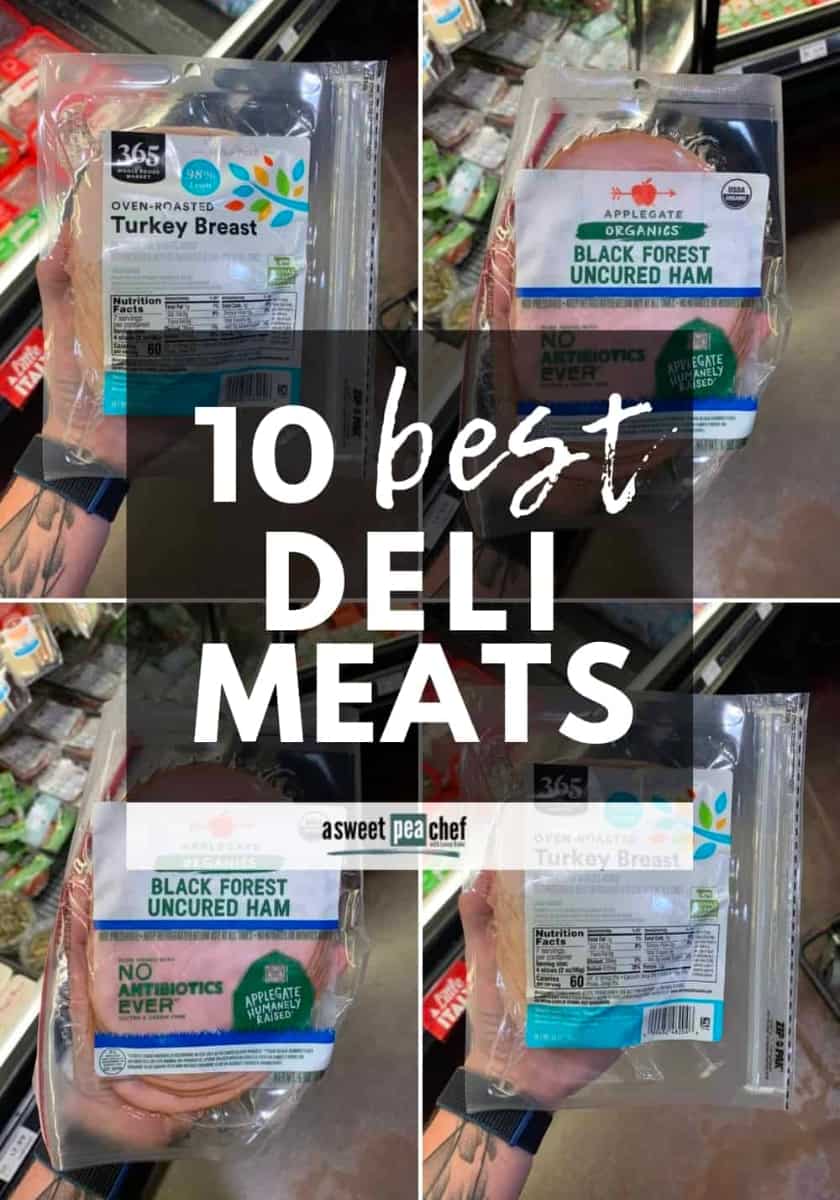
Cleanish Buying Guides
You'll find everything you need to make informed choices on your food and health.
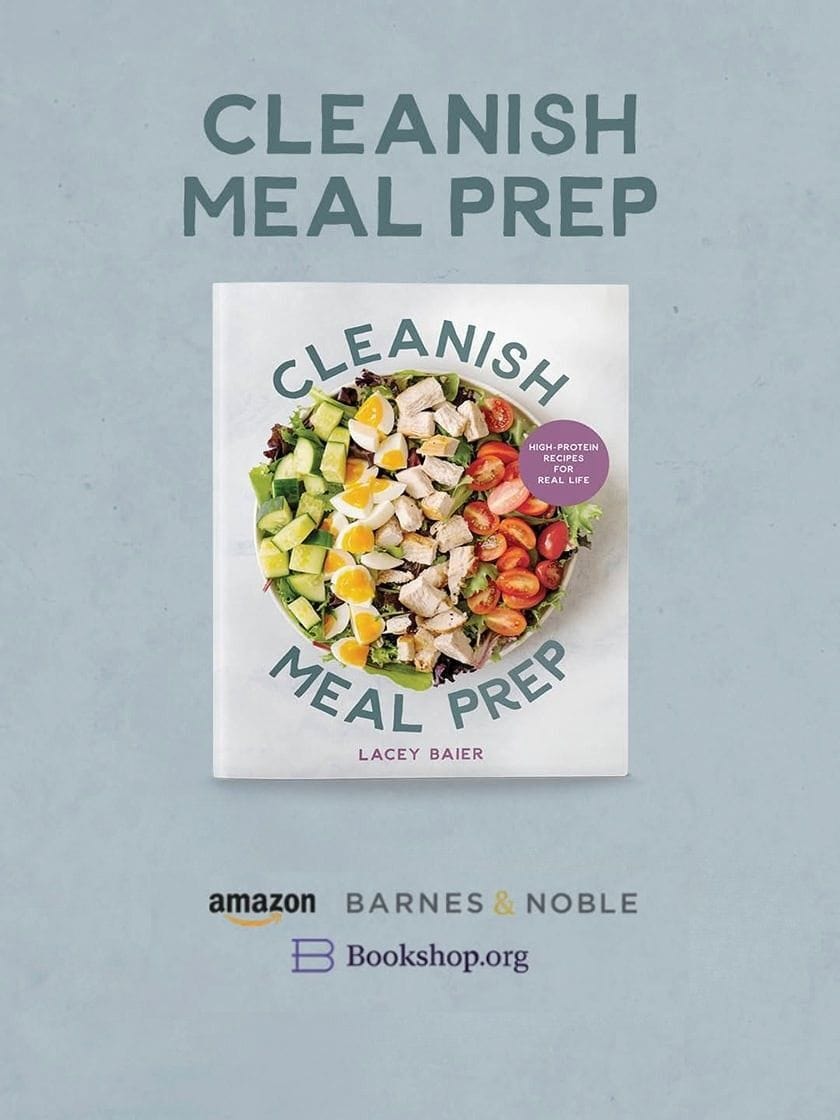
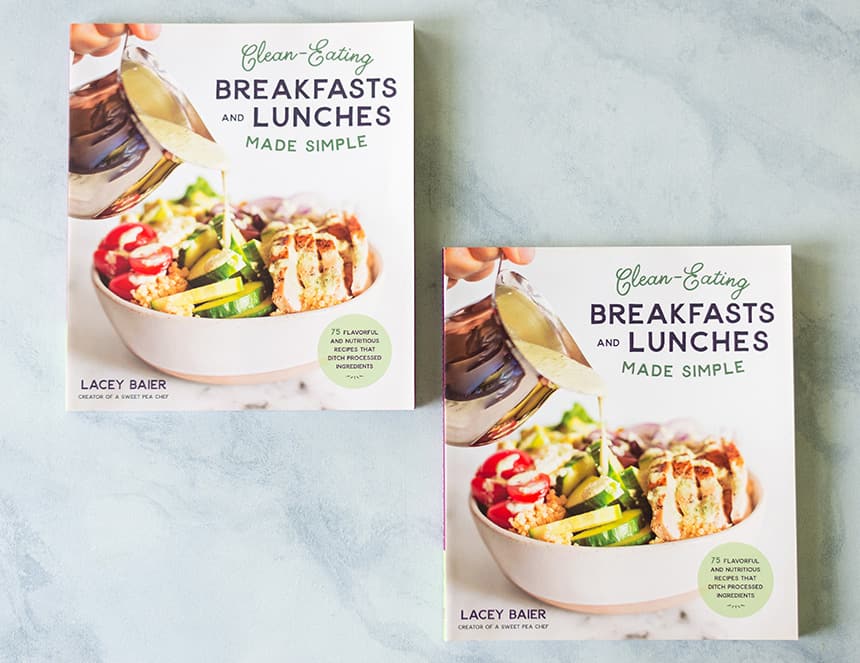
Clean Eating Cookbook
75 flavorful and nutritious recipes that ditch processed ingredients, refined sugars and harmful additives. Instead using natural sweeteners and low-carb, high-protein foods, you never have to give up the meals you love to eat.
Cleanish Resource Guides
Take advantage of these practical and handy resources for your journey.


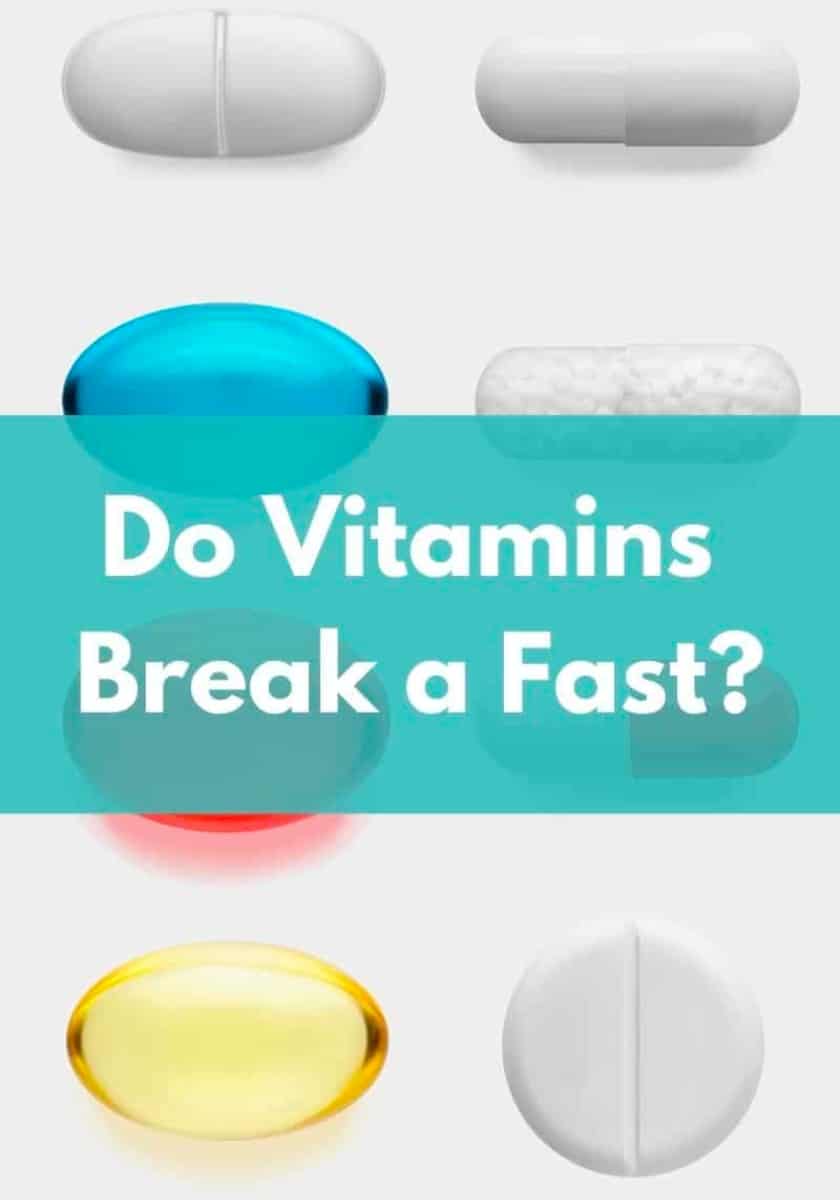
Intermittent Fasting
Learn everything you need to know to be successful with intermittent fasting.
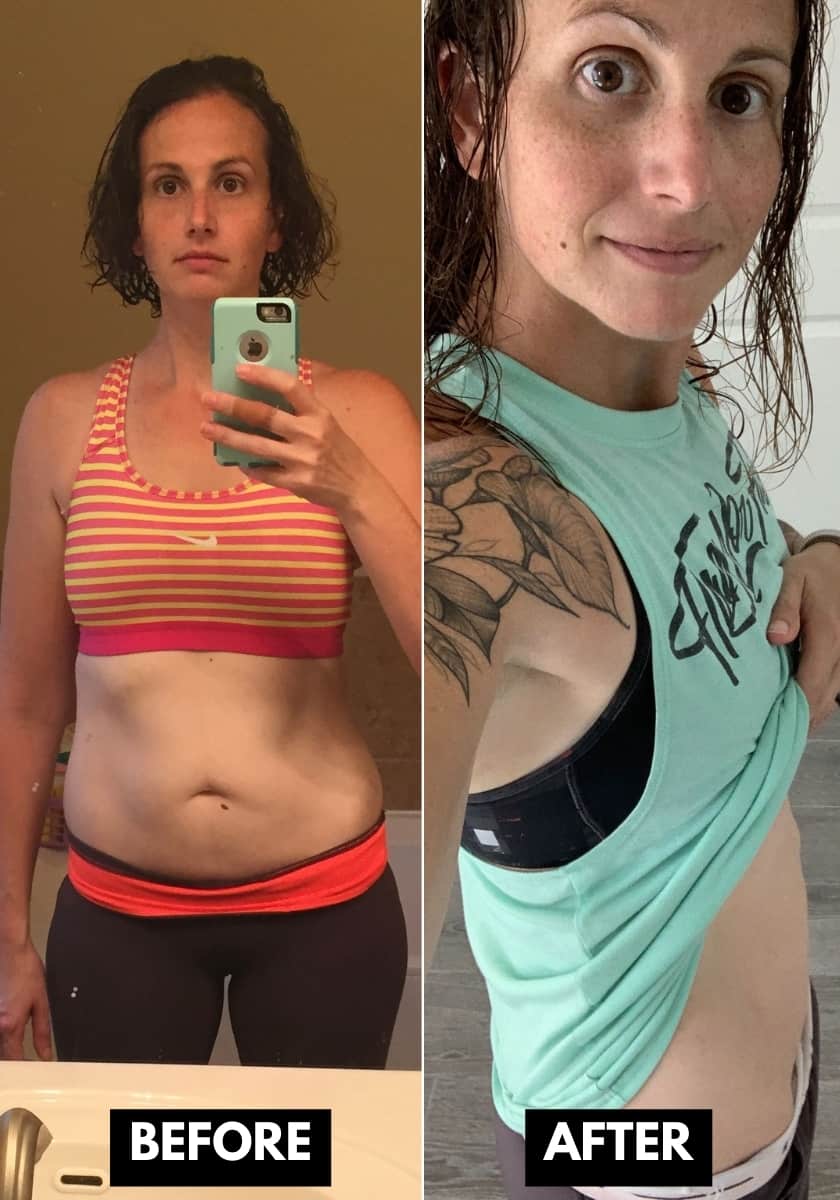
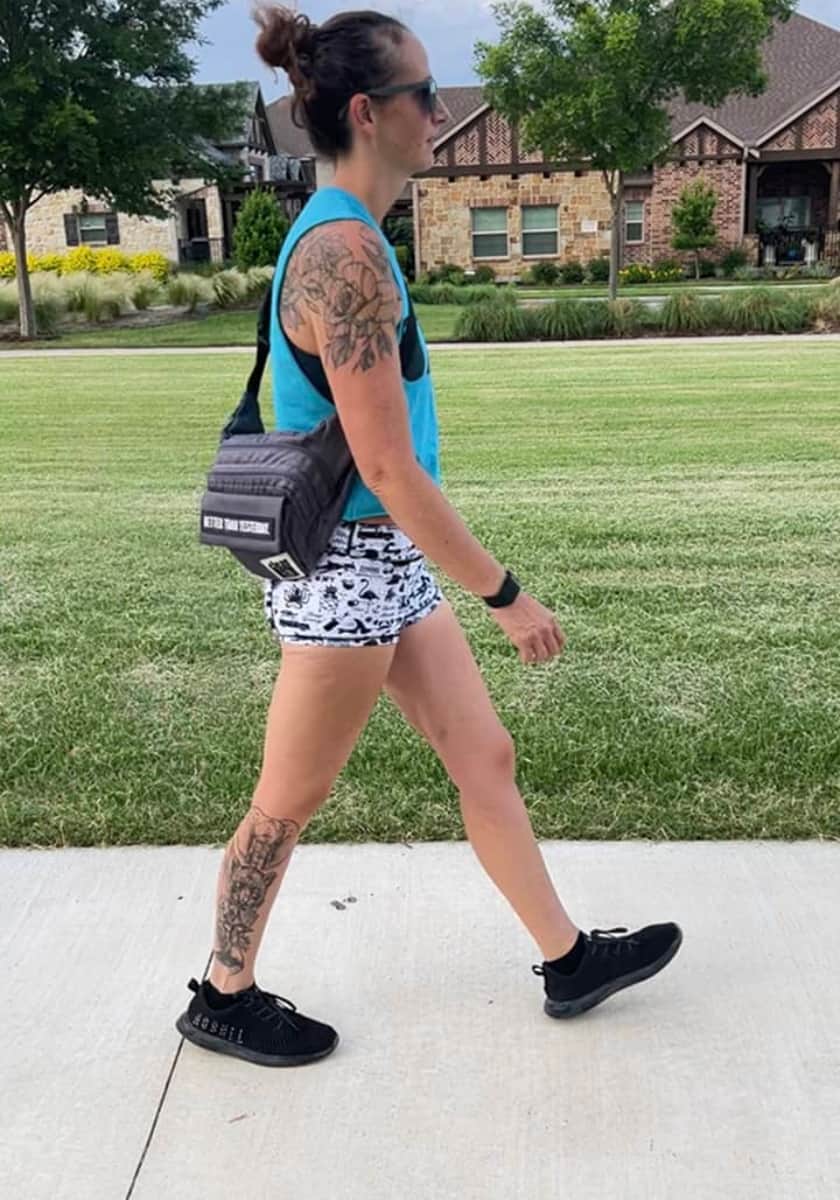
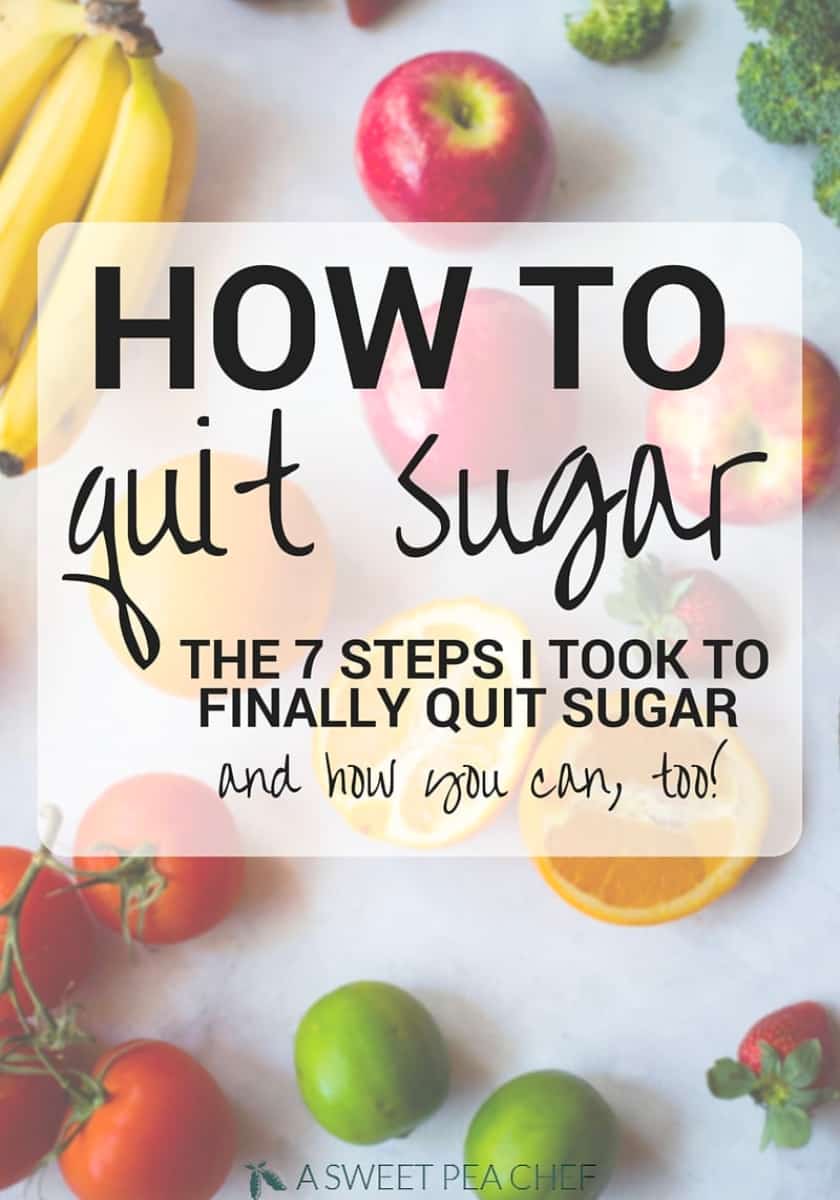
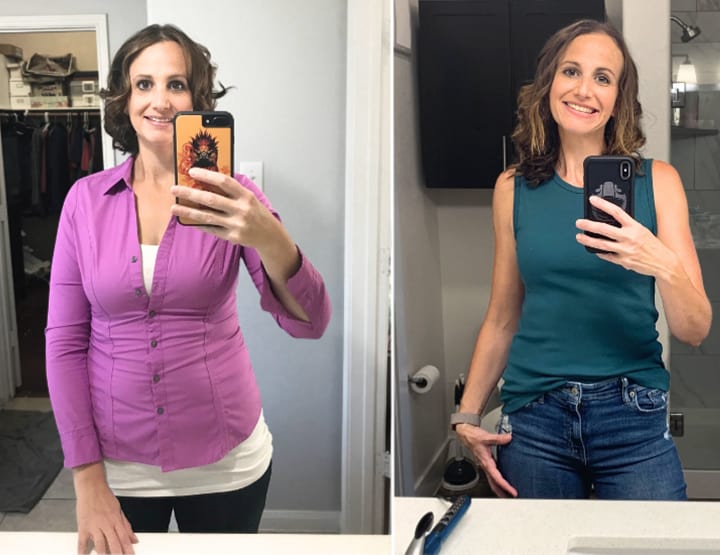
My Weight Loss Journey
How I Lost Over 200 Pounds With Clean Eating and intermittent Fasting, and have created a cleanish lifestyle where I no longer battle with my food or my weight.
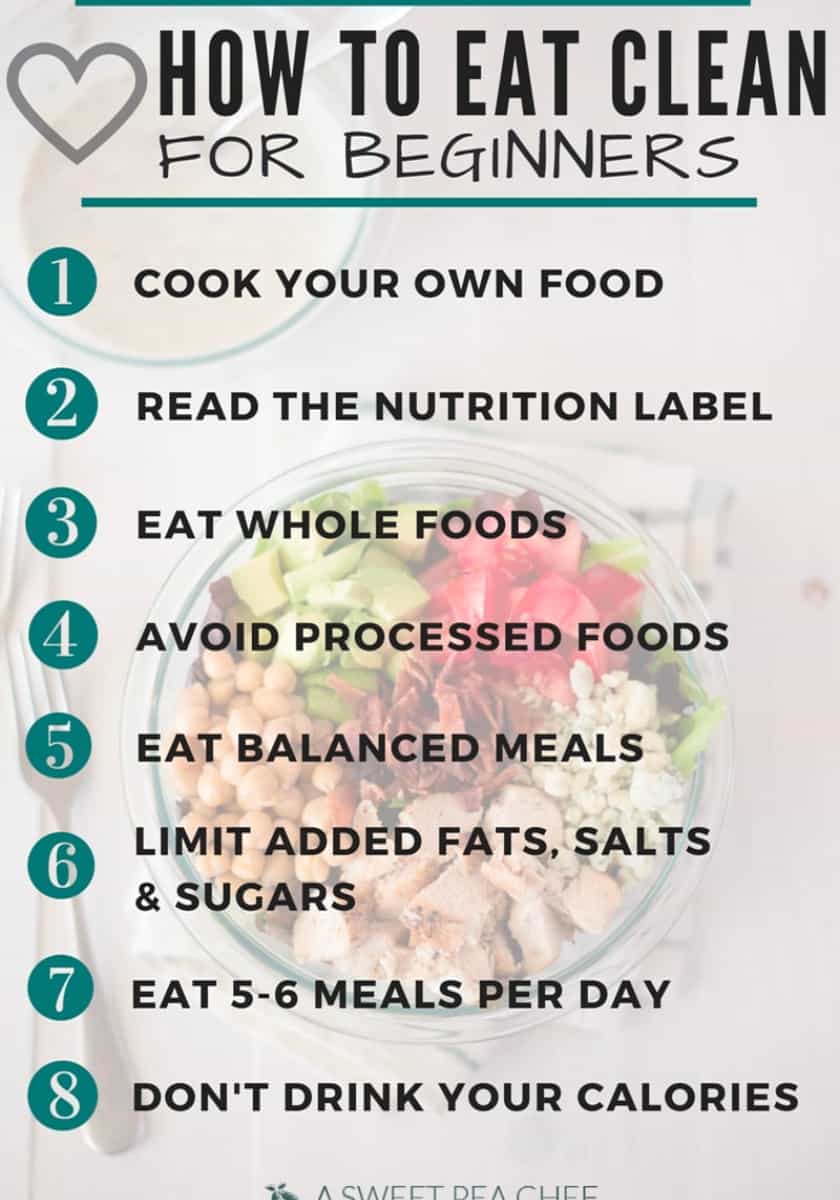
Beginner Guides
Whether you’re interested in using a new kitchen tool, trying to impress with a new recipe, or just tired of not knowing how to use that dusty food processor, these posts will help you learn the basics.